Add WP Date picker

To add a date picker in WordPress using a plugin, follow these easy steps:
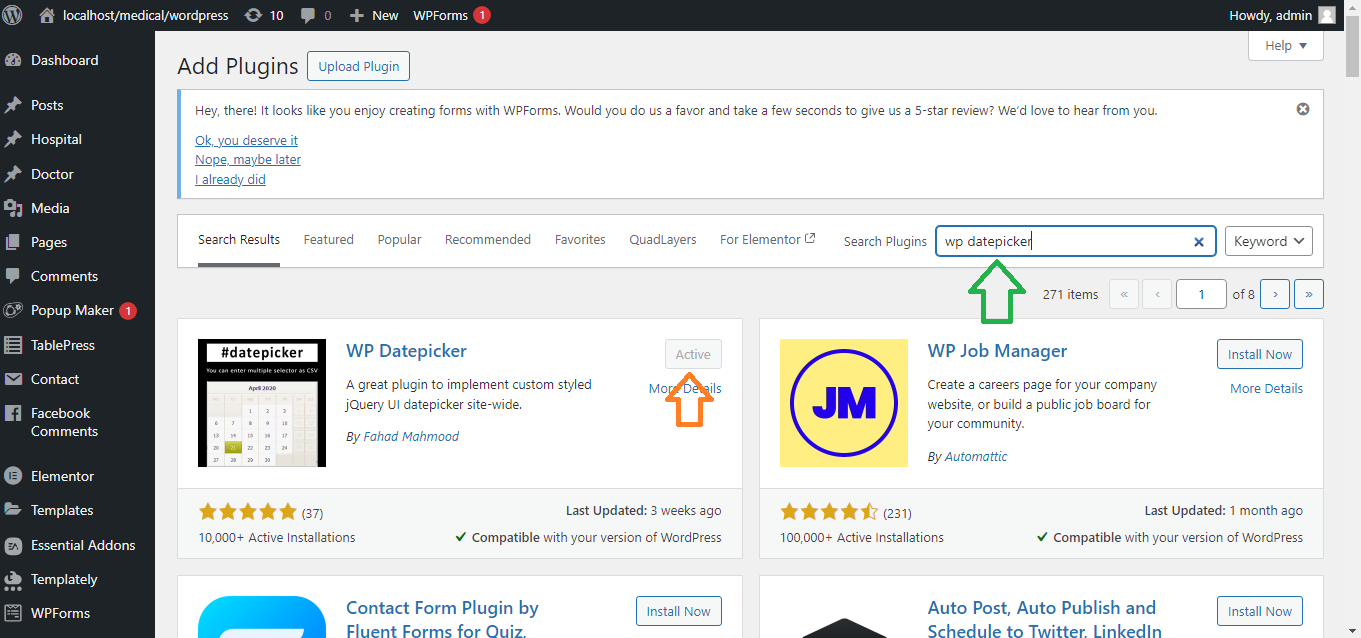
Step 1: Install a Date Picker Plugin
- Log in to your WordPress Dashboard.
- Go to Plugins > Add New.
- In the search bar, type WP Datepicker or Date Time Picker Field.
- Choose a plugin like WP Datepicker or Advanced Custom Fields (ACF) with date picker functionality, and click Install Now.
- Once installed, click Activate.
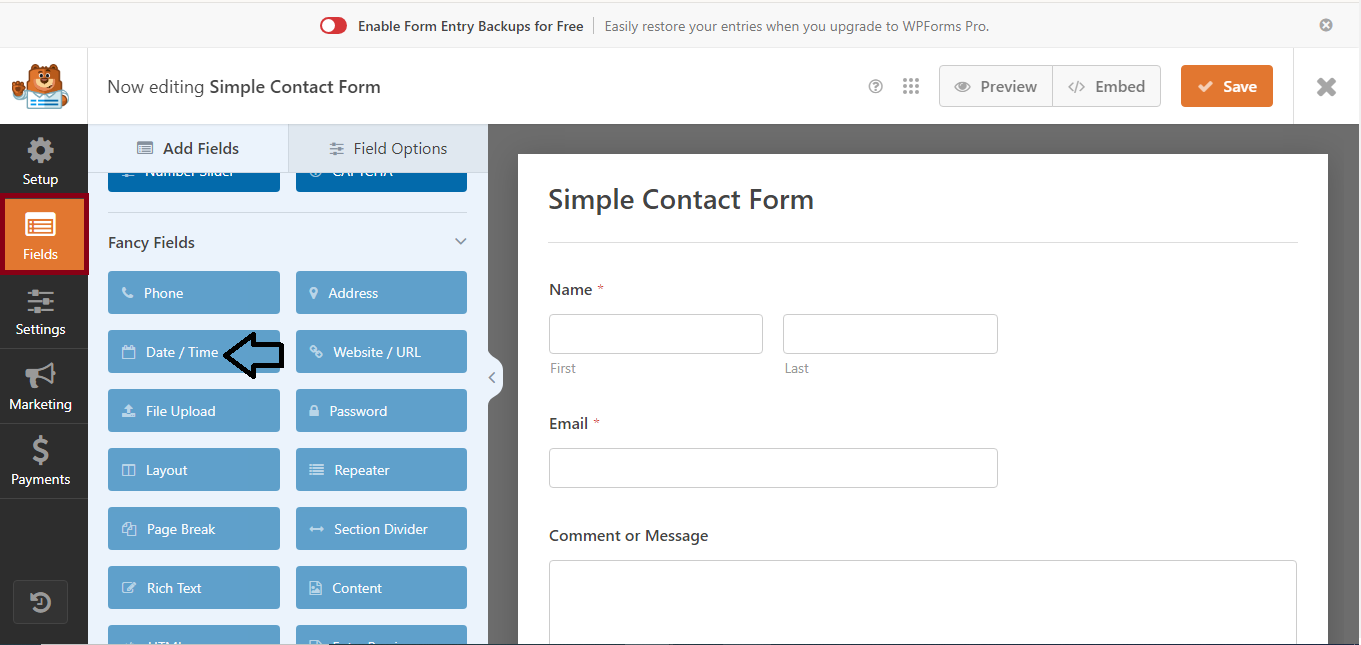
Step 2: Add the Date Picker to Your Form
- Create or edit a form:
- If you’re using WPForms, go to WPForms > All Forms, and edit an existing form or create a new one.
- If you’re using Advanced Custom Fields (ACF), go to Custom Fields > Add New, and create a new field group.
- Add the date picker field:
- In WPForms, you can drag and drop the Date / Time field into your form.
- In ACF, add a new field, select Date Picker as the field type, and assign it to the relevant post/page.
Step 3: Configure the Date Picker Settings
- Customize the date picker options (optional):
- You can set date format, time format, and other settings, depending on the plugin you’re using.
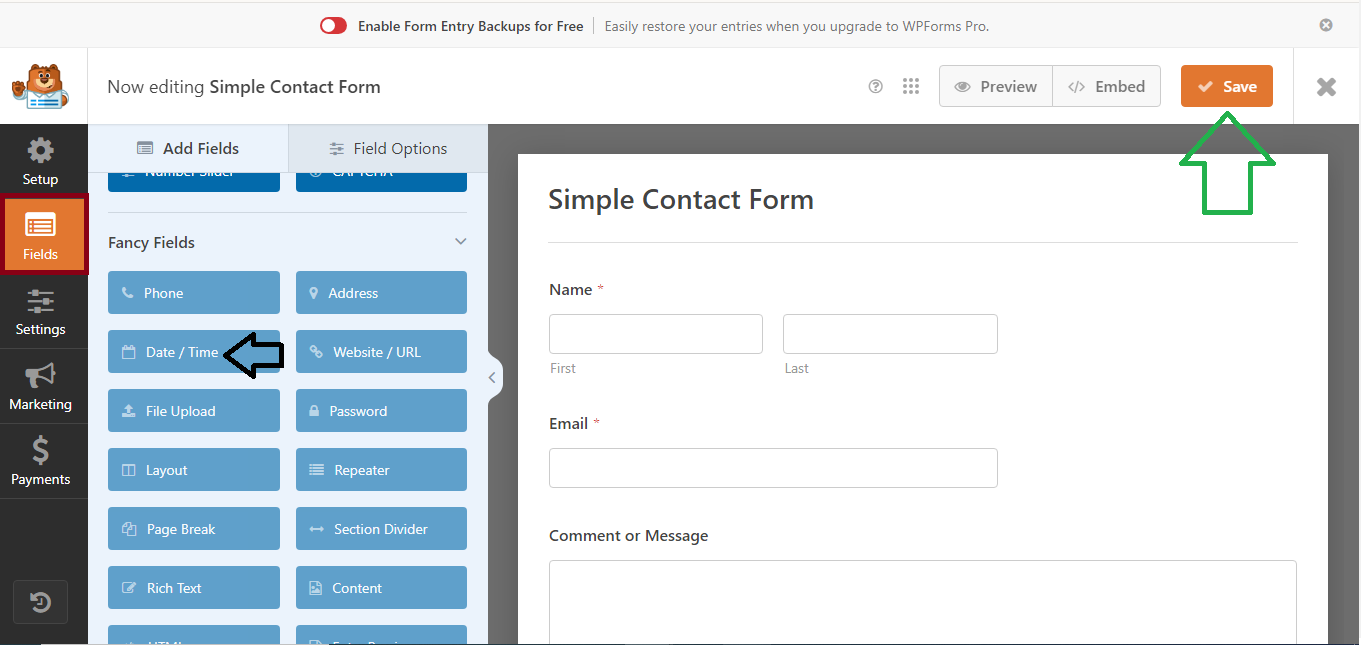
Step 4: Save the Form
- After adding the date picker, click Save to update your form or field group.
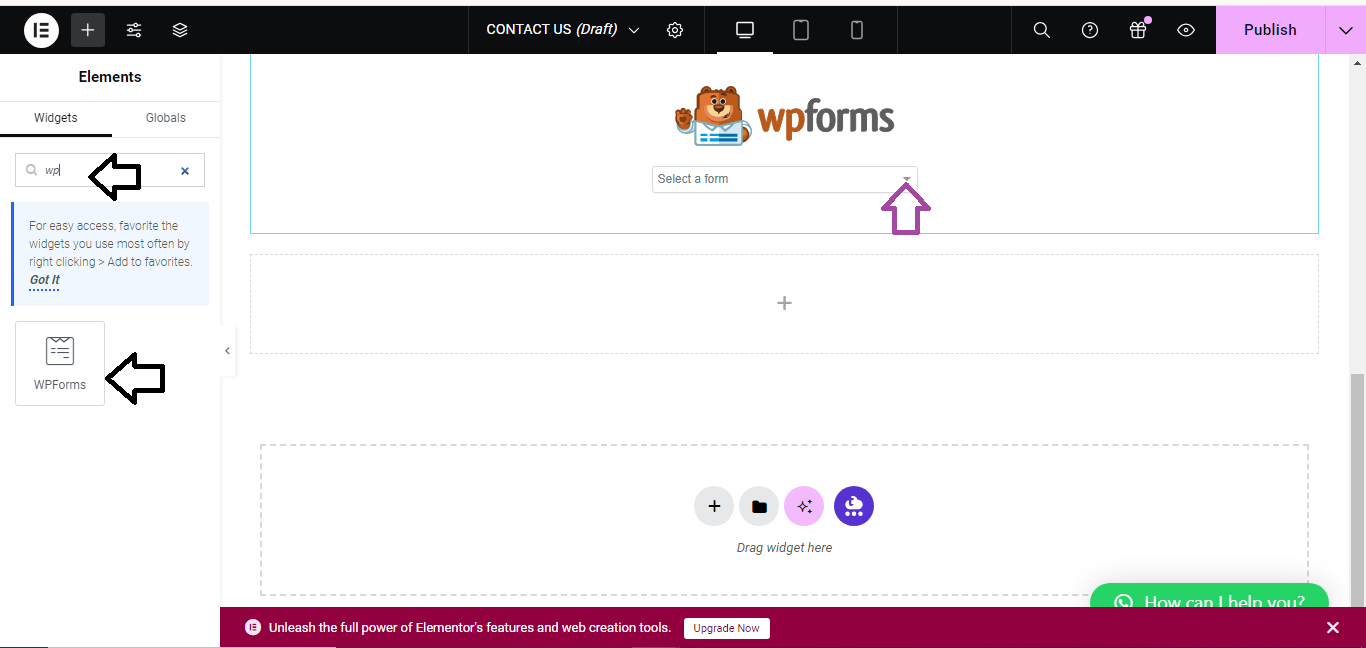
Step 5: Display the Form or Field
- WPForms:
- Add the form to a post/page by clicking the + button, selecting the WPForms block, and choosing the form you created.
- ACF:
- The date picker will now appear where you’ve assigned the custom field (e.g., a post, page, or custom content).
Step 6: Test the Date Picker
- Visit the page where you’ve added the form or custom field.
- Ensure the date picker appears and functions as expected.
That’s it! You’ve successfully added a date picker to your WordPress site.


