How to build a one-page WordPress website?

Step 1: Choose a Hosting Provider & Install WordPress
- Sign up for a hosting plan (e.g., Bluehost, SiteGround, etc.).
- Install WordPress via the hosting provider’s control panel.
- Access your WordPress dashboard (usually at
yourdomain.com/wp-admin).
Step 2: Select a One-Page Theme
- Go to Appearance > Themes.
- Click on Add New, then search for a one-page theme like:
- Astra
- Neve
- Hestia
- Sydney
- Install and activate the theme you like.

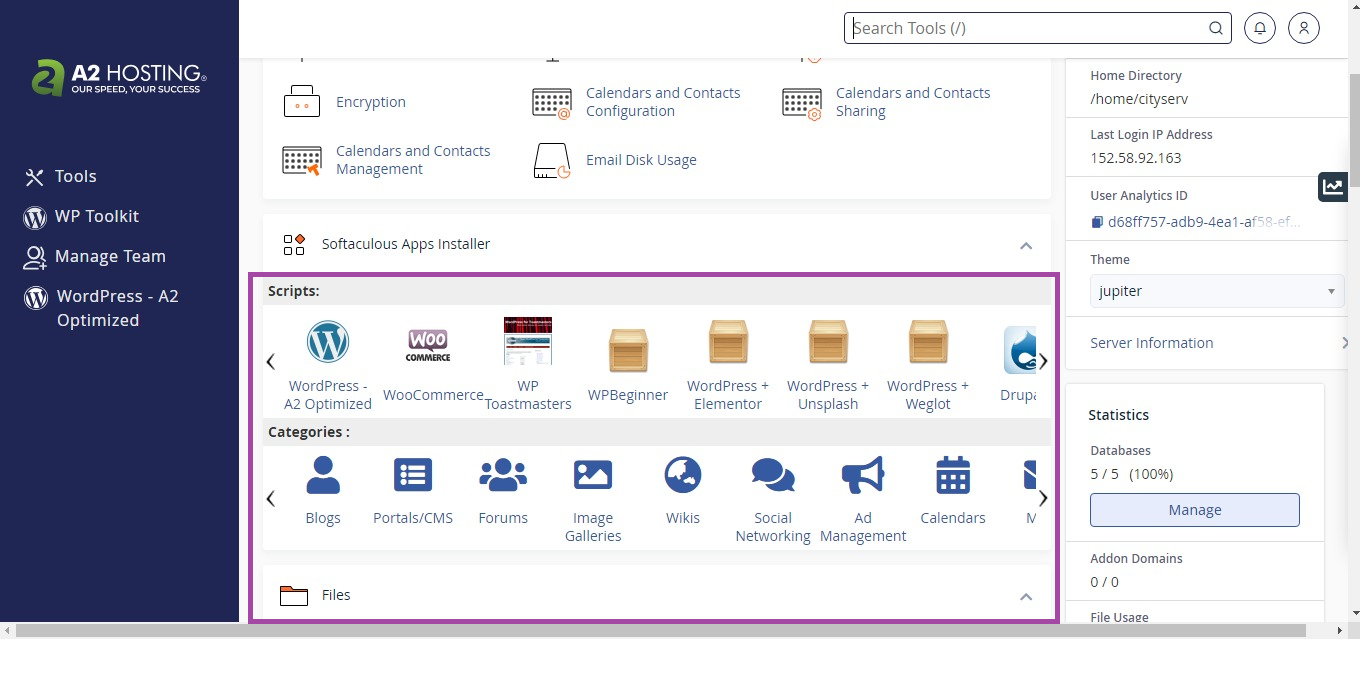
Step 3: Install a Page Builder Plugin (Optional, but Helpful)
- Install a page builder for easier customization. Go to Plugins > Add New.
- Search for Elementor, WPBakery, or Beaver Builder.
- Install and activate the plugin.

Step 4: Create a One-Page Layout
- Go to Pages > Add New.
- Name the page (e.g., “Home”).
- Under Page Attributes on the right, set the Template to “Elementor Full Width” (or similar).
- Click Edit with Elementor (or the page builder you chose).

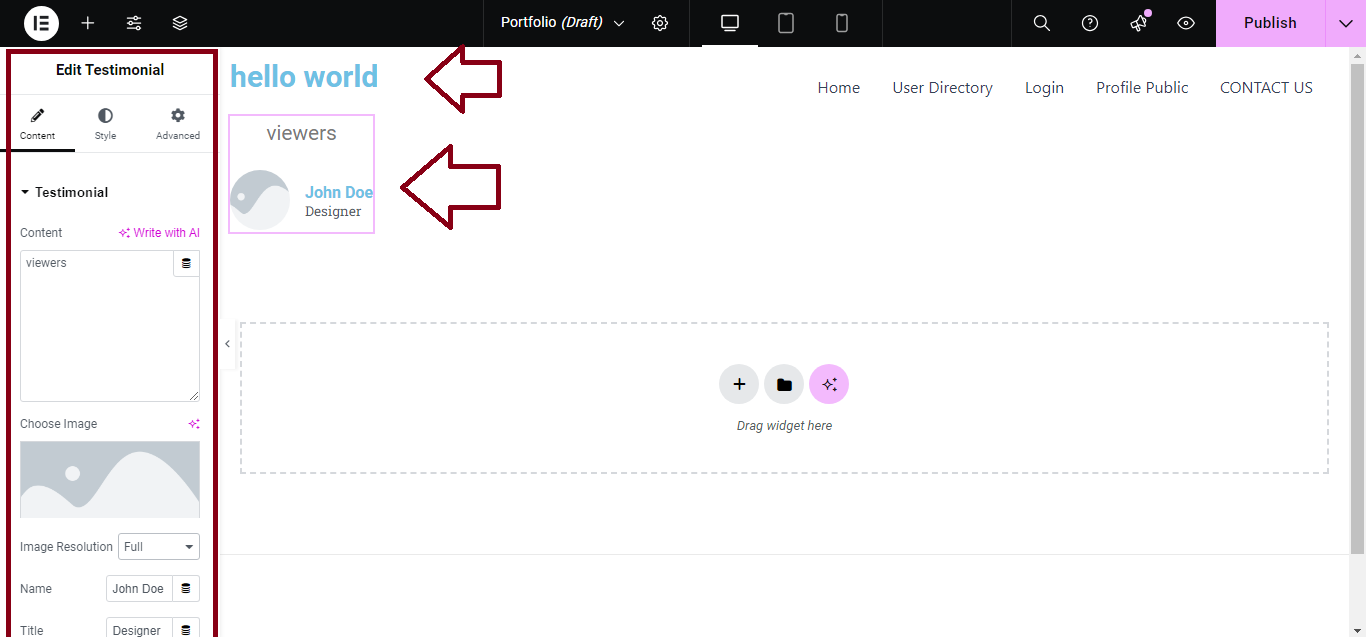
Step 5: Add Content Sections
- Use the page builder to add sections for:
- Hero Section: Large background image or video with a headline and call-to-action.
- About Section: Brief introduction about your business or site.
- Services Section: List your key services or features.
- Testimonials Section: Add reviews or client feedback.
- Contact Section: Include a contact form, email, and social media links.
- Drag and drop widgets or elements (images, text, buttons) to customize your sections.
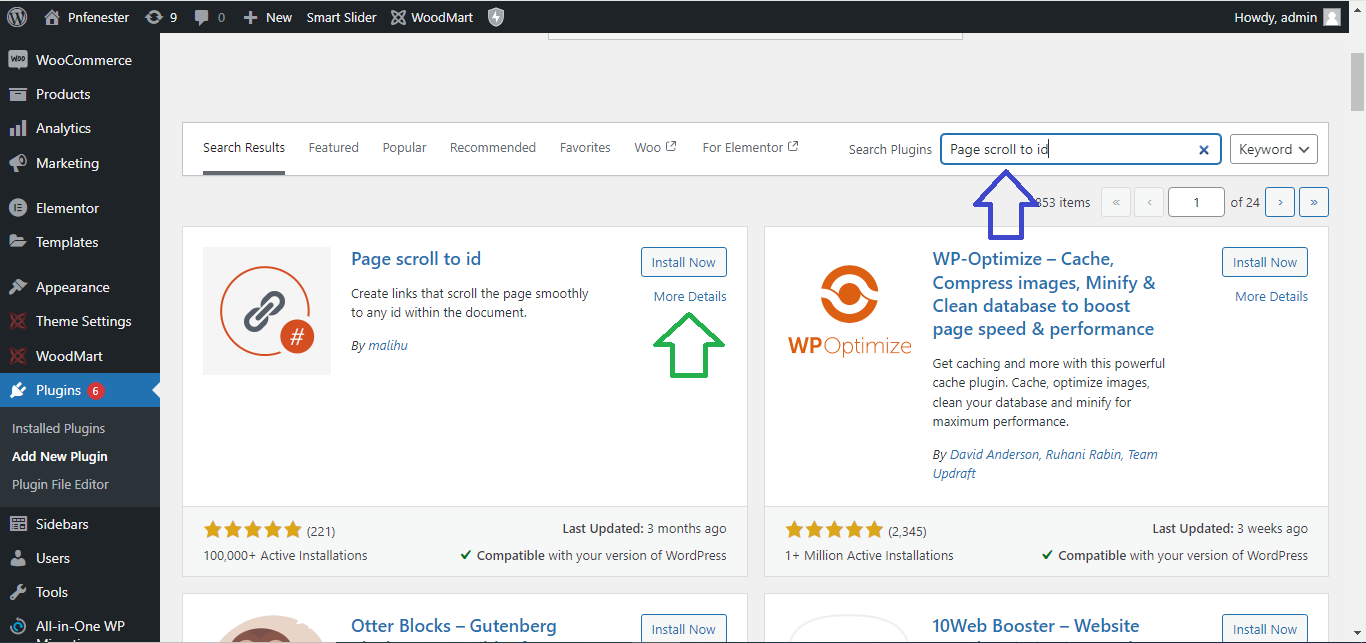
Step 6: Add Smooth Scrolling
- Many one-page themes come with smooth scrolling by default.
- If your theme doesn’t have it, install a plugin like Page scroll to id to enable smooth scrolling when users click on menu links.
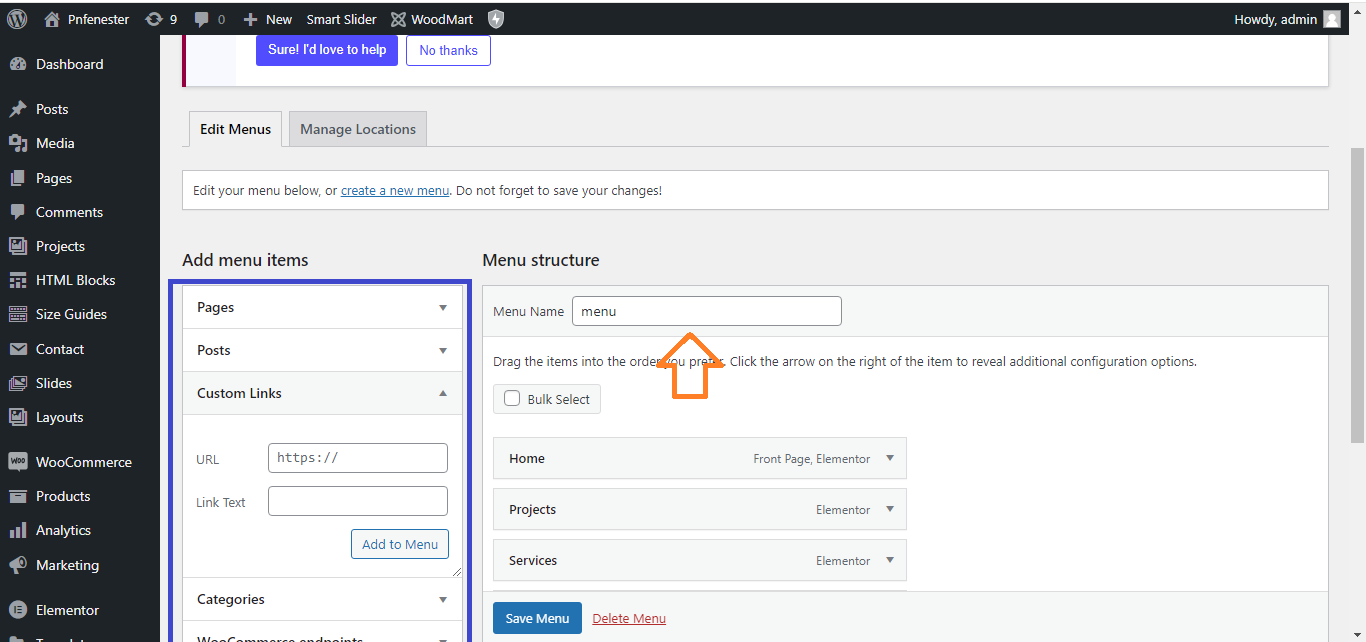
Step 7: Set Up a One-Page Menu
- Go to Appearance > Menus.
- Create a new menu with links to each section of your page:
- Use Custom Links and for each section use the format
#sectionID(e.g.,#aboutfor the About section). - Assign your menu to the Primary Menu location.
- Use Custom Links and for each section use the format
Step 8: Set the Homepage
- Go to Settings > Reading.
- Set your Homepage to display the static page you created earlier (e.g., “Home”).

Step 9: Customize the Site’s Appearance
- Go to Appearance > Customize to adjust the site’s fonts, colors, and background settings.
- Adjust theme-specific settings to match your branding.
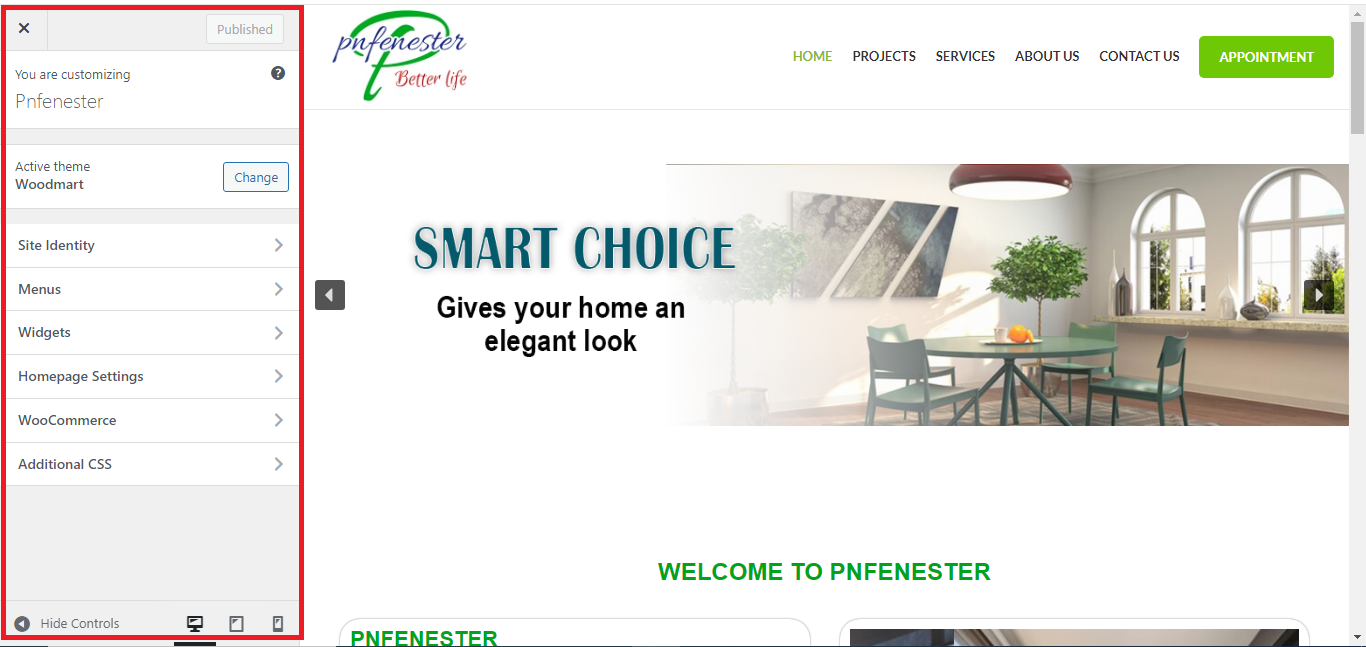
Step 10: Publish Your One-Page Website
- Once you’re happy with the design, click Publish.
- View your live one-page website and make sure everything looks and functions as you intended!

By following these steps, you’ll have a functional and attractive one-page WordPress website ready in no time!