How to design a Travel website on WordPress?

Step 1: Set Up WordPress
- Choose a hosting provider (e.g., Bluehost, SiteGround) and register a domain.
- Install WordPress via your hosting provider’s control panel.
- Access the WordPress dashboard at
yourdomain.com/wp-admin.

Step 2: Install a Travel Theme
- Go to Appearance > Themes.
- Click Add New and search for travel-related themes such as:
- Travel Agency
- OceanWP
- Astra
- Zakra
- Avada (premium)
- Install and activate your chosen theme.

Step 3: Install Essential Plugins
- Go to Plugins > Add New.
- Install plugins to add necessary features for your travel website:
- Elementor: For easy drag-and-drop page building.
- WP Travel: To manage travel packages and bookings.
- Contact Form 7: To create contact forms for inquiries.
- Yoast SEO: For optimizing content for search engines.
- Google Maps: For location maps.
- WPForms: For custom forms.

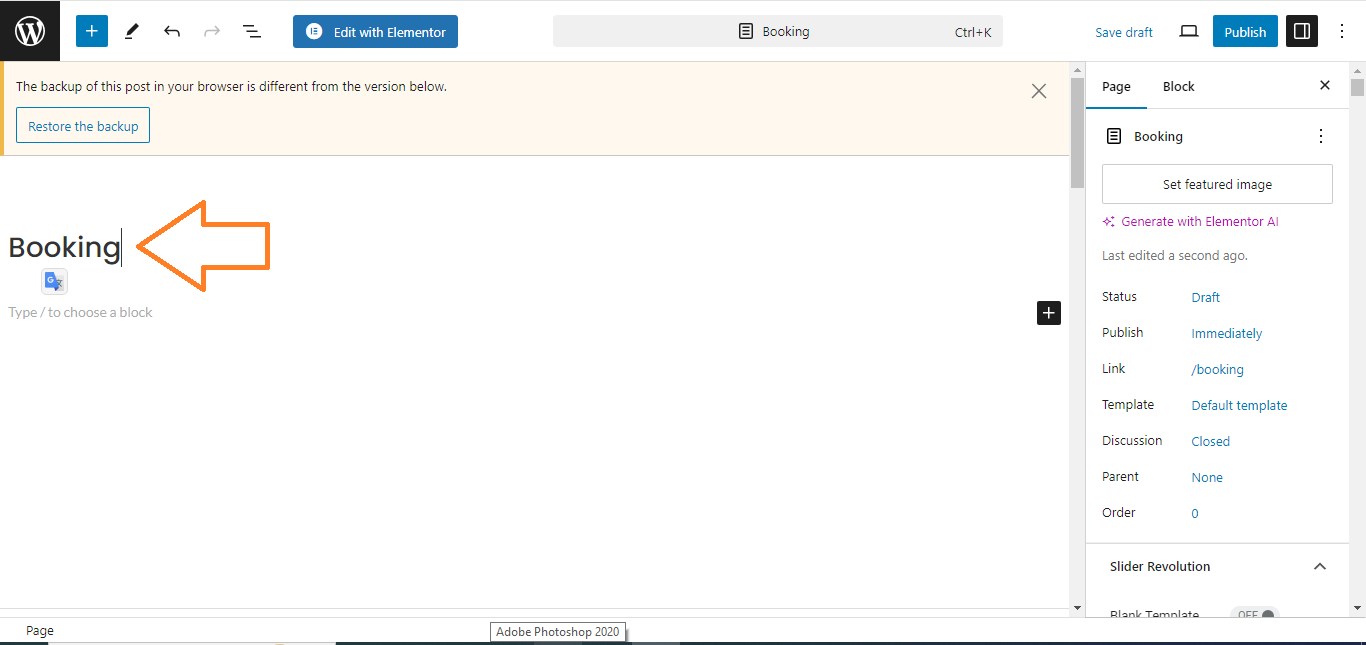
Step 4: Create Essential Pages
- Go to Pages > Add New and create the following pages:
- Home: Highlight your key destinations or services.
- Destinations/Packages: Showcase different travel packages or destinations.
- About Us: Share information about your travel agency or service.
- Blog: Provide travel tips, guides, and stories.
- Contact: Include a form and contact details for inquiries.
- Booking: Let users book or inquire about packages.
Step 5: Design Your Home Page with Elementor
- Once your theme is active, go to Pages > Add New.
- Name the page “Home” and click Edit with Elementor.
- Use Elementor’s drag-and-drop editor to add elements like:
- Hero Section: Add a full-width image or video with a catchy headline.
- Call-to-Action: Add a section with buttons like “Explore Now” or “Book a Trip”.
- Travel Packages: Add images and descriptions of your best destinations or services.
- Testimonials: Add client reviews or feedback.
- Contact Form: Add an inquiry form or booking option.

Step 6: Add Travel Packages (Using WP Travel Plugin)
- Install the WP Travel plugin.
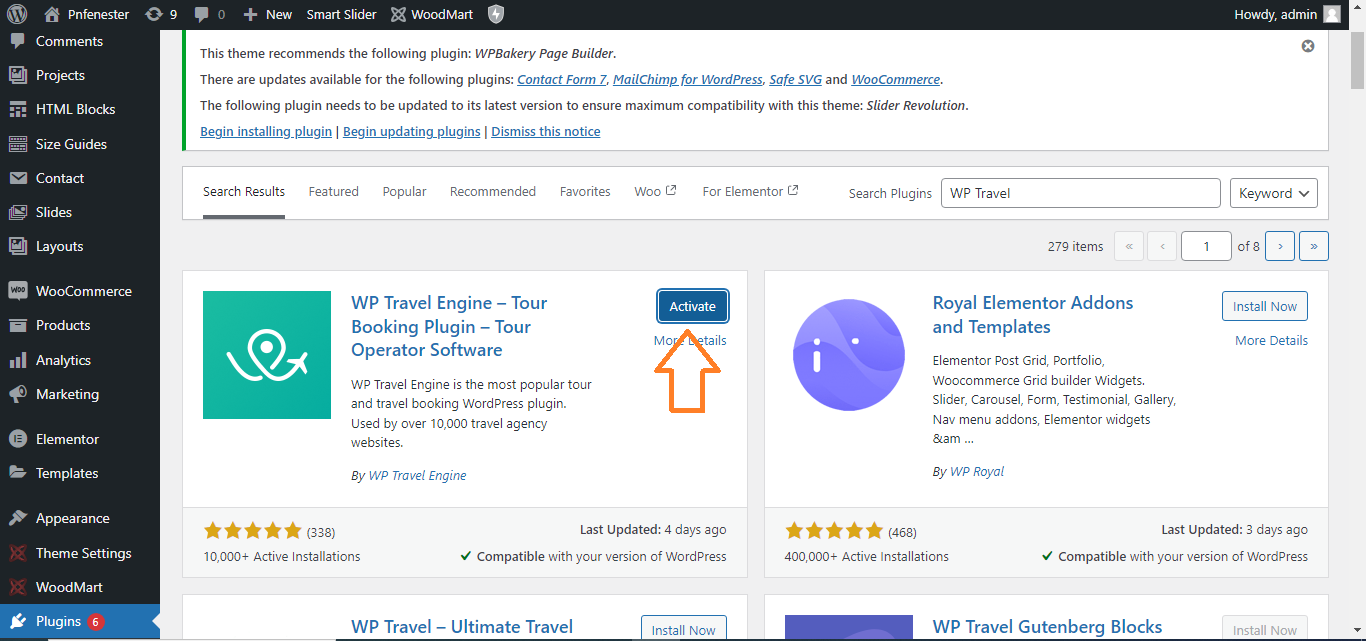
- After activation, go to WP Travel > Add Trip.
- Add trip details such as destination, description, price, and itinerary.
- Publish your travel packages and create a Destinations or Packages page to display these trips.

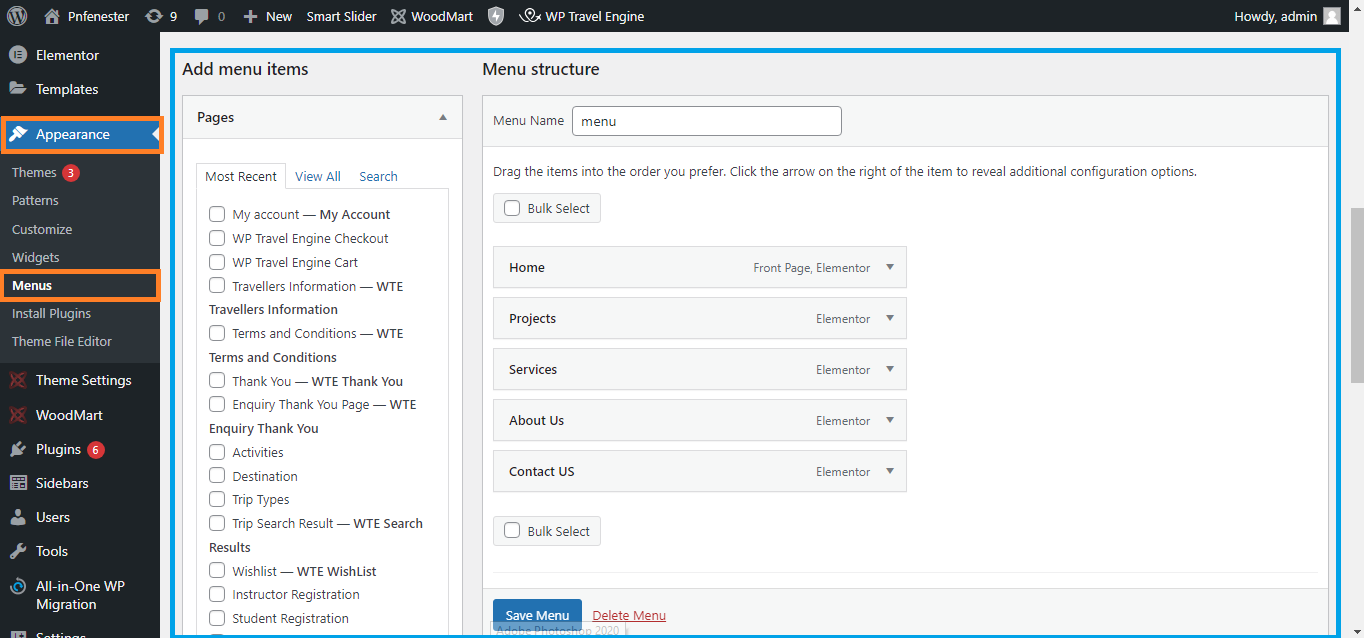
Step 7: Create Navigation Menus
- Go to Appearance > Menus.
- Create a menu linking to important pages like Home, Destinations/Packages, Blog, About Us, and Contact.
- Set the menu as the Primary Menu.

Step 8: Add Contact Forms
- Use Contact Form 7 or WPForms to create a custom inquiry or booking form.
- Go to Contact > Add New, create your form, and add it to the Contact page using a shortcode.

Step 9: Add Google Maps
- If you want to display the location of your agency or travel destinations, install the Google Maps plugin.
- Go to Pages > Edit with Elementor and drag the Google Maps widget to add a map to any page.
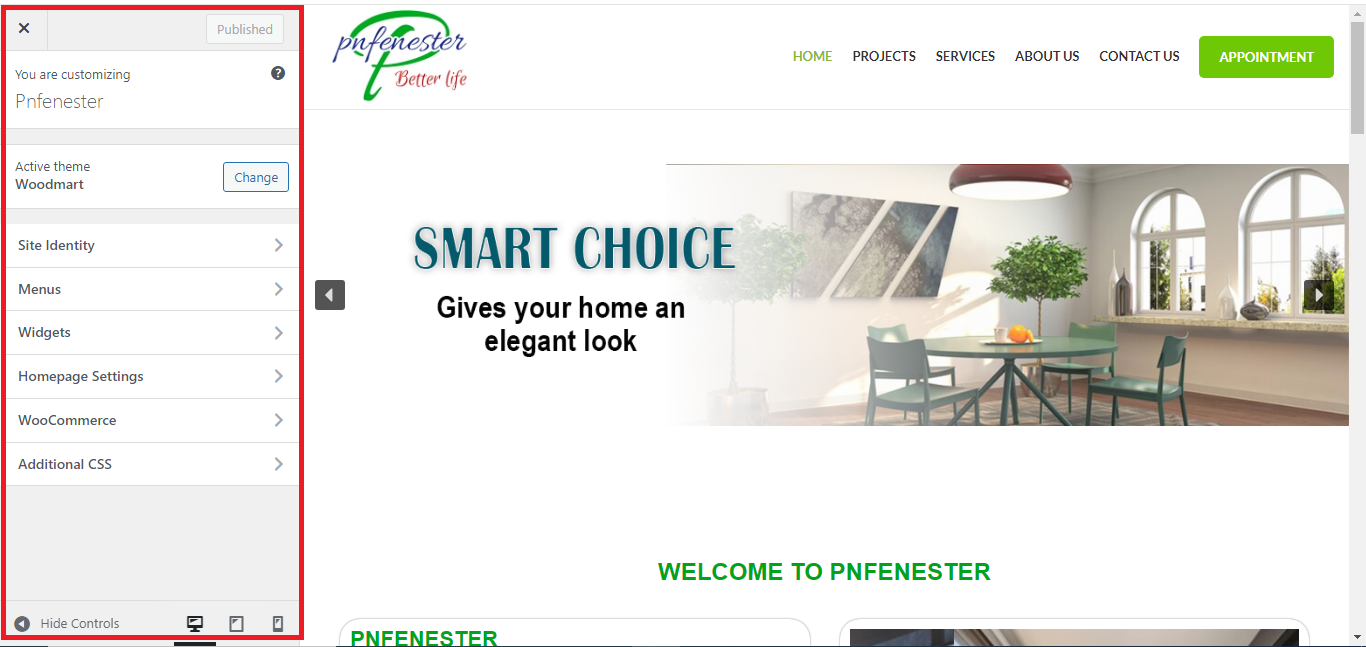
Step 10: Optimize for Mobile
- Go to Appearance > Customize to preview your site on mobile.
- Ensure your website is responsive, and adjust elements like font size and image layout for mobile users.
Step 11: Optimize for SEO
- Install the Yoast SEO plugin and configure it to optimize each page for search engines.
- Set focus keywords, meta descriptions, and SEO titles for each page.
Step 12: Set Your Homepage
- Go to Settings > Reading.
- Set the static homepage to the page you created using Elementor (e.g., “Home”).

Step 13: Preview and Publish
- Once you’re satisfied with the design, click Publish to make your site live!

With these steps, you’ll have a fully functional and attractive travel website ready to showcase your trips and services!