How to create an eCommerce Website on WordPress?

Step 1: Set Up WordPress
- Choose a hosting provider (like Bluehost, SiteGround) and register a domain.
- Install WordPress using the hosting provider’s control panel.
- Access your WordPress dashboard at
yourdomain.com/wp-admin.

Step 2: Install an eCommerce Theme
- Go to Appearance > Themes.
- Click Add New and search for an eCommerce-ready theme like:
- Astra
- OceanWP
- Storefront (WooCommerce default)
- Neve
- Install and activate the theme.

Step 3: Install WooCommerce Plugin
- Go to Plugins > Add New.
- Search for WooCommerce and click Install Now and then Activate.
- WooCommerce will guide you through a setup wizard where you:
- Enter store details: Store location, currency, and product type.
- Set up payments: Choose payment methods (PayPal, Stripe, direct bank transfer, etc.).
- Set up shipping: Add shipping zones and methods.
- Add tax details: Configure tax settings if applicable.

Step 4: Create Essential Pages
- WooCommerce automatically creates pages like:
- Shop: Displays your products.
- Cart: Shows items added to the cart.
- Checkout: Customers finalize their purchase.
- My Account: Users can manage their orders and account.

Step 5: Add Products
- Go to Products > Add New.
- Enter your product details:
- Title: Name of the product.
- Description: Detailed product description.
- Price: Regular and sale prices (if applicable).
- Product Categories: Organize products into categories (e.g., Electronics, Fashion).
- Product Image: Upload a high-quality image for the product.
- Product Gallery: Add multiple images to showcase the product from different angles.
- After adding details, click Publish.

Step 6: Set Up Product Categories
- Go to Products > Categories.
- Create categories for your products to organize them (e.g., Men’s Fashion, Electronics, etc.).
- Assign products to relevant categories when adding or editing them.

Step 7: Install Additional Plugins (Optional)
- Go to Plugins > Add New and search for plugins to enhance your store’s functionality:
- WooCommerce Product Add-Ons: Allow customers to customize their products.
- WooCommerce Subscriptions: Sell products on a subscription basis.
- Elementor: For advanced page design (drag-and-drop).
- WPForms: Create custom forms for inquiries, subscriptions, etc.

Step 8: Customize Your Website
- Go to Appearance > Customize to make adjustments to your site:
- Logo: Upload your store’s logo.
- Colors: Adjust the color scheme to match your branding.
- Typography: Change fonts and text sizes.
- Header & Footer: Customize what appears at the top and bottom of your site.

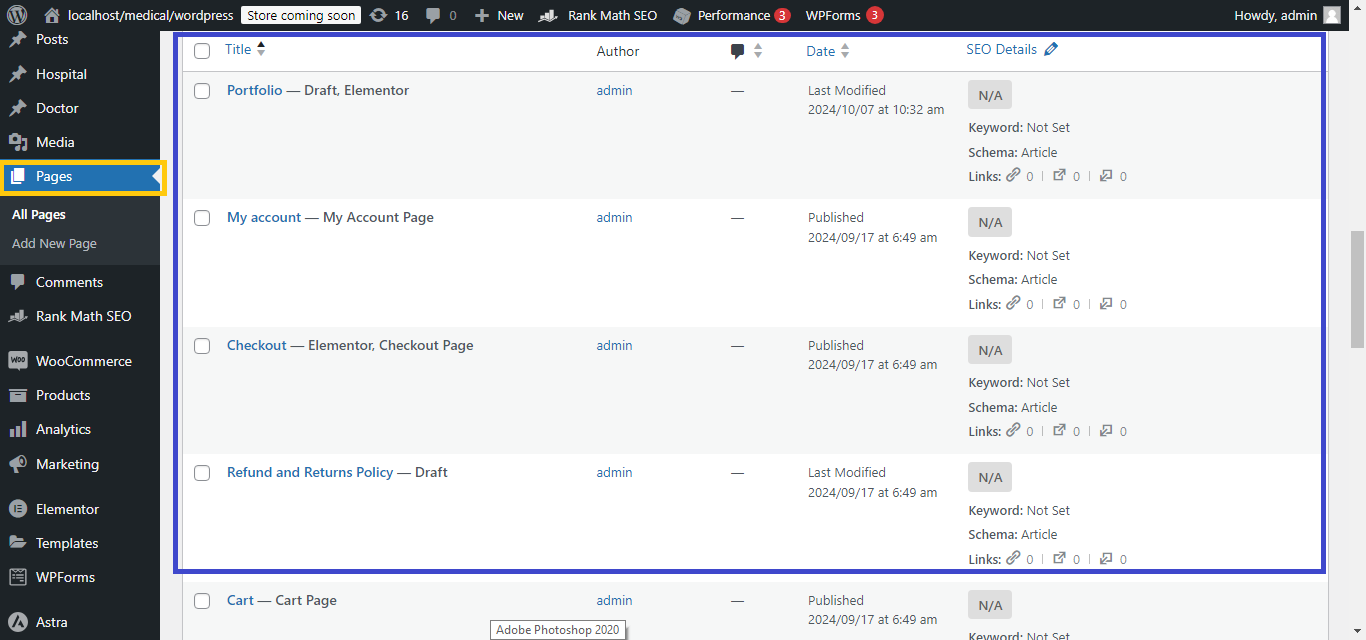
Step 9: Create Custom Pages
- Go to Pages > Add New to create custom pages like:
- About Us: Share the story behind your brand.
- Contact Us: Add a contact form using Contact Form 7 or WPForms.
- FAQ: Provide answers to common customer queries.
Step 10: Set Up Navigation Menus
- Go to Appearance > Menus.
- Create a menu with links to important pages like Shop, Cart, Checkout, and Contact Us.
- Set this menu as your Primary Menu to appear at the top of your website.

Step 11: Configure Payment Methods
- Go to WooCommerce > Settings > Payments.
- Enable and configure payment gateways like:
- PayPal
- Stripe (for credit/debit card payments)
- Bank Transfer
- Set up the necessary account details to enable payments.

Step 12: Set Up Shipping
- Go to WooCommerce > Settings > Shipping.
- Create Shipping Zones for different regions.
- Add Shipping Methods like flat rate, free shipping, or local pickup.

Step 13: Test Your Store
- Add a product to the cart and go through the checkout process to test the flow.
- Ensure that payments, shipping, and tax settings are working correctly.

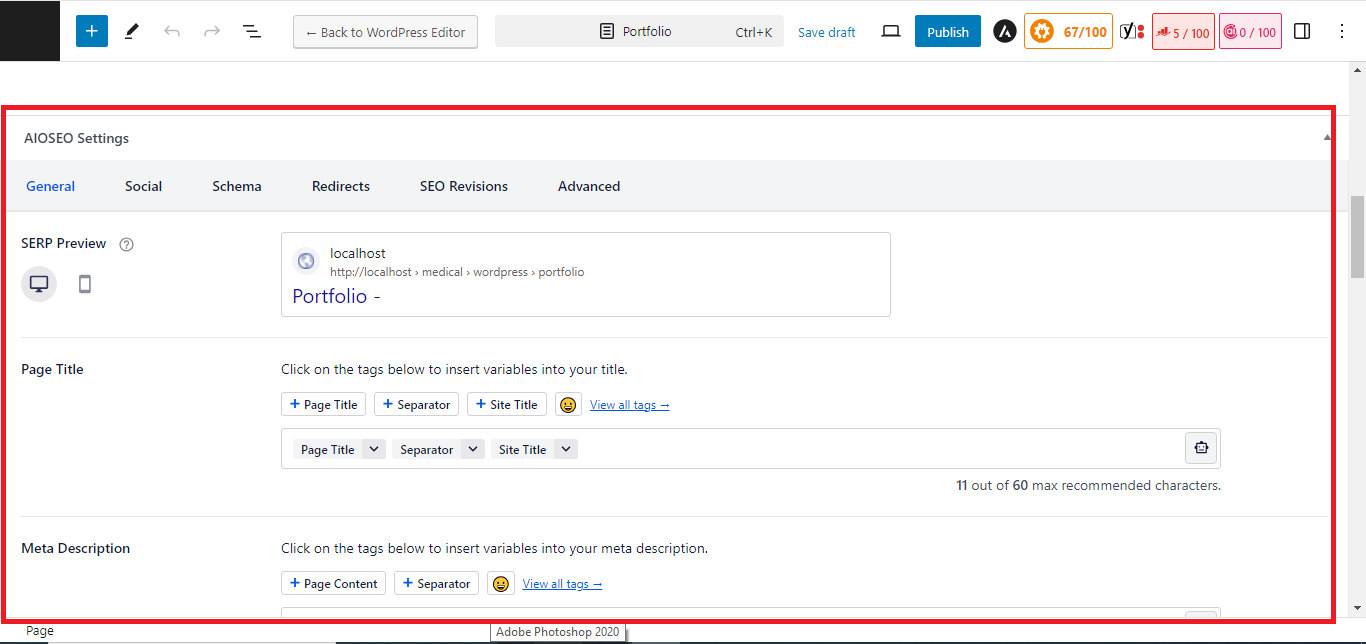
Step 14: Optimize for SEO
- Install the Yoast SEO plugin.
- Optimize each product page for search engines by adding:
- Focus keyword.
- Meta description.
- SEO-friendly URL.
Step 15: Launch Your Store
- Once everything is set up and tested, you’re ready to launch!
- Promote your store via social media, Google Ads, or email marketing to attract customers.
With these steps, you’ll have a fully functional and optimized eCommerce website ready to sell products online!