How to create a landing page?

Step 1: Install Elementor Plugin
- Go to your WordPress Dashboard.
- Navigate to Plugins > Add New.
- Search for Elementor Page Builder.
- Click Install Now and then Activate the plugin.

Step 2: Create a New Page
- Go to Pages > Add New.
- Name the page (e.g., “Landing Page”).
- On the right sidebar, set the Page Attributes > Template to Elementor Full Width (or Landing Page if available).
- Click Publish, then Edit with Elementor.
Step 3: Choose a Pre-made Template (Optional)
- Once in the Elementor editor, click the Folder icon to open the Template Library.
- Browse pre-made landing page templates and choose one by clicking Insert. This automatically loads a complete landing page design that you can customize.

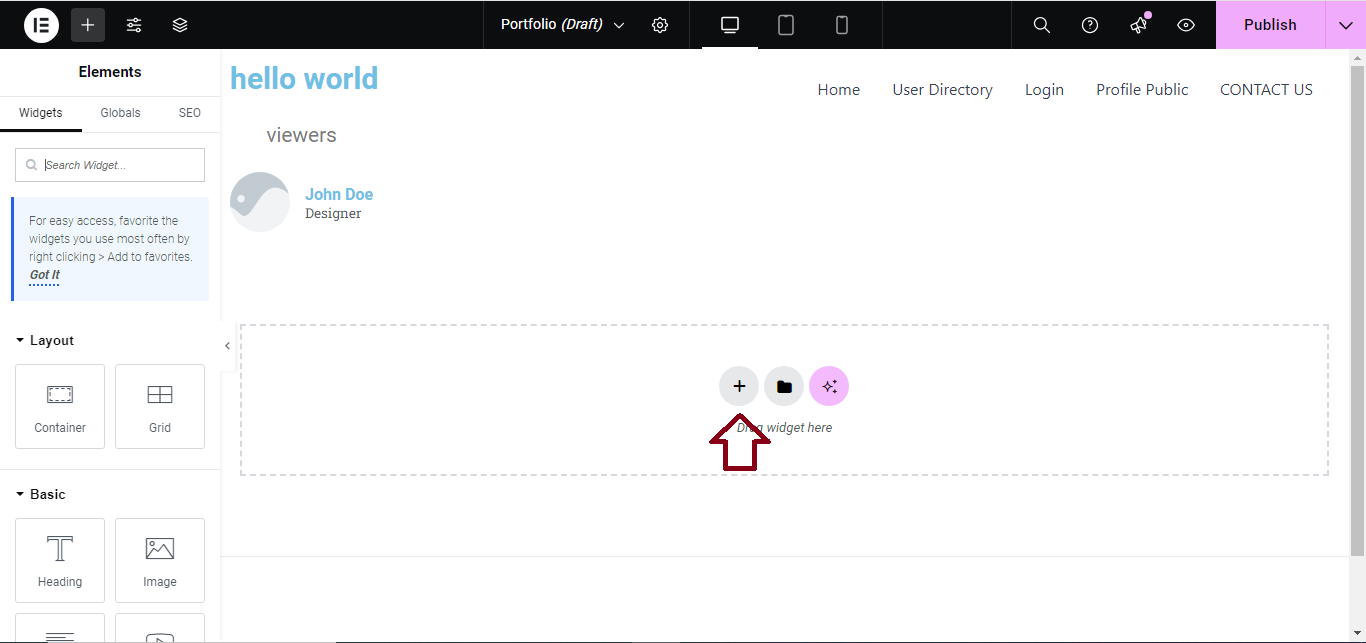
Step 4: Build Your Landing Page from Scratch (Optional)
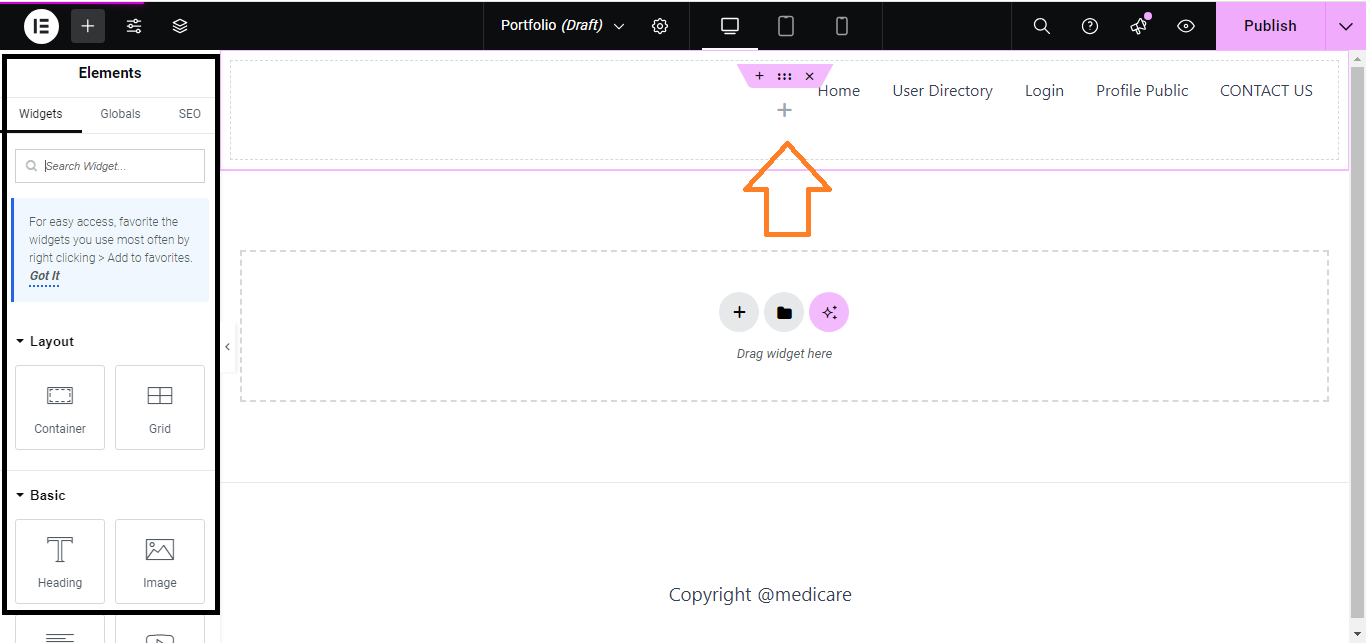
- If you want to build it from scratch, click the + icon to add a new section.
- Select the number of columns for your layout (e.g., 1 column for a simple landing page).
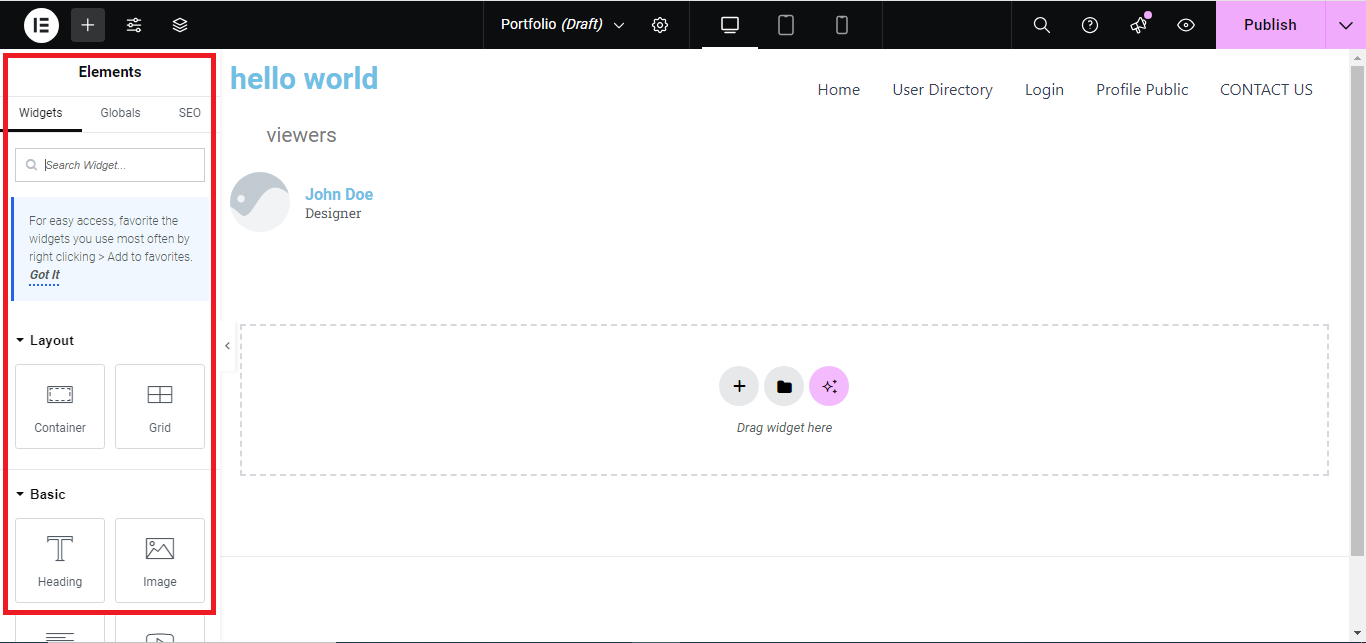
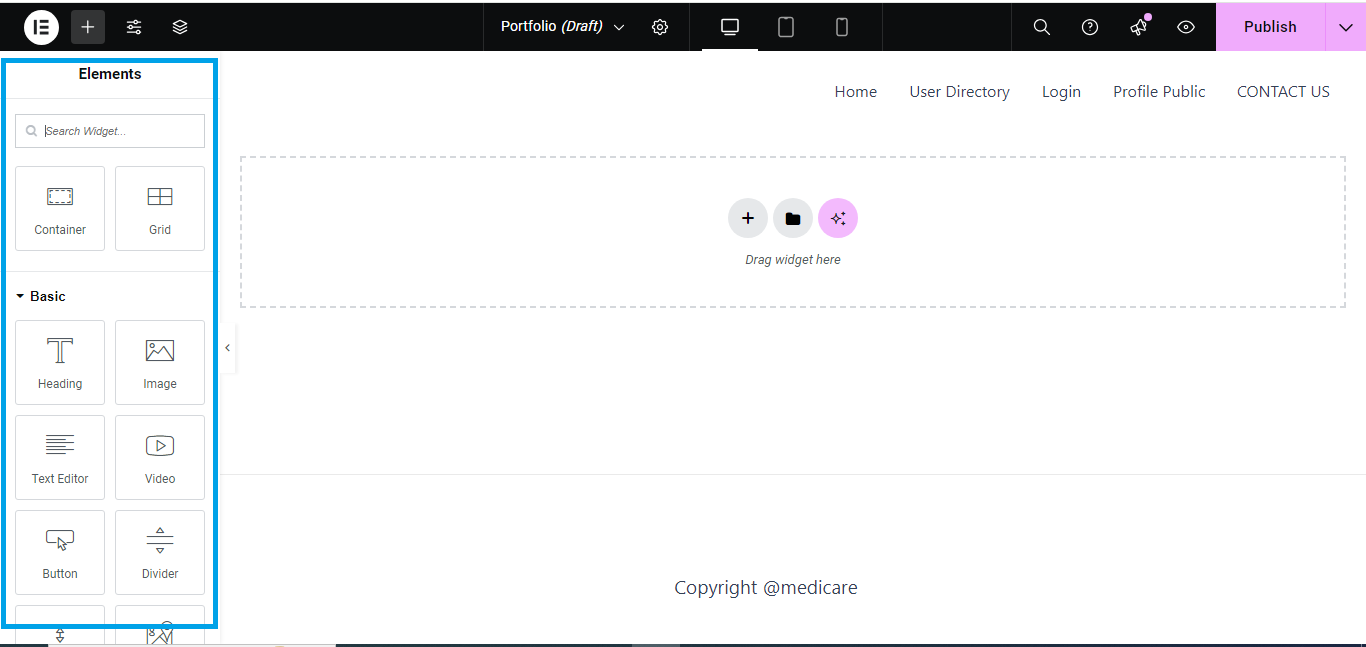
Step 5: Add Widgets and Content
- Use Elementor’s drag-and-drop functionality to add content to your landing page:
- Heading: Drag the Heading widget to add titles.
- Text Editor: Add descriptive text.
- Image: Add images to showcase your product or service.
- Button: Create call-to-action buttons (e.g., “Sign Up”, “Learn More”).
- Form: Use the Form widget (if using Elementor Pro) to capture emails or contact details.
- Video: Add a video explaining your product or service.
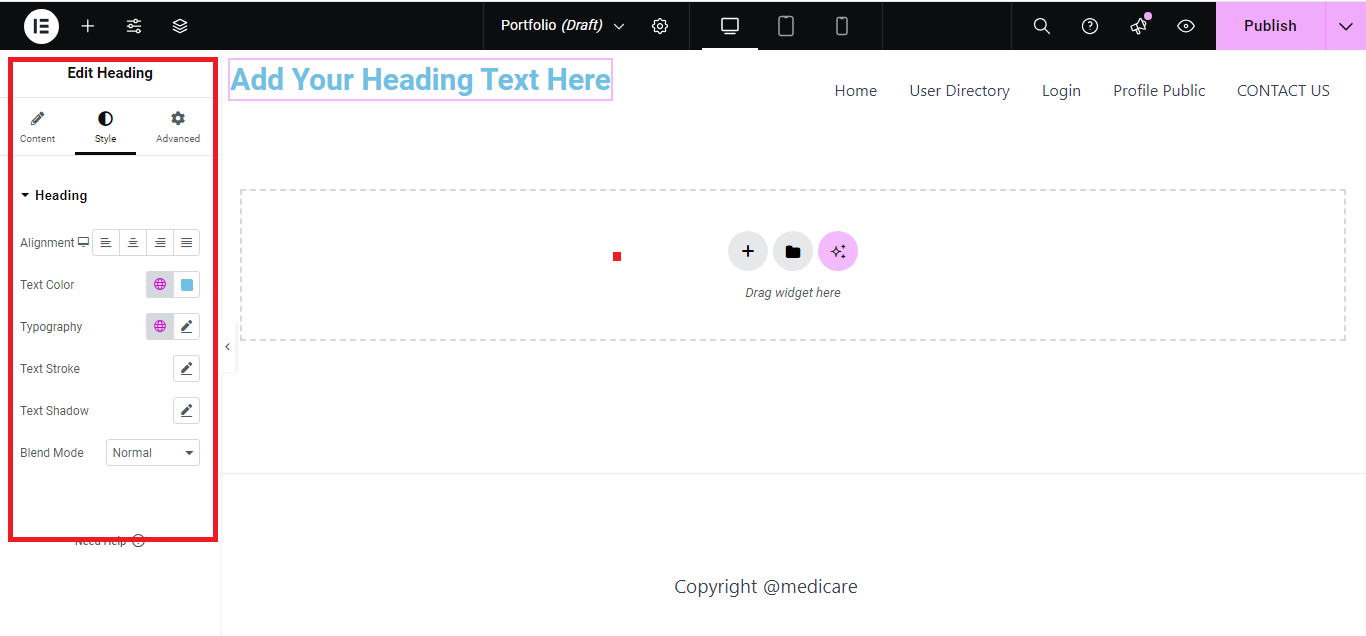
Step 6: Customize Design
- Click on any widget to customize:
- Typography: Adjust font, size, and color.
- Background: Add a background image or color to sections.
- Spacing: Adjust padding and margins for better alignment.
Step 7: Add a Call-to-Action Section
- Create a Call-to-Action (CTA) section to encourage conversions:
- Add a heading like “Get Started Now” or “Sign Up for Free.”
- Include a button leading to your sign-up form, purchase page, or another action.

Step 8: Mobile Responsiveness
- Switch to mobile view by clicking the Responsive Mode icon (bottom left).
- Adjust text size, button placement, or image visibility to ensure the landing page looks good on mobile devices.
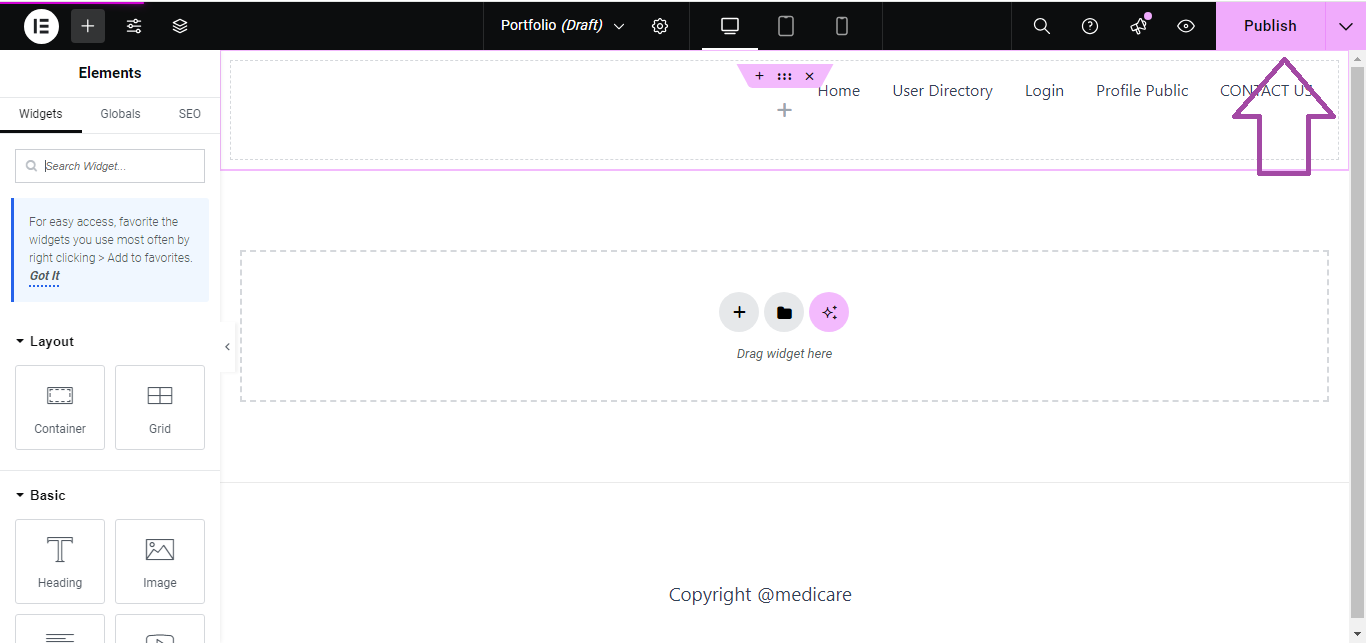
Step 9: Preview and Publish
- Click Preview (eye icon) to see how your landing page looks live.
- If everything looks good, click Publish to make your landing page live.
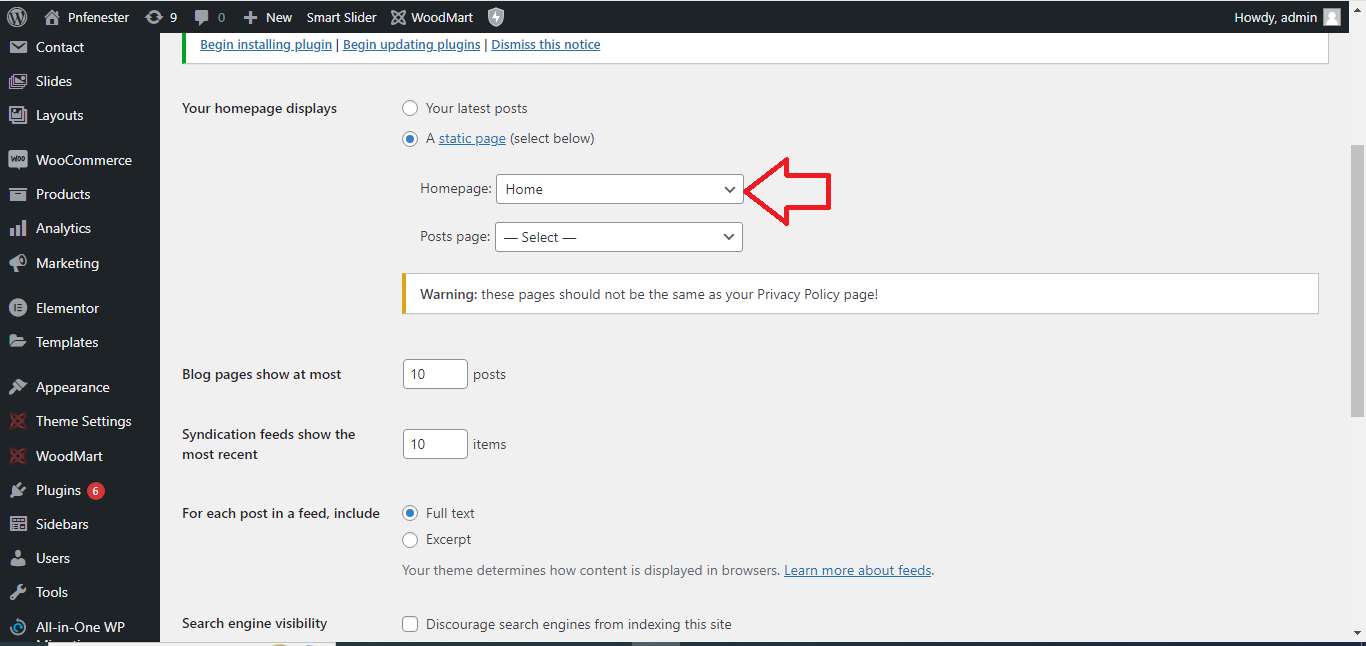
Step 10: Set the Landing Page as Your Homepage (Optional)
- Go to Settings > Reading.
- Set your Homepage to display your newly created landing page.
And you’re done! You now have a professional landing page created using Elementor.