How to design an Education website on WordPress?

Step 1: Choose a Hosting Provider & Install WordPress
- Sign up for a hosting provider (e.g., Bluehost, SiteGround).
- Install WordPress via your hosting provider’s control panel.
- Access your WordPress dashboard (usually at
yourdomain.com/wp-admin).

Step 2: Install an Education Theme
- Go to Appearance > Themes.
- Click on Add New and search for an education-related theme such as:
- Education Hub
- Neve
- Astra
- Zakra
- Eduma (premium)
- Install and activate your chosen theme.

Step 3: Install Necessary Plugins
- Go to Plugins > Add New.
- Install plugins to extend your site’s functionality, such as:
- LearnPress or Tutor LMS for online courses.
- Contact Form 7 for contact forms.
- Elementor (for easy page building and customization).
- Yoast SEO for optimizing your content for search engines.

Step 4: Create Essential Pages
- Go to Pages > Add New.
- Create important pages for your website:
- Home: Showcase your institution, courses, or educational offerings.
- About: Provide background information about your institution or platform.
- Courses: List the courses you offer.
- Contact: Include your contact details and a form for inquiries.
- Blog: Share educational content, tips, or news.
- Admissions/Apply: A page for students to apply or learn about the process.

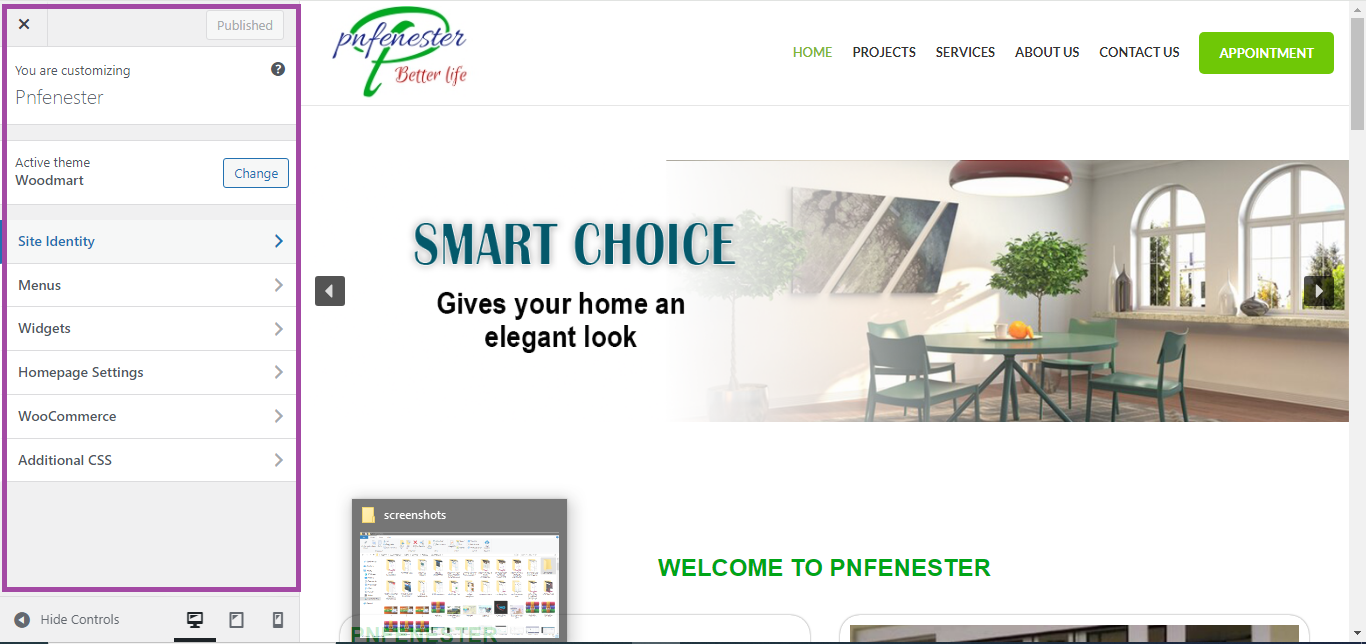
Step 5: Customize Your Website
- Go to Appearance > Customize to adjust your website’s appearance:
- Logo and Branding: Upload your logo and change the site’s colors and fonts to match your branding.
- Header: Adjust the header with menus, call-to-action buttons, and contact details.
- Footer: Add social media links, contact information, and other relevant links in the footer.
Step 6: Set Up Course Pages (Using LearnPress/Tutor LMS)
- Install and activate a plugin like LearnPress or Tutor LMS from Plugins > Add New.
- After activation, follow the setup guide to create course pages.

- Go to LearnPress or Tutor LMS in the dashboard and:
- Add a New Course: Include a title, description, price (if applicable), and other details.
- Add lessons, quizzes, and course materials to create a full educational experience.
- Publish the course once ready.

Step 7: Add a Contact Form
- Go to Contact > Add New if you installed Contact Form 7.
- Create a simple contact form and copy the shortcode.
- Add the shortcode to your Contact Page to display the form.

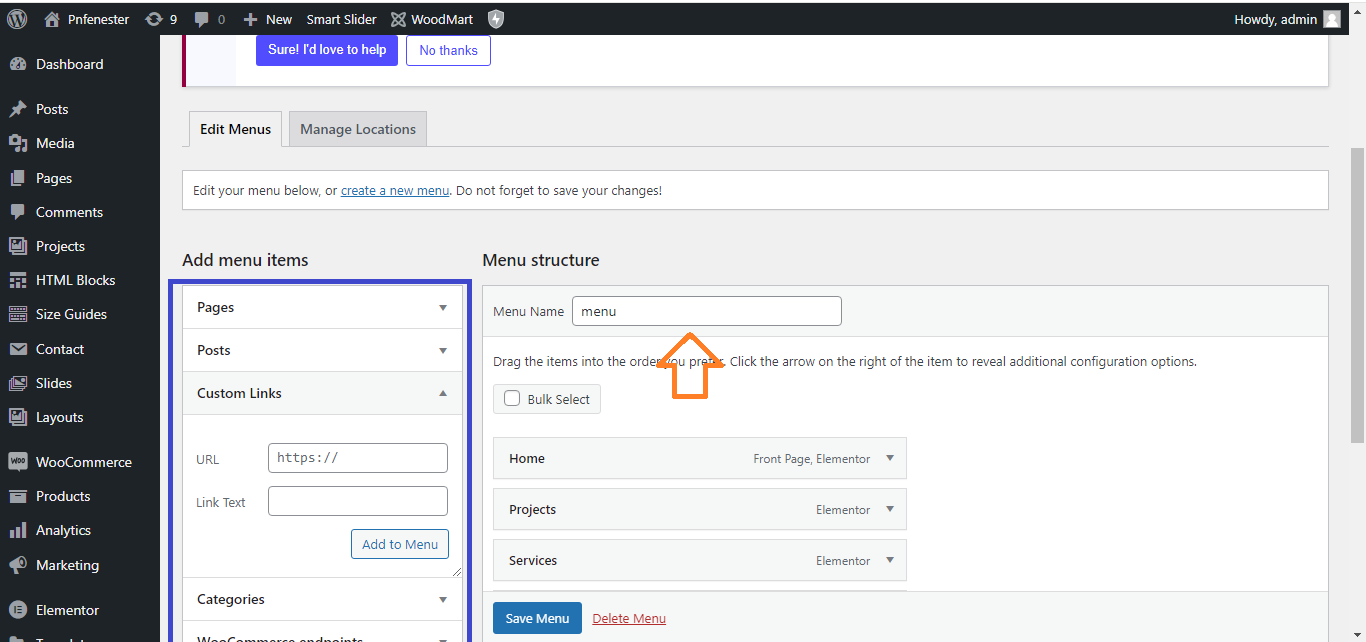
Step 8: Create Menus
- Go to Appearance > Menus.
- Create a menu with links to the most important pages like Home, Courses, About, Contact, and Blog.
- Set the menu as the Primary Menu for easy navigation.
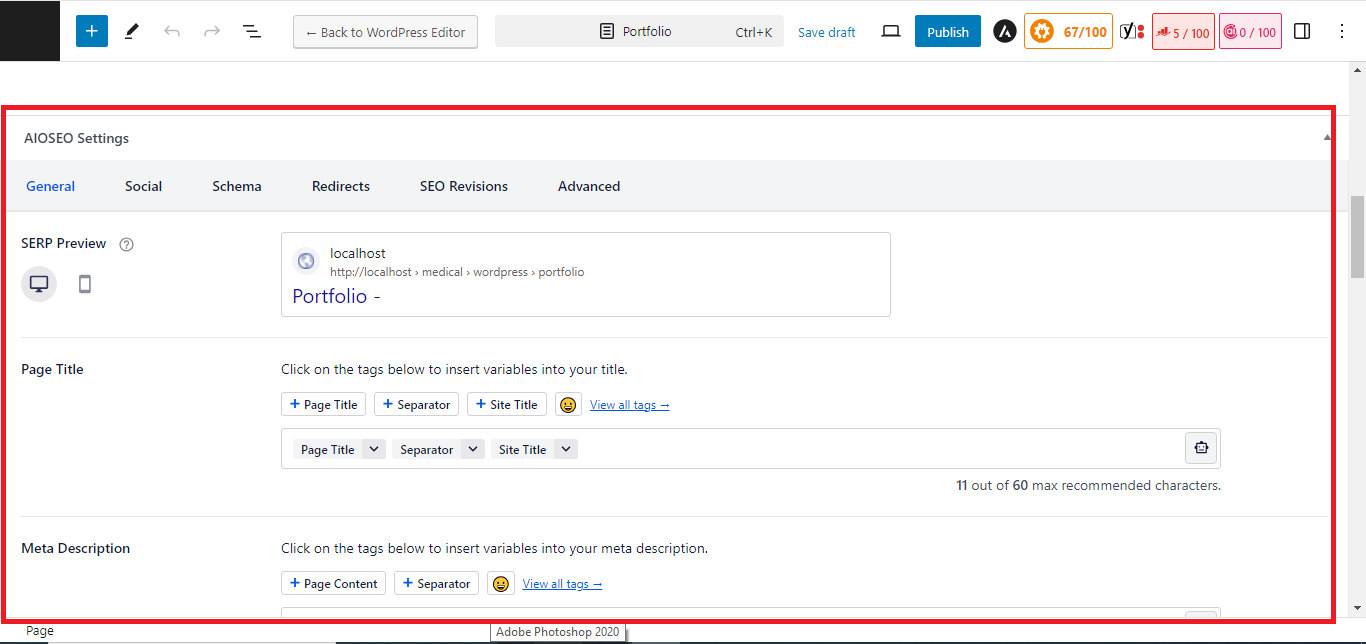
Step 9: Optimize for SEO
- Install the Yoast SEO plugin.
- Edit each page’s SEO settings:
- Add a focus keyword.
- Write an SEO title and meta description.
- Optimize content readability with the Yoast SEO recommendations.
Step 10: Make Your Website Mobile-Responsive
- Go to Appearance > Customize and preview the site in Responsive Mode (mobile view).
- Adjust font sizes, images, and buttons to ensure they display properly on mobile devices.

Step 11: Preview and Launch Your Website
- Preview your website to make sure everything looks good and functions properly.
- Once satisfied, click Publish to make your site live!

With these steps, you’ll have a functional and professional education website ready in no time.