Add Google Maps in WordPress

Step 1: Open the Page with Elementor
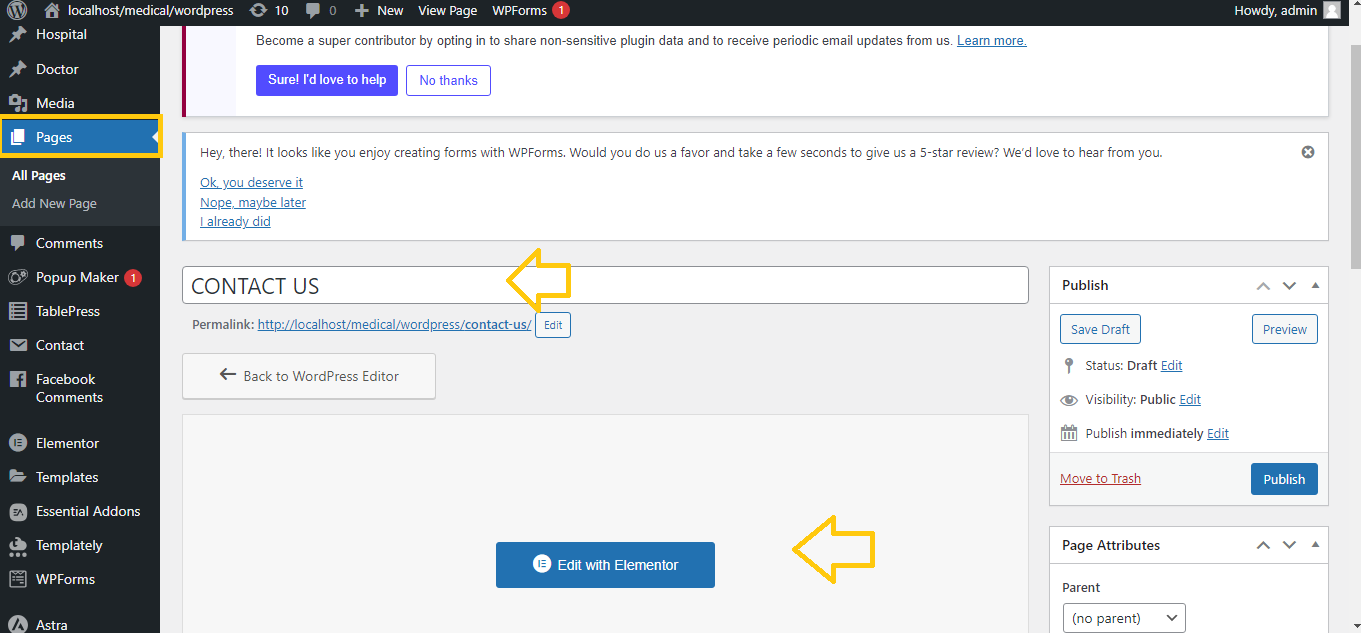
- Log in to your WordPress Dashboard.
- Go to Pages > Select the page you want to edit (or create a new page).
- Click Edit with Elementor to open the Elementor editor.
Step 2: Add the Google Maps Widget
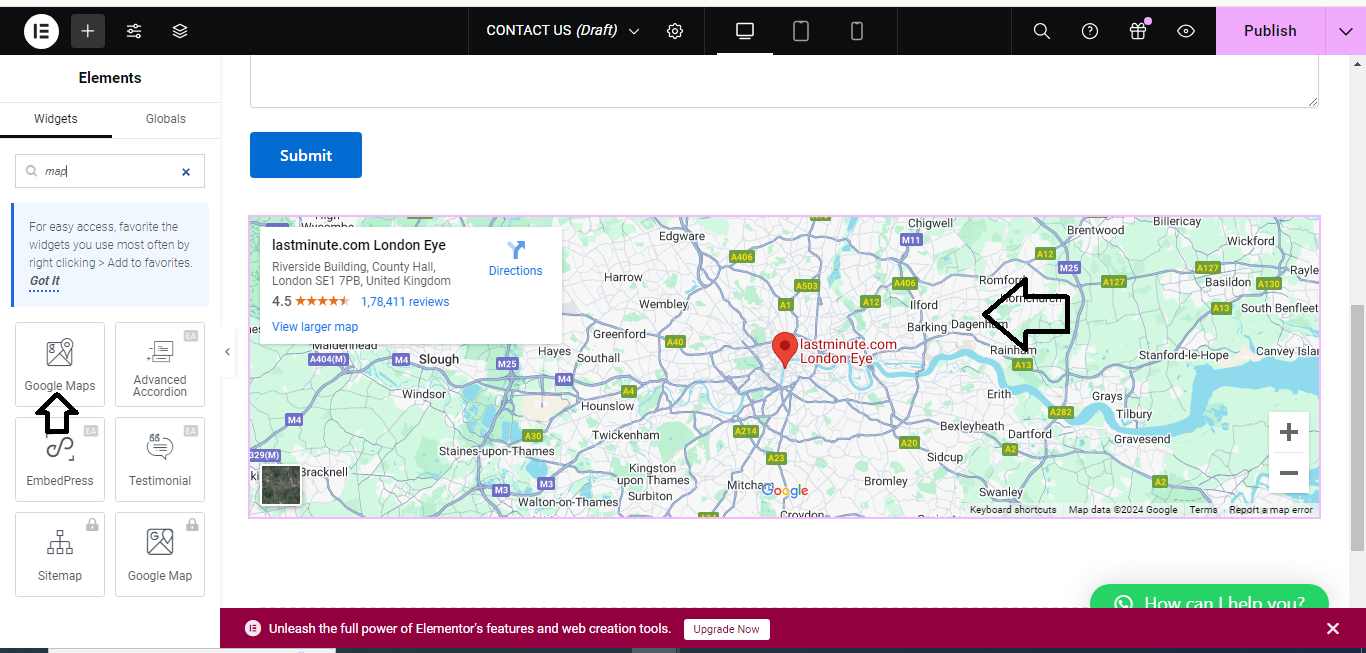
- In the Elementor panel on the left, search for Google Maps in the widget search bar.
- Drag and drop the Google Maps widget to the section where you want to display the map.
Step 3: Configure the Map Location
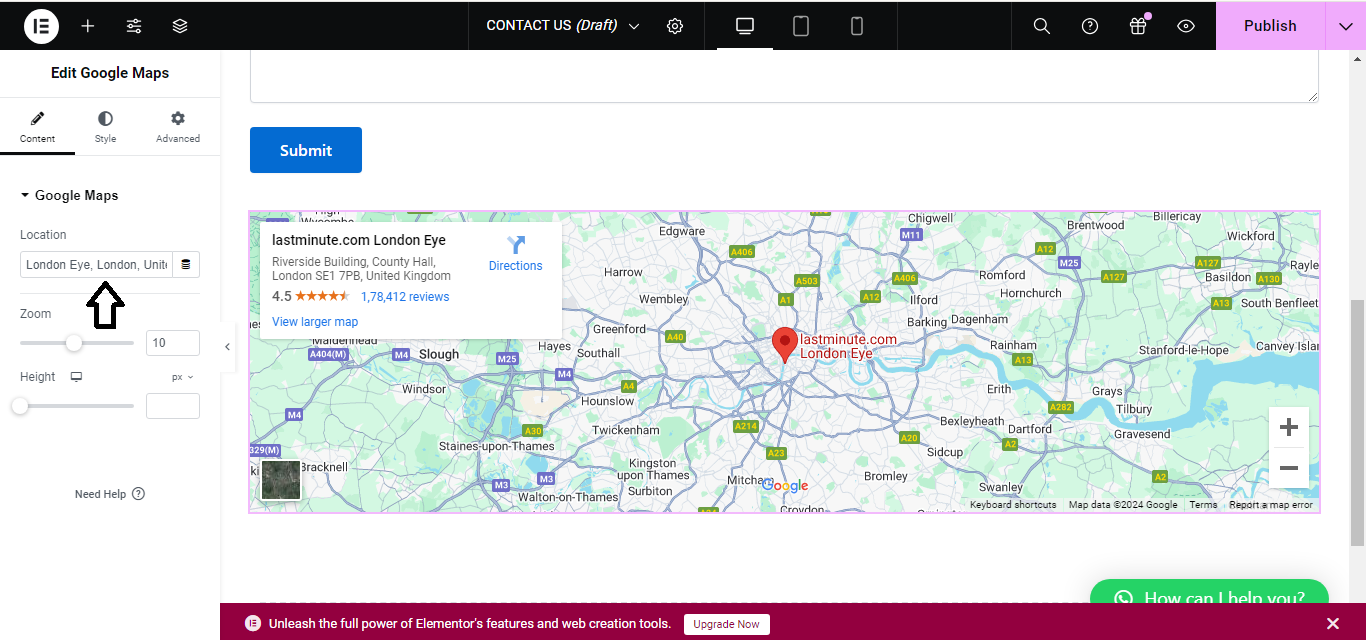
- Once the Google Maps widget is added, you’ll see a Location field in the settings.
- Enter the address or location you want to display on the map.
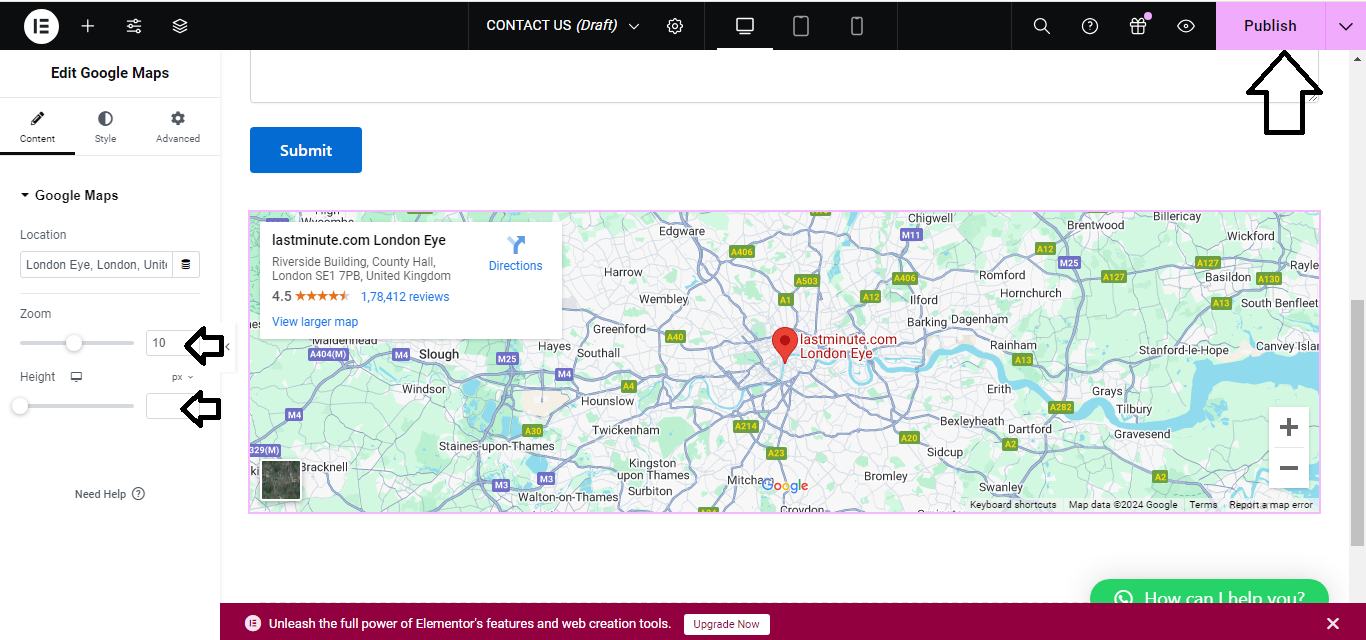
Step 4: Adjust Map Settings (Optional)
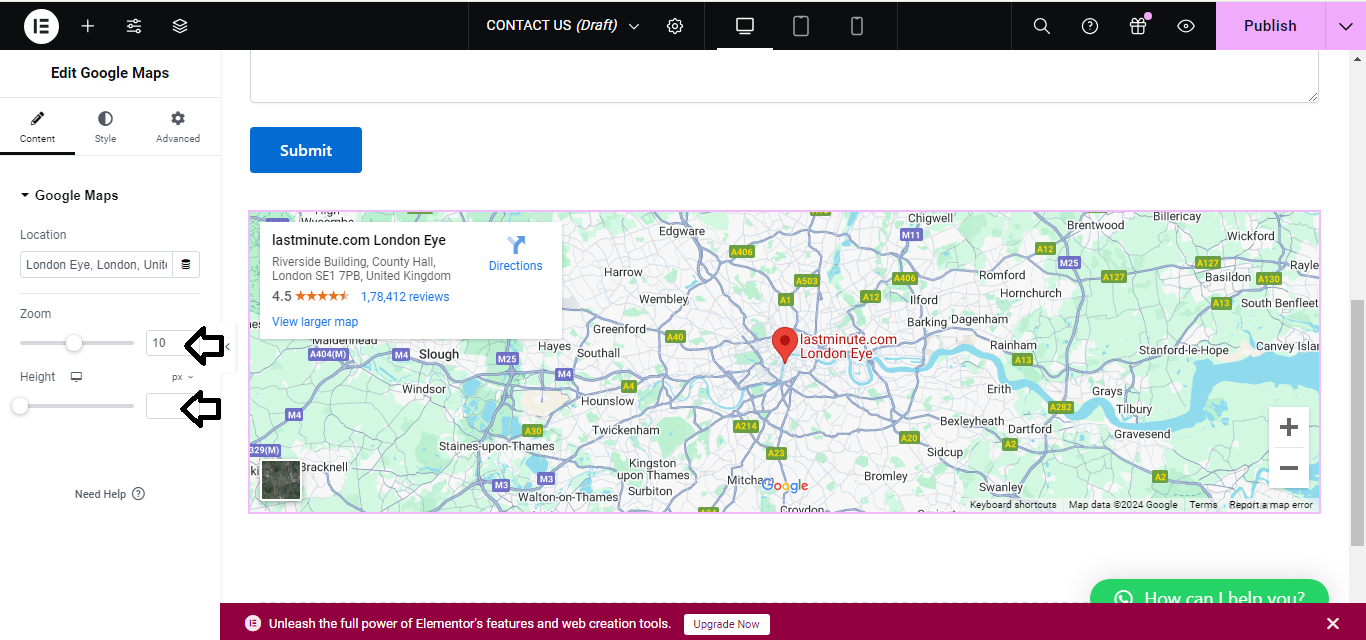
- You can adjust the Zoom Level to control how zoomed in the map appears.
- Customize other settings like map height, width, or style based on your preferences.
Step 5: Publish or Update the Page
- After configuring the map, click the Update button to save changes.
- If it’s a new page, click Publish to make the map live on your website.
Step 6: Test the Map
- Visit the page on your website to confirm that the Google Map is displaying correctly.
That’s it! You’ve successfully added Google Maps using Elementor.


