Adding Dividers

Steps to Add Dividers in Elementor:
- Open Elementor Editor:
- In your WordPress dashboard, go to Pages or Posts and select the one you want to edit.
- Click Edit with Elementor.

- Add a New Section (Optional):
- Click the + icon to create a new section or use an existing one where you want to place the divider.

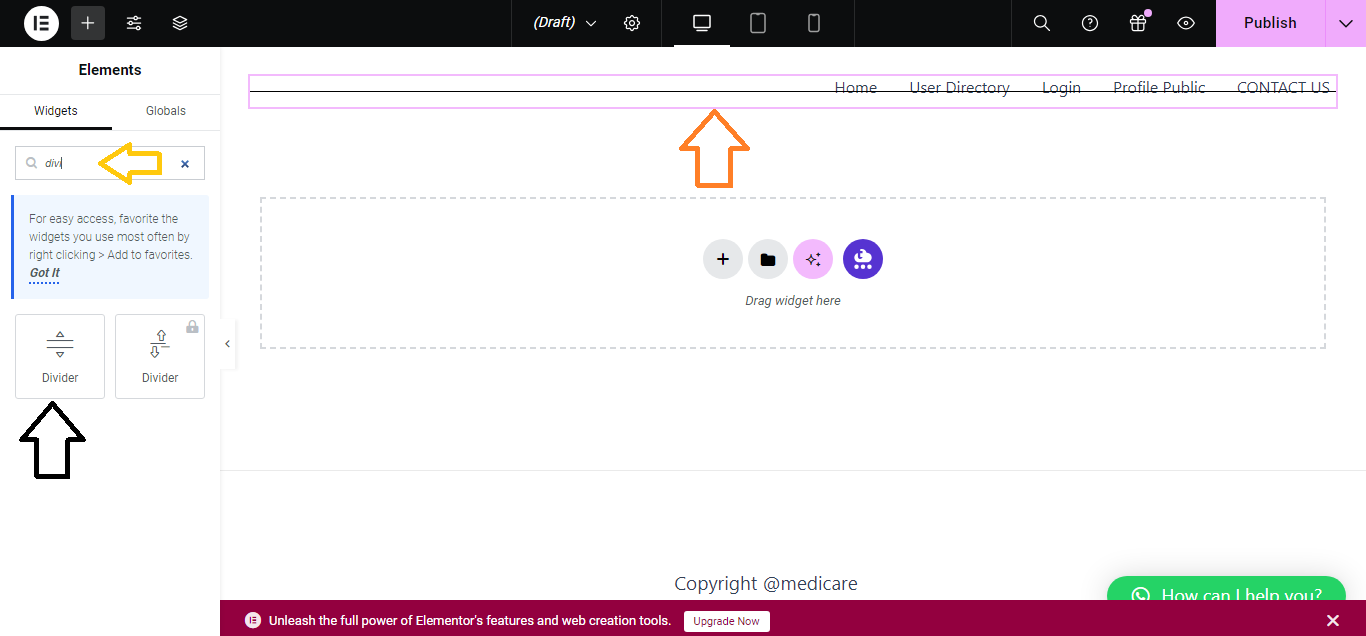
- Drag and Drop the Divider Widget:
- On the Elementor sidebar, search for Divider in the widget panel.
- Drag the Divider widget and drop it into your desired location within the section.
- Customize Divider Style:
- In the Content tab, you can set:
- Style: Choose between solid, double, dashed, or dotted lines.
- Width: Adjust the length of the divider.
- Alignment: Position the divider left, center, or right.
- In the Content tab, you can set:

- Style the Divider:
- Switch to the Style tab to further customize the divider:
- Color: Choose the color of the line.
- Weight: Adjust the thickness of the divider.
- Gap: Set the spacing between the divider and the content around it.
- Switch to the Style tab to further customize the divider:

- Advanced Settings (Optional):
- You can add margins, padding, or motion effects by using the Advanced tab.

- Publish the Page:
- Once your divider is set up, click Update/Publish to save your changes.

That’s it! You’ve successfully added a divider using Elementor.


