WooCommerce Settings

To configure WooCommerce settings and use Elementor for designing your WooCommerce pages, follow these simple steps:
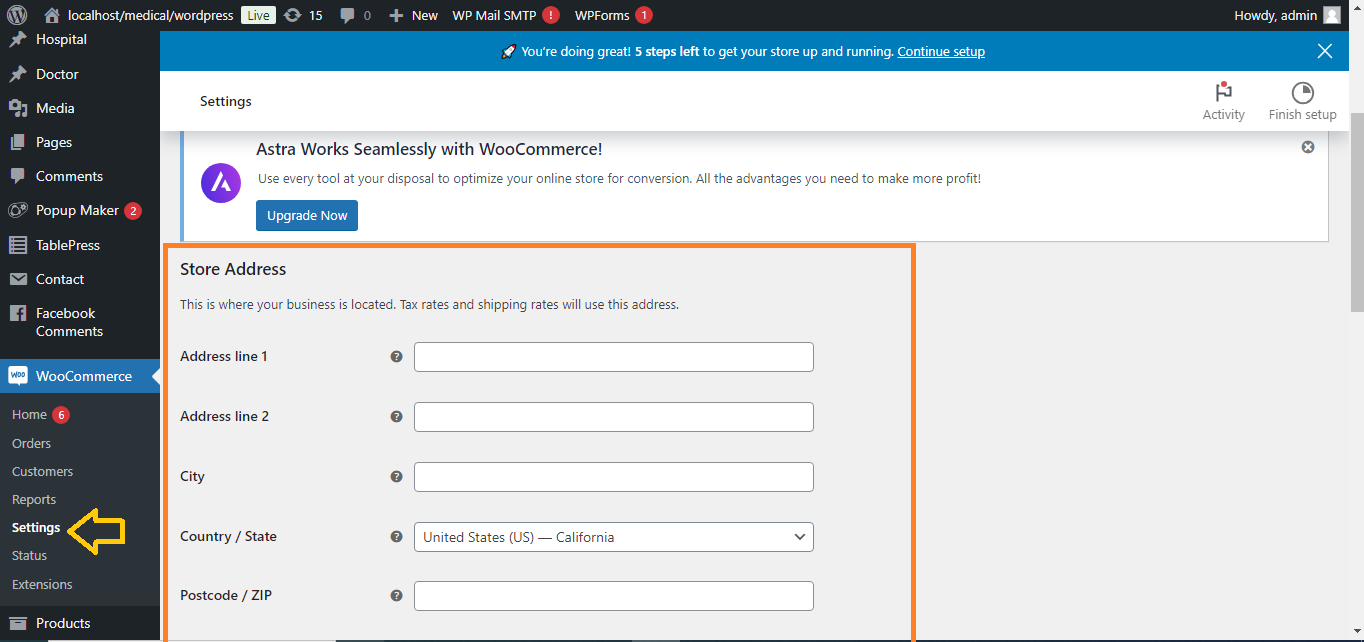
1. Access WooCommerce Settings:
- In your WordPress dashboard, go to WooCommerce > Settings.
- Configure basic settings like Store Address, Currency Options, Tax, and Shipping.
2. Enable WooCommerce Pages:
- Go to WooCommerce > Status > Tools and click on Create default WooCommerce pages if they aren’t already set up. This will generate essential pages like Shop, Cart, and Checkout.

3. Install Elementor & Elementor Pro:
- Install the Elementor and Elementor Pro plugins if you haven’t already.
- Elementor Pro gives access to WooCommerce widgets that allow you to design product pages and other WooCommerce elements.

4. Design WooCommerce Pages with Elementor:
- Go to Templates > Theme Builder in the Elementor menu to start designing WooCommerce pages like the Shop page, Single Product page, and Checkout page.

5. Create a Product Archive Page (Shop Page):
- In Elementor > Templates > Add New, select Product Archive as the type of template.

- Use Elementor’s WooCommerce widgets (e.g., Product Grid, Categories, Filters) to design your Shop page.
- Publish the template and assign it as your default Shop page.

6. Customize Product Pages:
- In the Theme Builder, create a new Single Product template.
- Use Elementor’s Product Title, Product Image, Add to Cart Button, and other WooCommerce widgets to design the layout of your product page.
- Publish and set it to apply to all products or specific categories.

7. Customize Cart and Checkout Pages:
- For the Cart and Checkout pages, you can either use WooCommerce’s default pages or create custom designs with Elementor:
- Go to Templates > Add New, select Cart or Checkout, and design using Elementor’s WooCommerce widgets.
- Publish the templates and assign them to your Cart or Checkout pages.

8. Use Elementor’s WooCommerce Widgets:
- Elementor offers various WooCommerce widgets for customizing your pages:
- Product Grid, Product Categories, Add to Cart Button, Product Price, Product Rating, Cart Table, Checkout Form, and more.
- You can drag these widgets onto any page and customize them to fit your design.

9. Save and Publish:
- After customizing your WooCommerce pages with Elementor, click Publish to make them live.
- Elementor will allow you to design visually appealing WooCommerce pages without needing code.

Now, your WooCommerce settings and pages are integrated with Elementor, allowing for flexible design and ease of use!


