Install and Setup Woocommerce Plugin

Here’s a simple step-by-step guide to install and set up the WooCommerce plugin on your WordPress site:
1. Log into WordPress Dashboard
- Go to your WordPress admin panel by visiting
yourdomain.com/wp-admin. - Enter your login credentials.

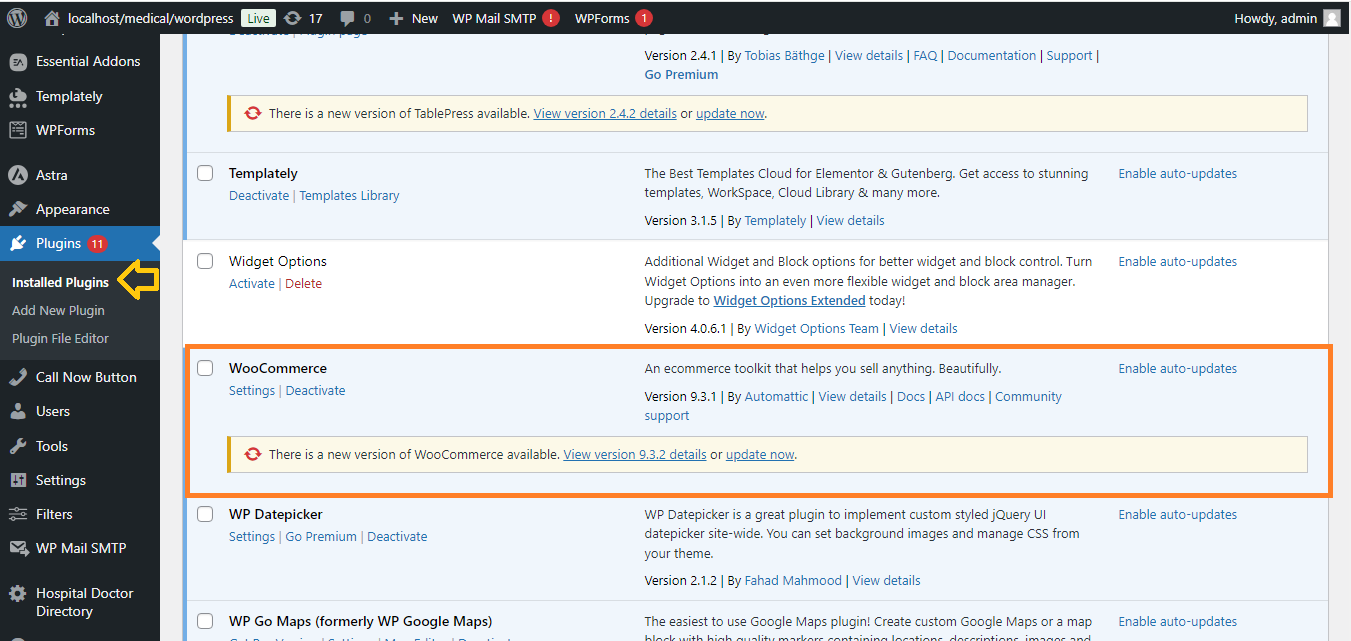
2. Install WooCommerce Plugin
- From the WordPress dashboard, go to Plugins > Add New.
- In the search bar, type “WooCommerce.”
- Click Install Now next to the WooCommerce plugin by Automattic.
- After installation, click Activate.
3. WooCommerce Setup Wizard
- After activation, WooCommerce will prompt you to go through the setup wizard.
- Click Yes please! to start the setup.

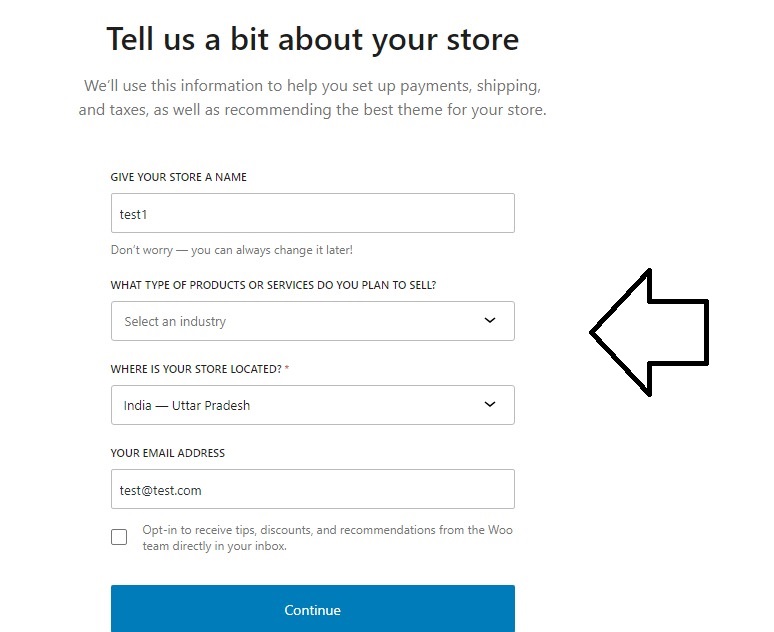
4. Store Setup
- Fill in your store details: country, address, currency, and the types of products you want to sell (physical or digital).
- Click Continue.
5. Payment Setup
- Choose the payment methods (PayPal, Stripe, etc.) you want to accept.
- You can enable/disable methods and set them up later if needed.
- Click Continue.

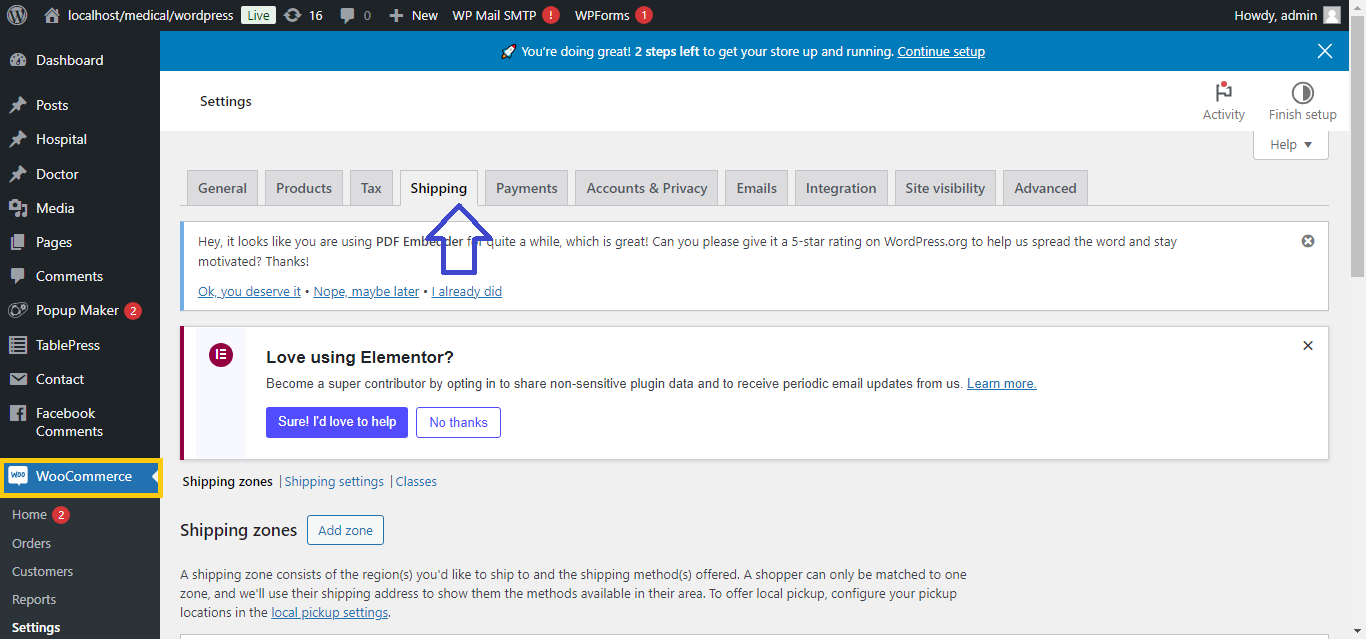
6. Shipping Setup
- Set your shipping zones, methods, and rates (e.g., free shipping, flat rate).
- Click Continue.
7. Additional Plugins
- WooCommerce may suggest additional plugins, like Mailchimp or Facebook integration.
- You can skip this for now or install if needed.
- Click Continue.

8. Activate WooCommerce Features
- Choose whether to enable automatic taxes, recommended by WooCommerce.
- Click Continue.

9. Finish Setup
- WooCommerce will ask if you want to install Jetpack (optional).
- After completing the setup wizard, your WooCommerce store will be ready.

10. Add Products
- Go to Products > Add New to start adding products to your store.

Now, your WooCommerce plugin is installed and set up!


