Smush – Lazy Load Images, Optimize and Compress Images
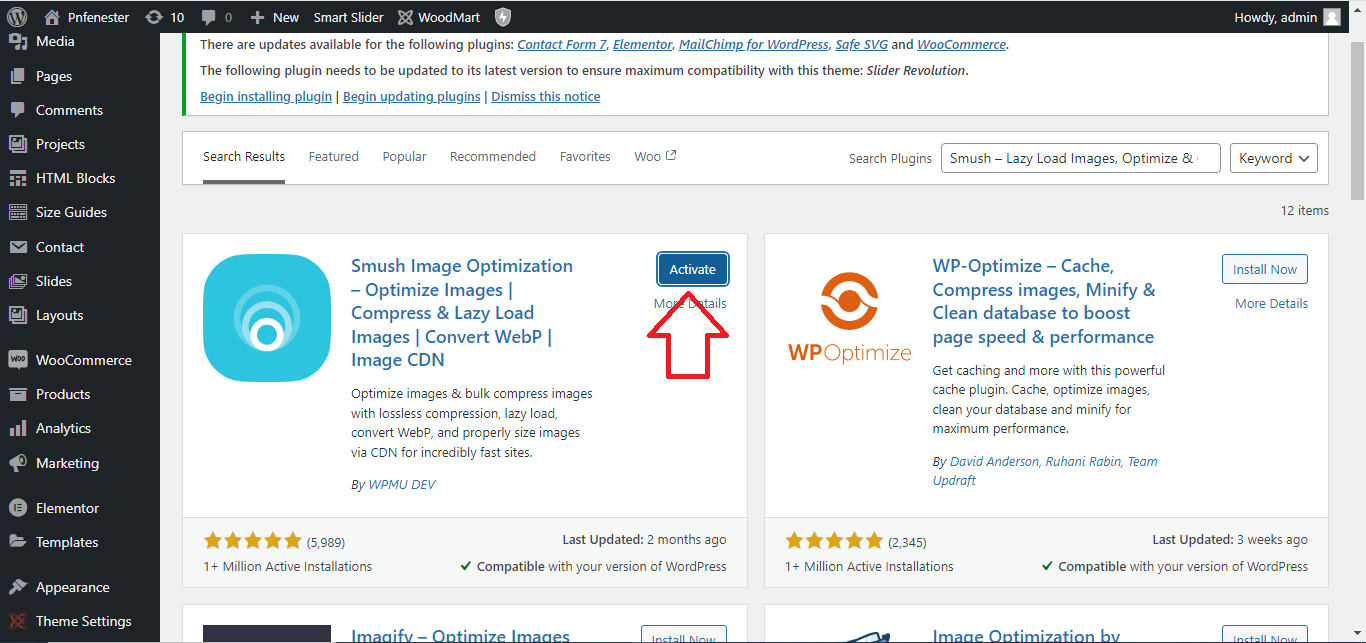
1. Install the Plugin
- Go to your WordPress Dashboard.
- Navigate to Plugins > Add New.
- In the search bar, type “Smush“.
- Find Smush – Lazy Load Images, Optimize & Compress Images and click Install Now.
- After installation, click Activate.
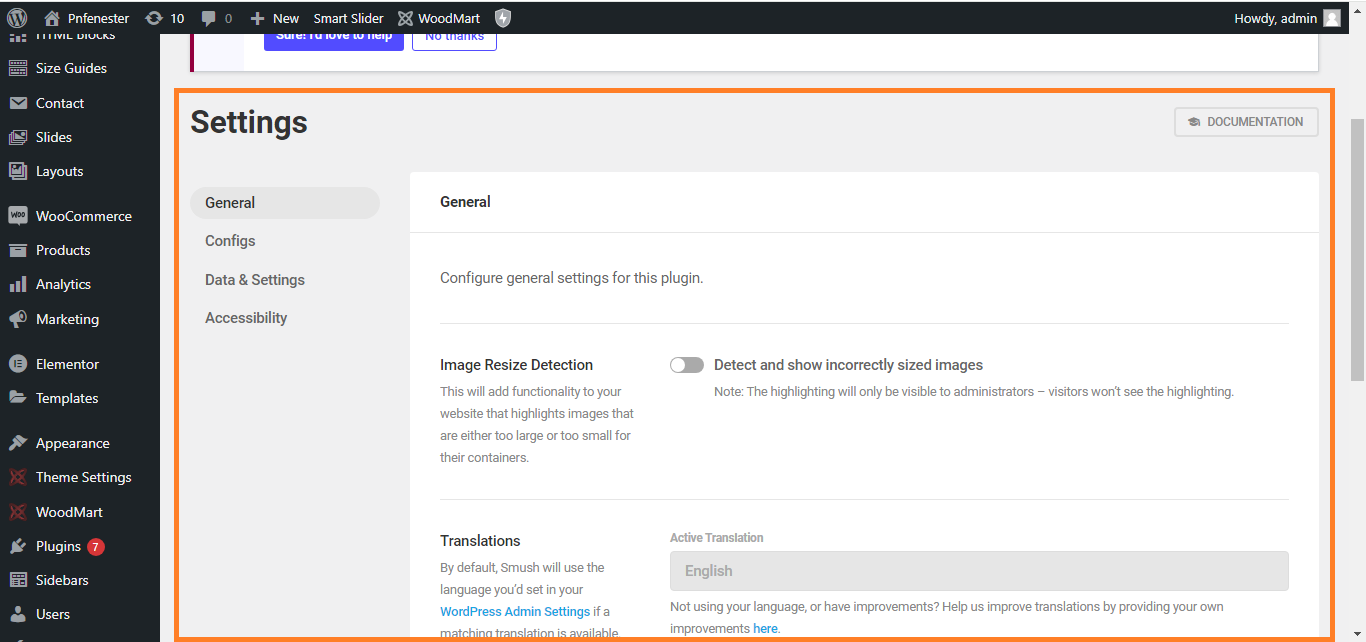
2. Configure Smush Settings
- After activation, you’ll be redirected to the Smush Dashboard.
- If not, go to Dashboard > Smush.
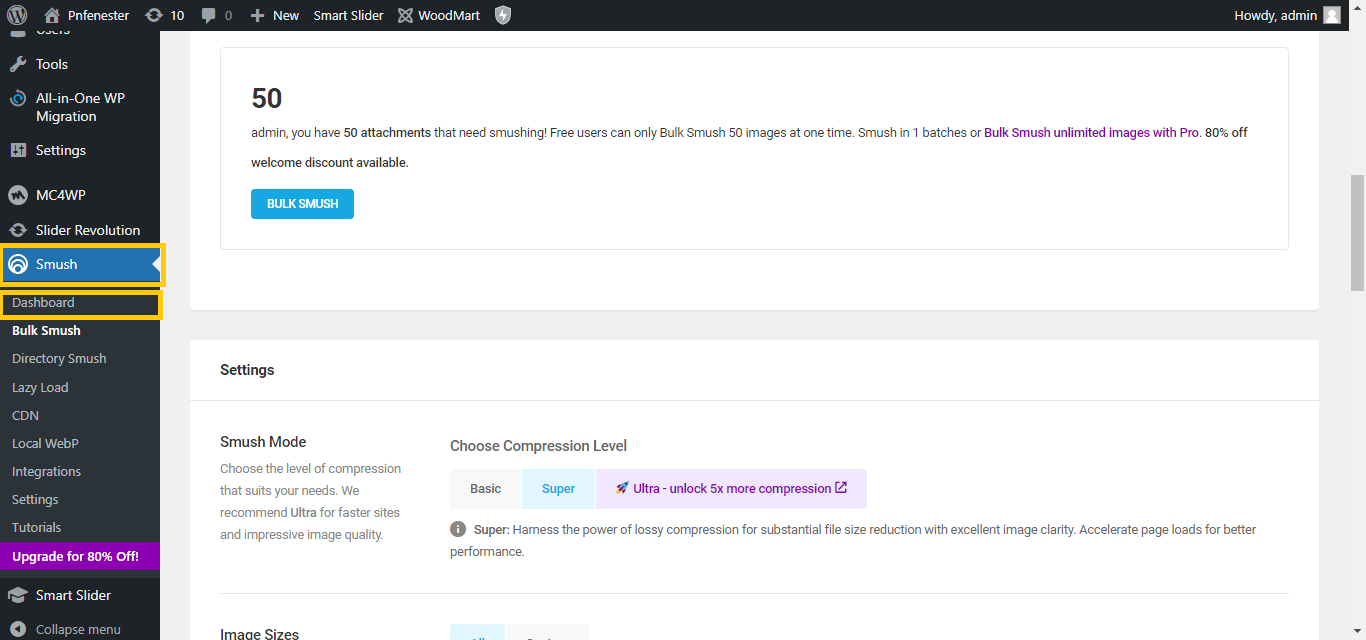
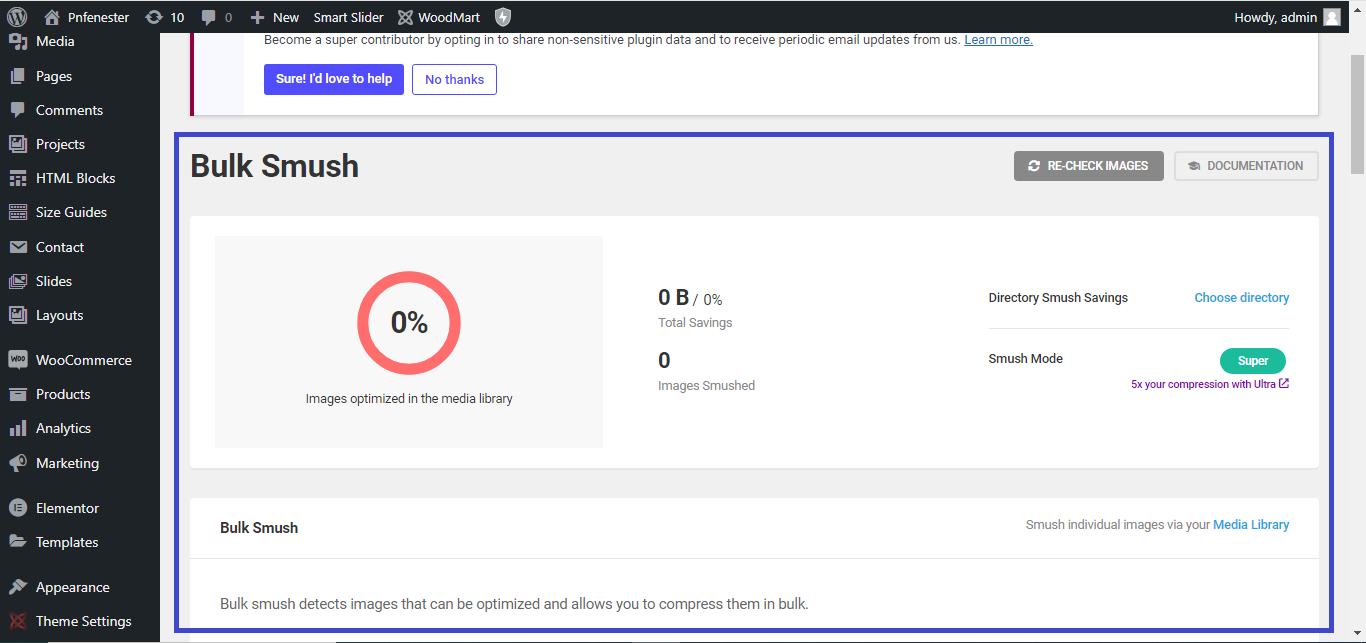
3. Bulk Image Optimization
- On the Smush Dashboard, you’ll see an option to Bulk Smush Now.
- Click on it to optimize all your existing images in one go.
- Smush will automatically compress your images without loss of quality.
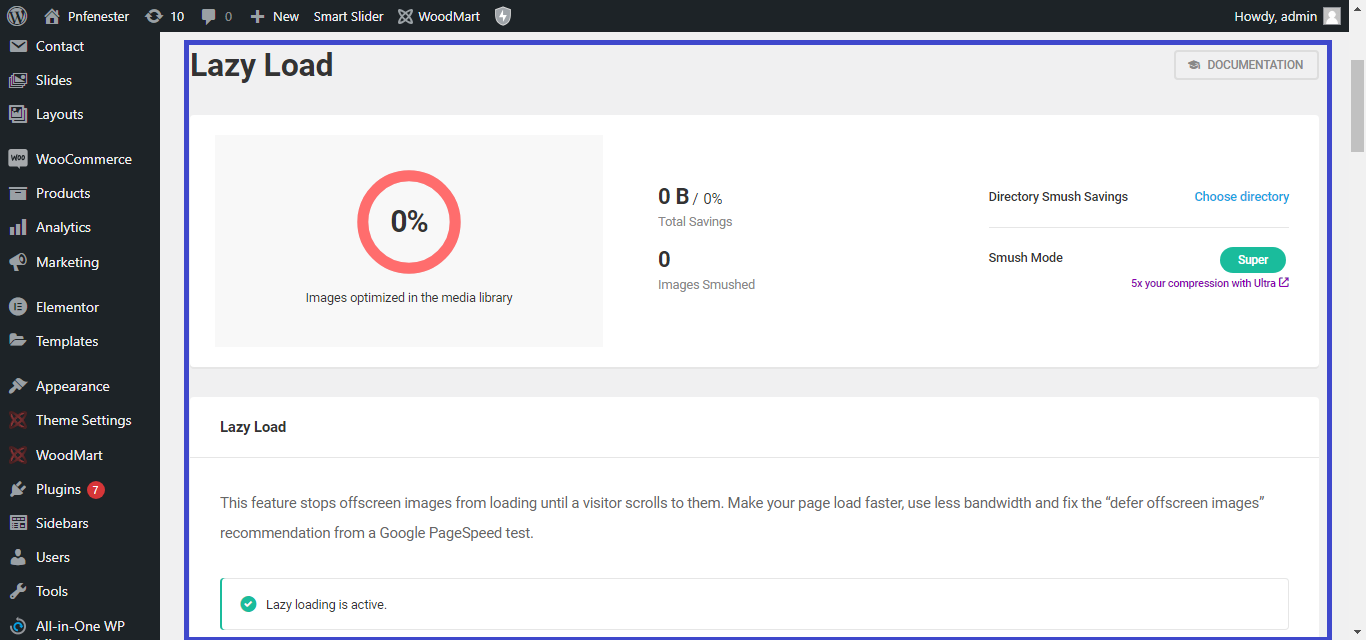
4. Enable Lazy Loading
- Go to the Lazy Load section under Smush in the Dashboard.
- Toggle the Enable Lazy Loading option to on. This will help your website load images only when they come into view, improving load speed.
5. Auto-Optimize New Images
- In the Smush settings, make sure the Automatically Smush my images on upload option is turned on.
- This will optimize any new images you upload to your Media Library without needing manual action.
6. Check Image Compression Results
- Once optimization is complete, you can check the file sizes in the Media Library. Smush will show you how much each image has been compressed.
With these steps, your images will be optimized, and lazy loading will enhance your website’s performance!


