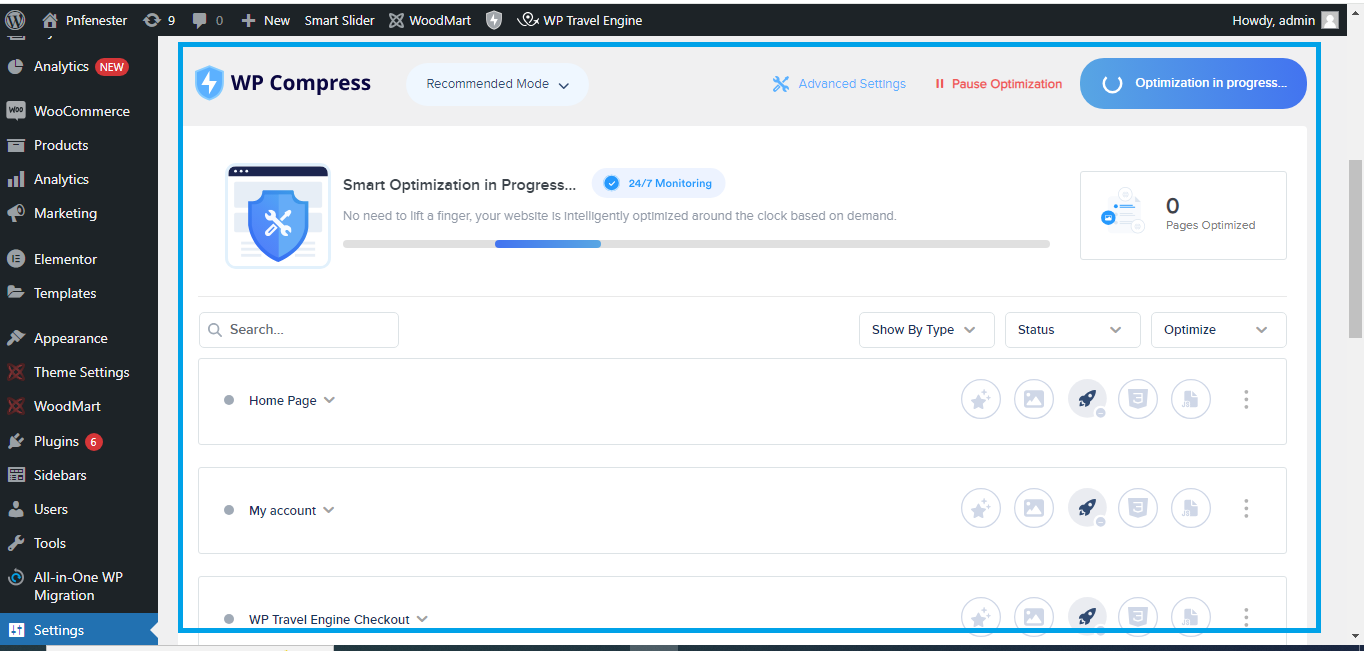
WP Compress– Image Optimizer [All-In-One]
![WP Compress– Image Optimizer [All-In-One]](https://startechnology.in/wp-content/uploads/2024/10/5-1.png)
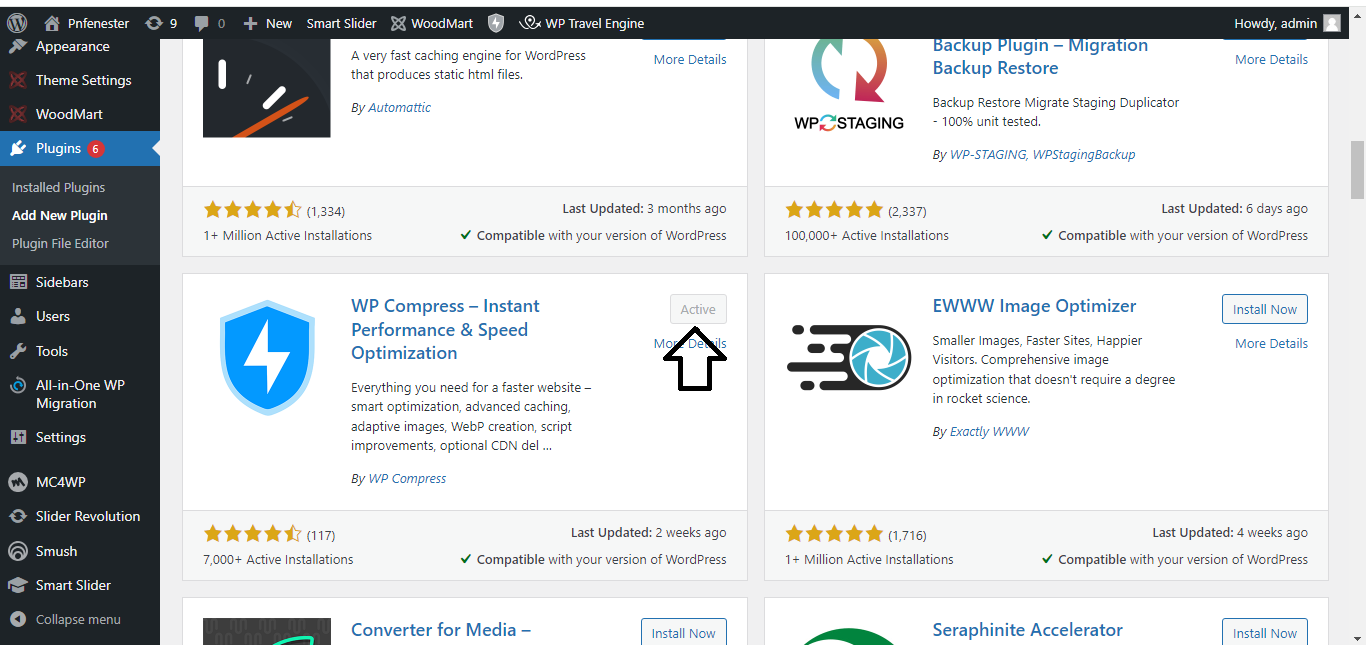
Step 1: Install the Plugin
- Log in to your WordPress dashboard.
- Go to Plugins > Add New.
- In the search box, type WP Compress.
- Find the plugin and click Install Now.
- Once installed, click Activate.
Step 2: Create a Free Account
- After activation, a setup wizard will appear.
- Enter your email to sign up for a free account.
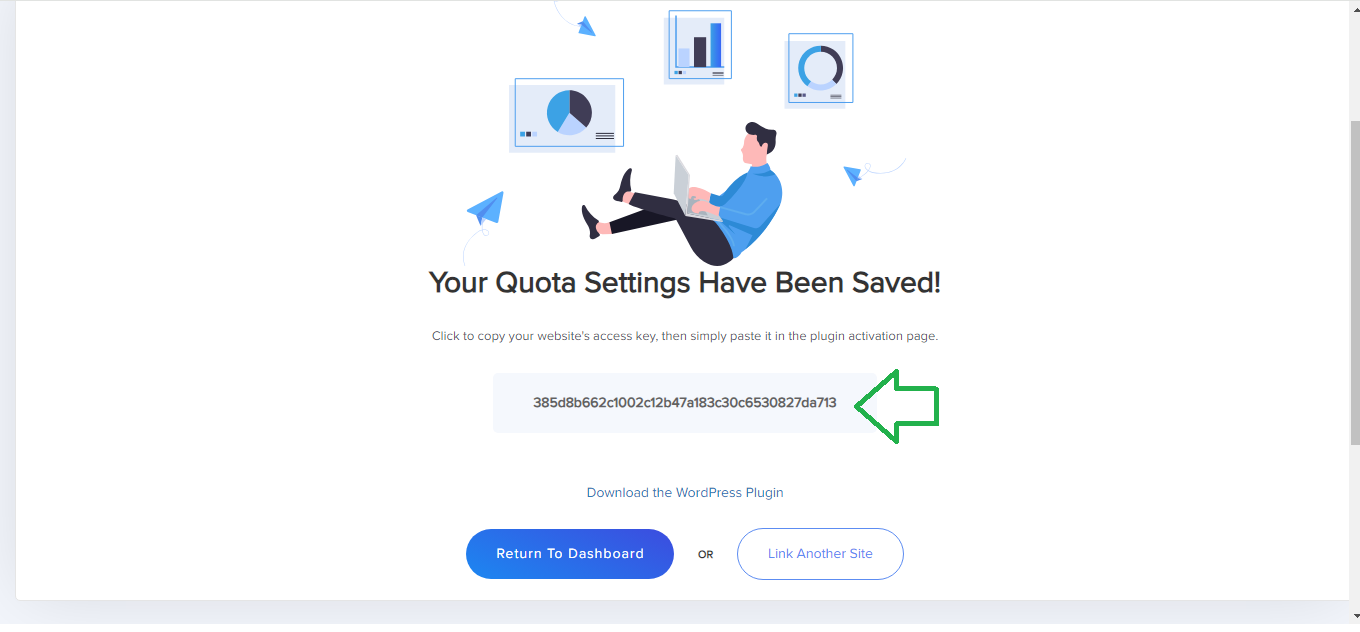
- You’ll receive an API key via email.
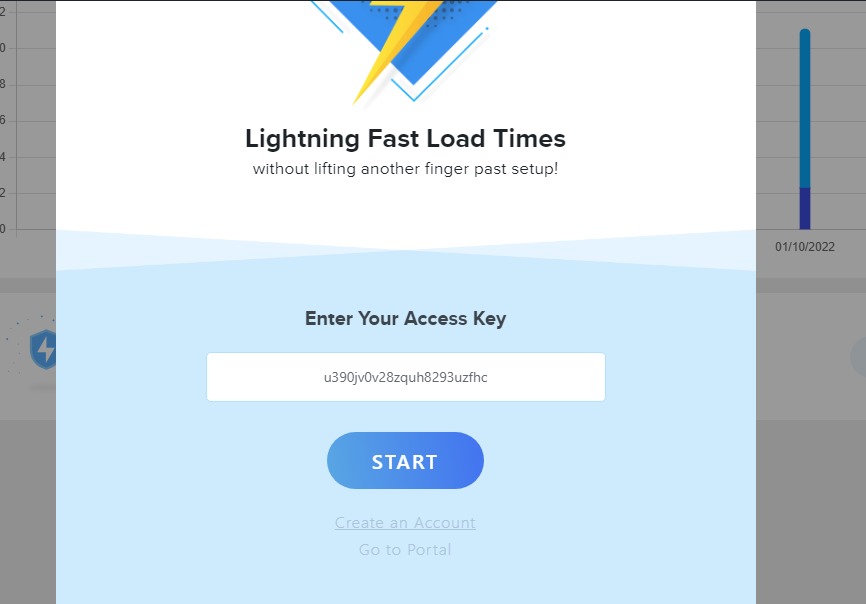
Step 3: Connect WP Compress to Your Site
- Go to WP Compress > Settings in your dashboard.
- Enter the API key you received to connect your site to the WP Compress platform.
Step 4: Choose Optimization Settings
- Under Settings, choose:
- Automatic Optimization – Images will be optimized when uploaded.
- Manual Optimization – Optimize images manually when needed.
- Select your compression level:
- Ultra (maximum compression)
- Intelligent (balanced compression)
- Lossless (no quality loss)
Step 5: Optimize Existing Images
- Go to WP Compress > Bulk Optimizer.
- Click Start Optimization to compress images already in your media library.
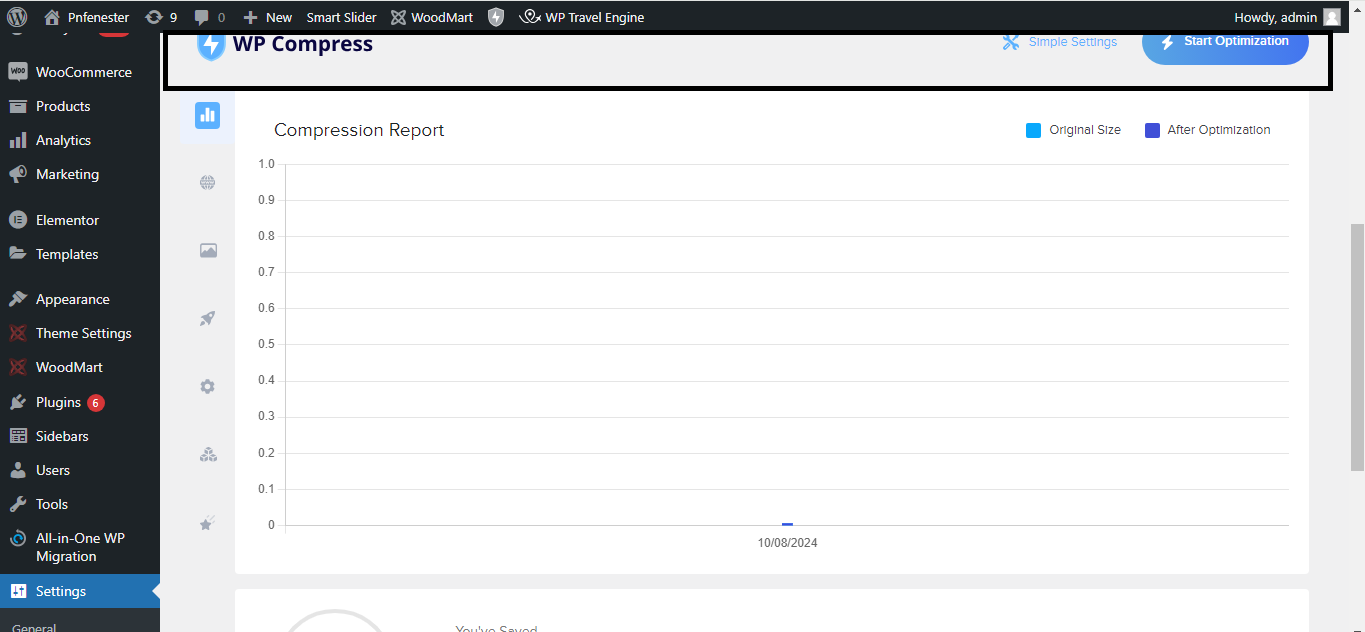
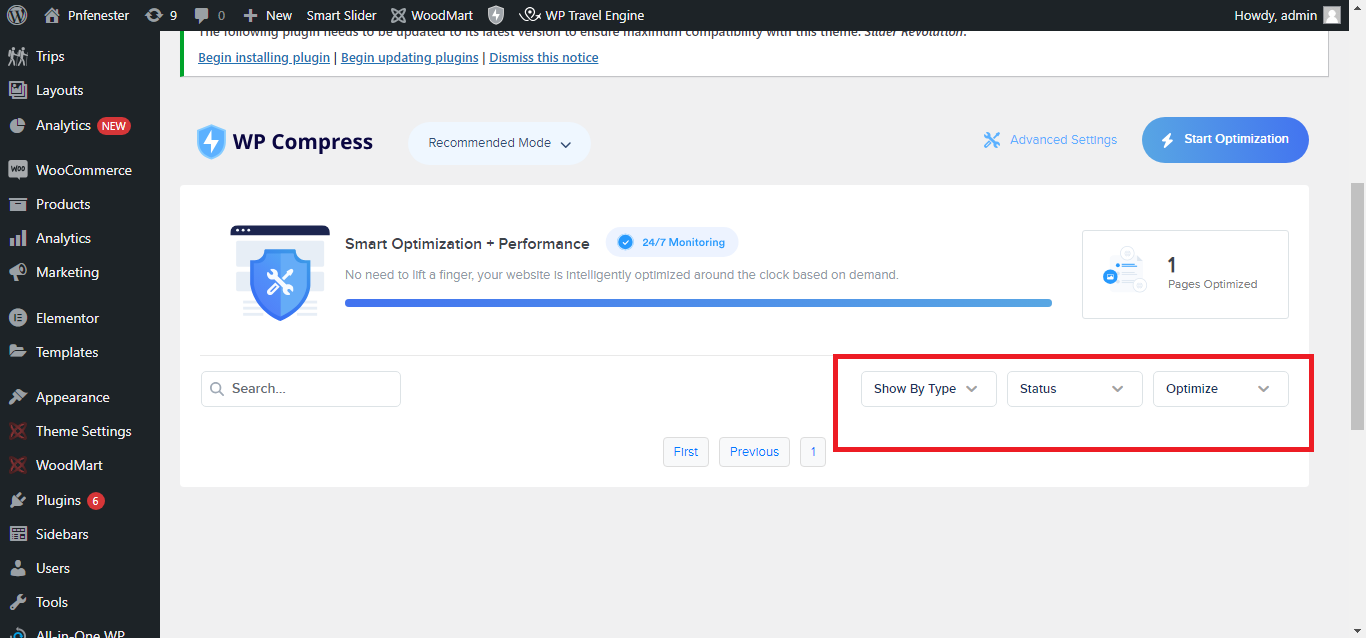
Step 6: Monitor Optimizations
- Track the number of optimized images under Reports.
- Adjust settings anytime to suit your needs.
That’s it! You’ve successfully set up WP Compress to optimize your images in WordPress.


