Add Google Fonts in WordPress

Step 1: Open Your Page with Elementor
- Log in to your WordPress Dashboard.
- Go to Pages (or Posts) and select the page or post you want to edit.
- Click Edit with Elementor to open the Elementor editor.

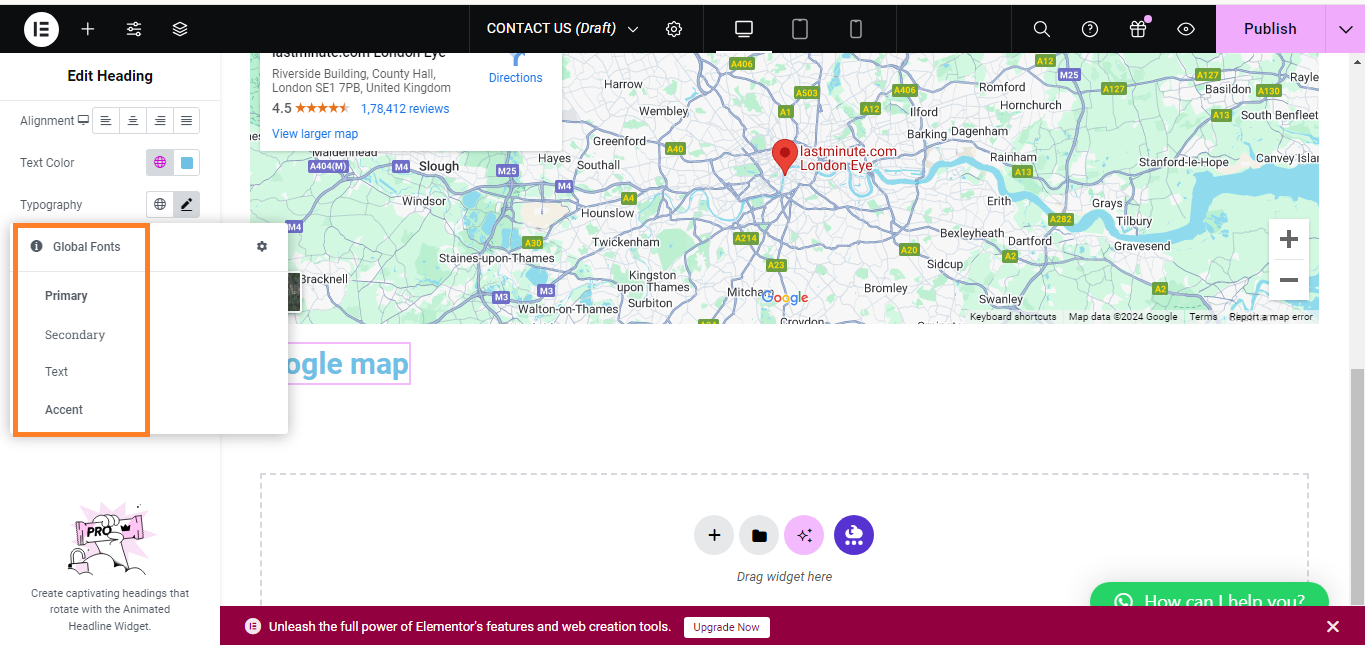
Step 2: Add Google Fonts to Elementor
- Select the Typography Section:
- Under Site Settings, find and click on Typography.
- You’ll see options to customize the Primary Font, Secondary Font, and Text Font.
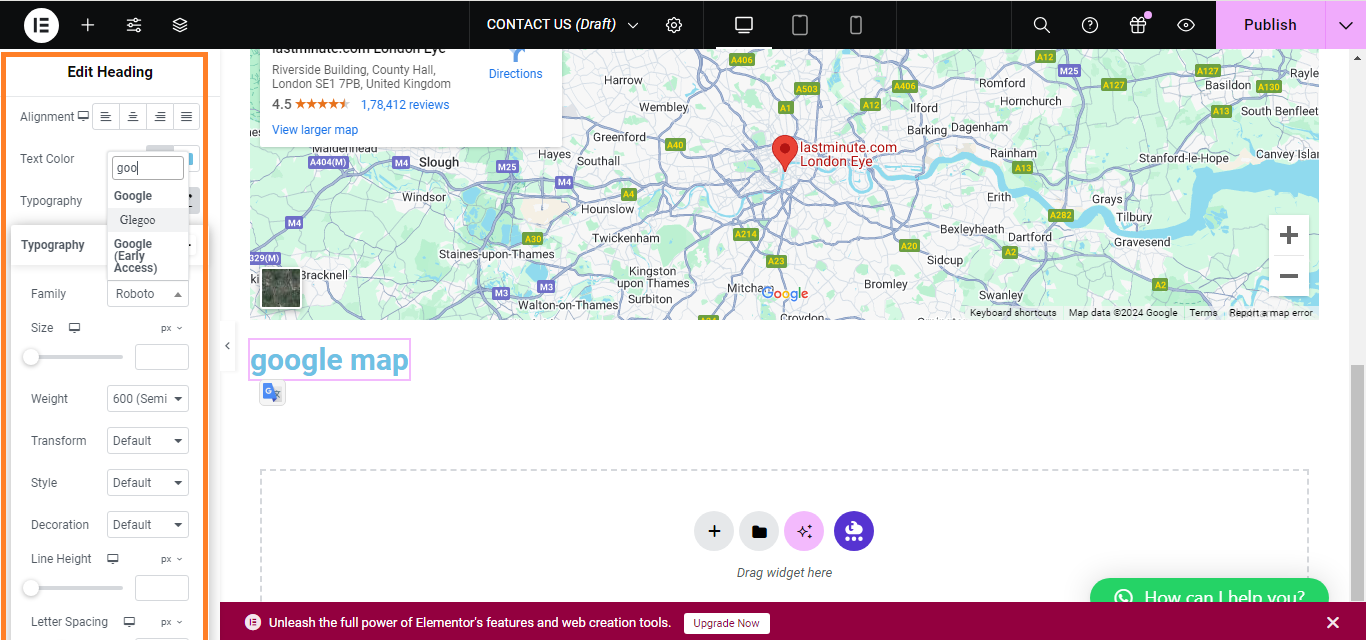
- Choose a Google Font:
- Click on the font dropdown menu for the desired typography setting.
- Elementor integrates Google Fonts directly, so you can search and select from the list of Google Fonts available.
- Choose the font you want to use and adjust the font weight, style, and size if needed.
Step 4: Apply and Customize the Font
- Apply the Font:
- After selecting your desired Google Font, it will be applied to the text elements across your site according to your settings.
Step 5: Save and Preview
- Save Your Changes:
- Click the Update button at the bottom of the Elementor panel to save your changes.
- Preview the Page:
- Visit your website to see the Google Font applied.
That’s it! You’ve successfully added and customized Google Fonts in Elementor.


