Create Column Layouts With Elementor

Creating column layouts with Elementor is easy and can be done in a few small steps. Here’s a simple guide to help you:
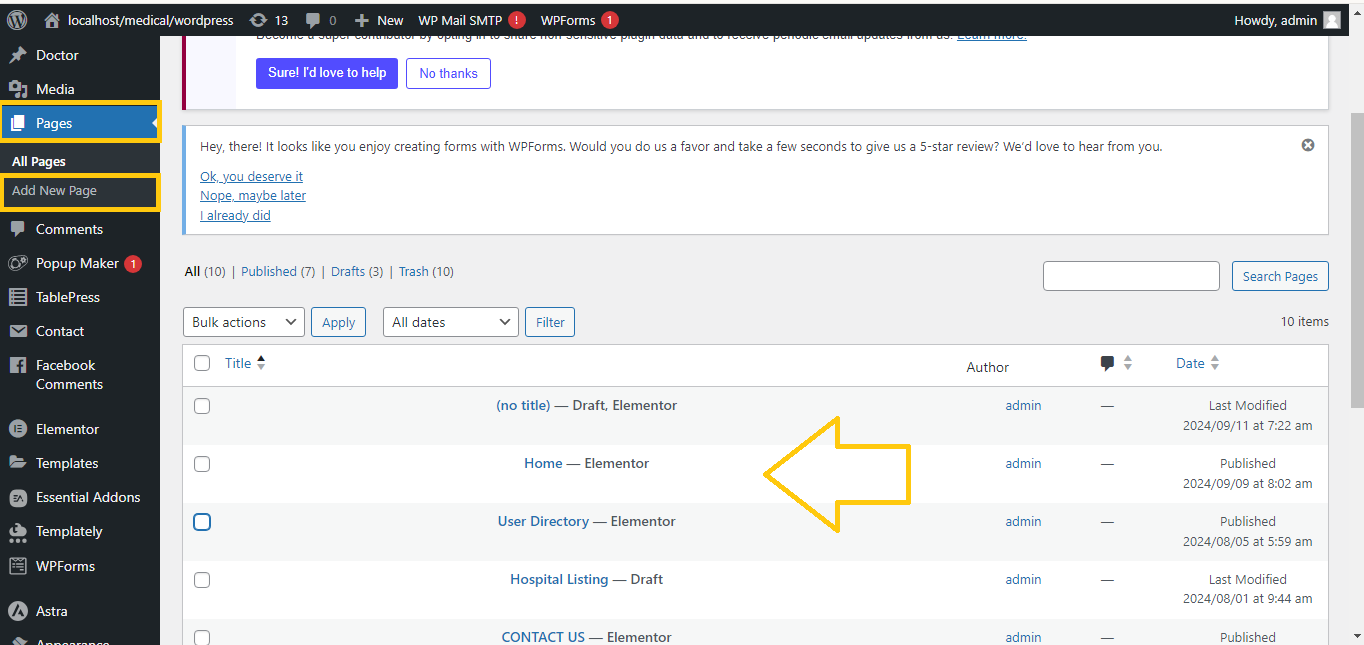
Step 1: Open Elementor Editor
- Navigate to the WordPress dashboard.
- Open the page you want to edit, then click Edit with Elementor.
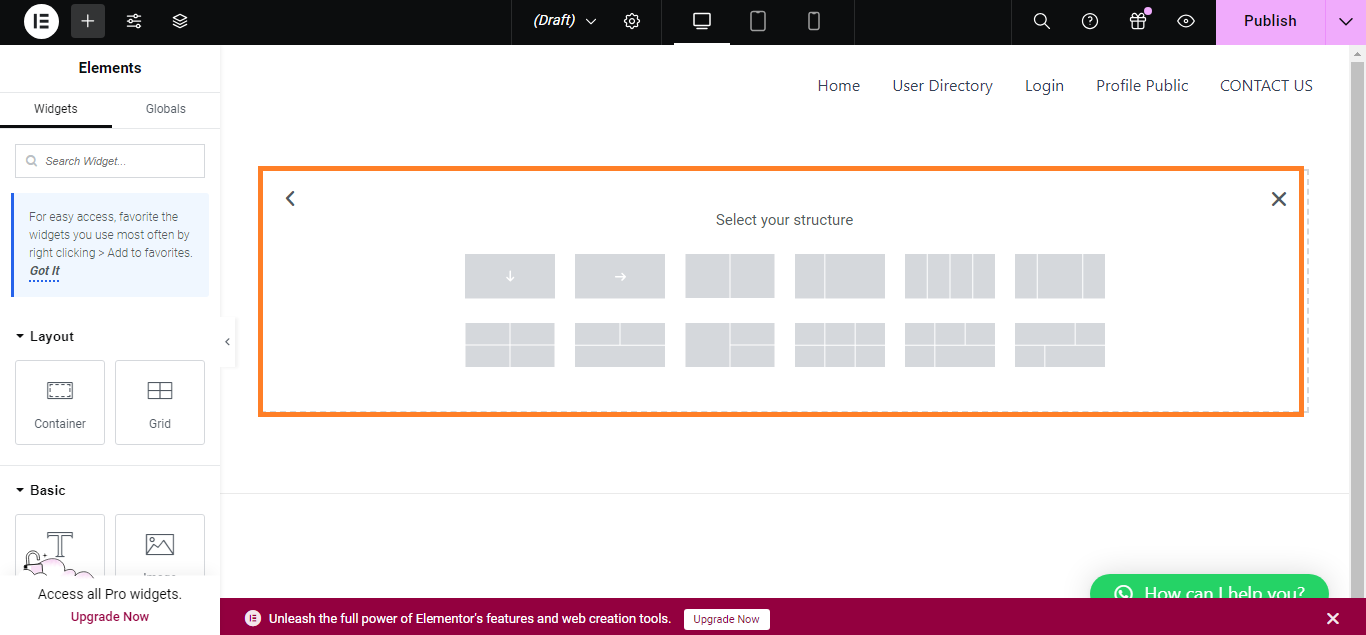
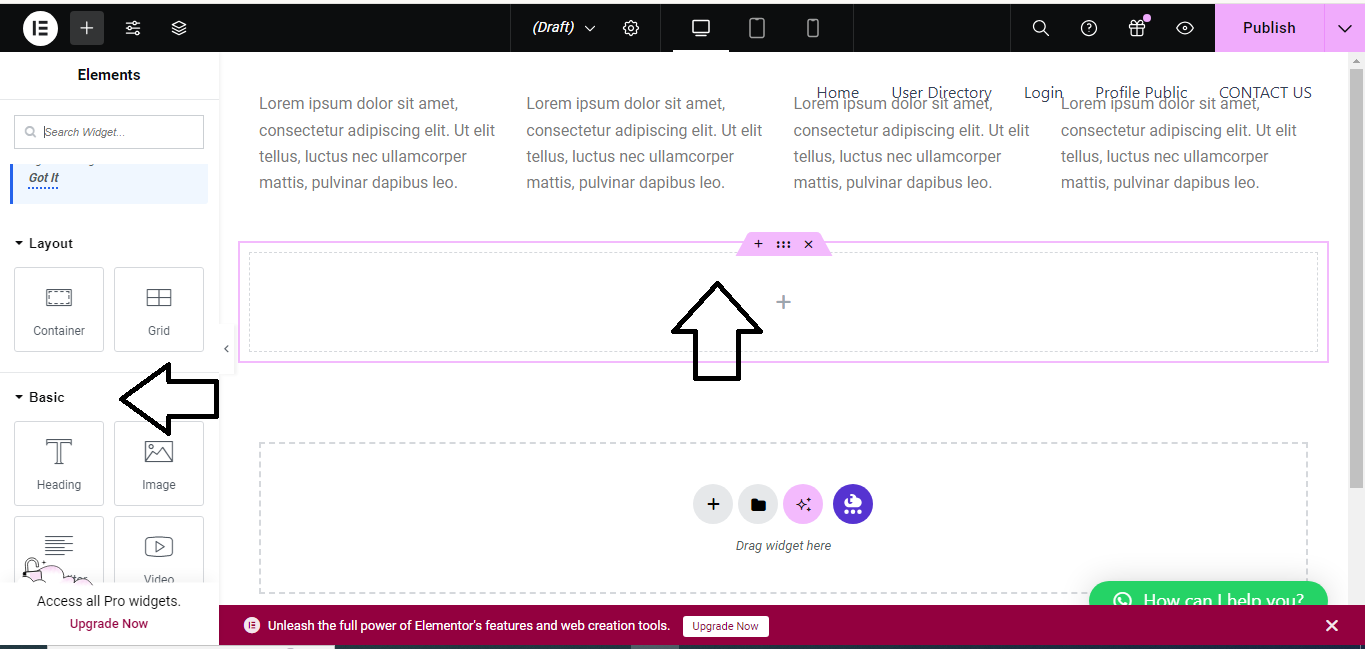
Step 2: Add a New Section
- Inside the Elementor editor, click the + icon to add a new section.

- Choose a structure layout (the number of columns you want).
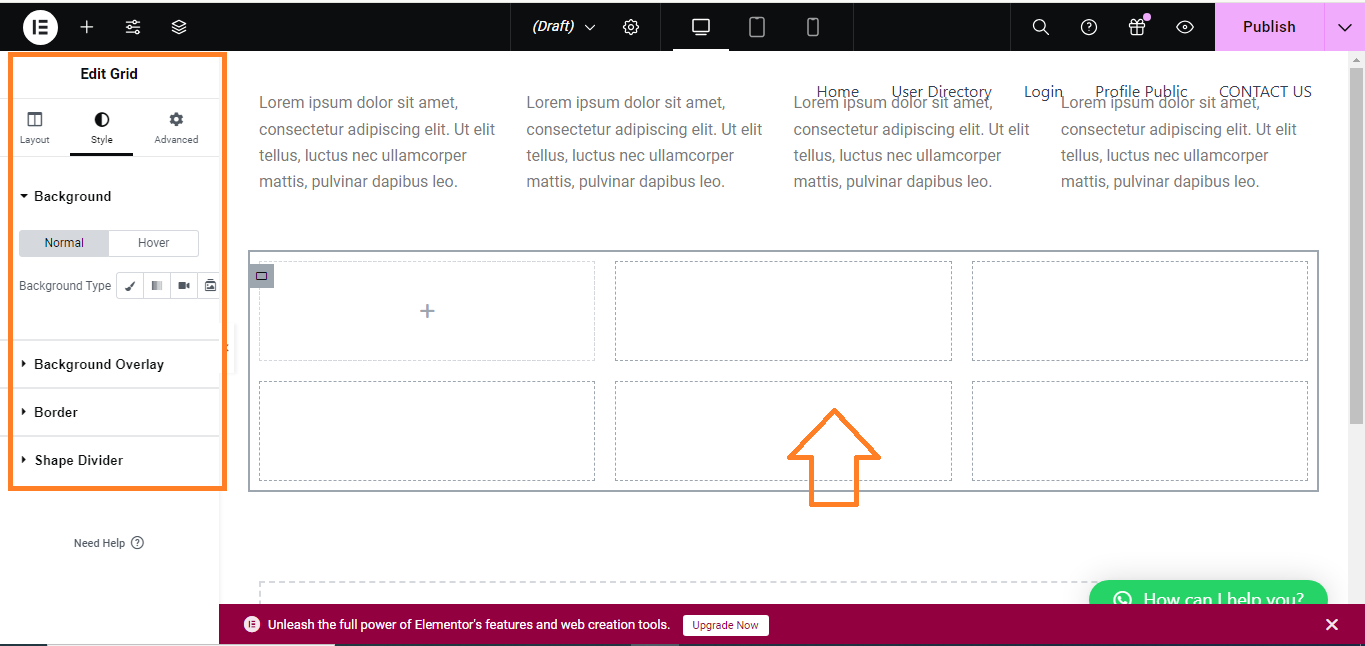
Step 3: Adjust Column Width
- Hover over the column until you see the Column handle (a blue icon on the top left of the column).
- Right-click the Column handle and select Edit Column.
- In the Layout tab on the left, you can adjust the column width by sliding the Column Width or setting a percentage manually.
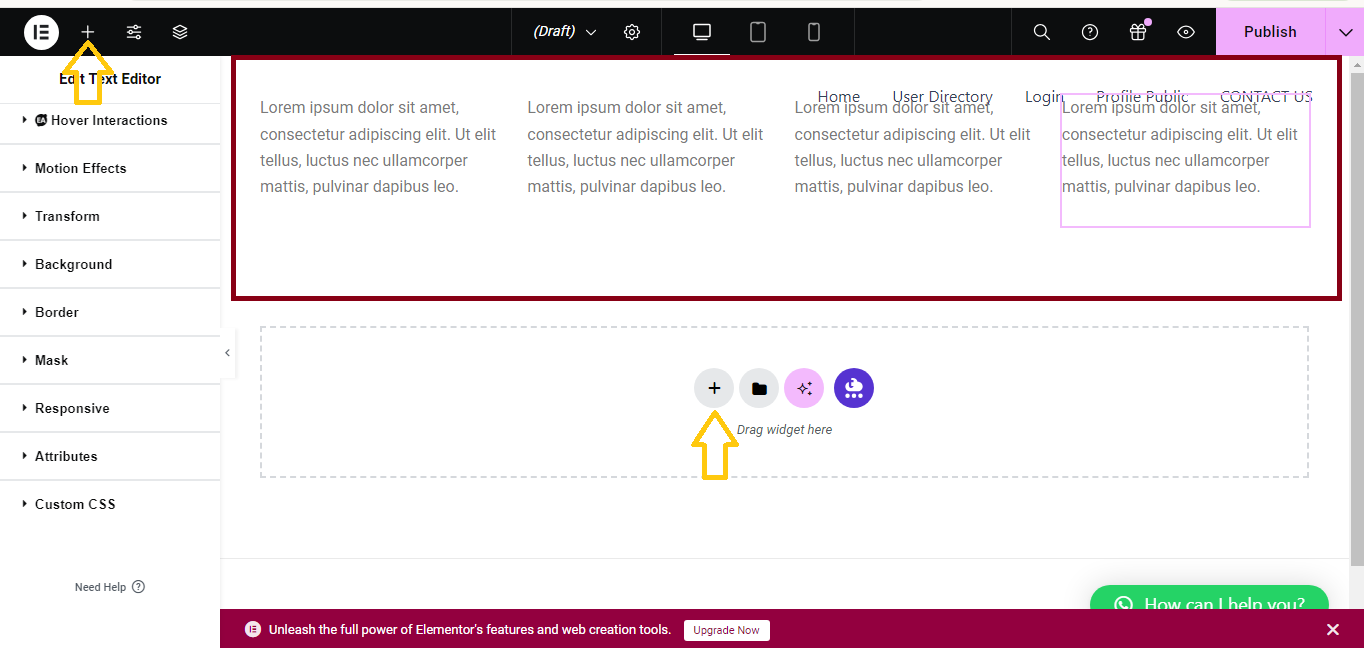
Step 4: Add Content to Columns
- Drag and drop widgets (such as text, images, buttons, etc.) into each column.
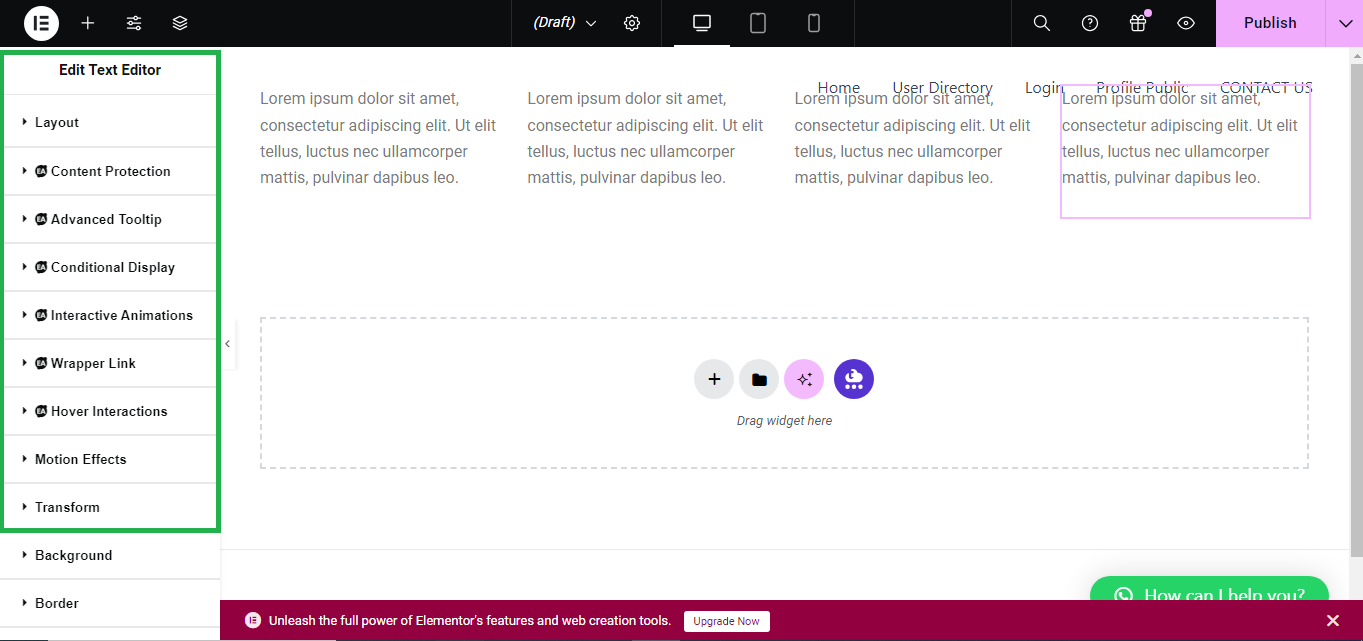
Step 5: Customize Design
- Customize the design for each column by clicking on a column and going to the Style tab on the left panel.
- You can adjust background color, borders, padding, margins, and more to suit your design needs.
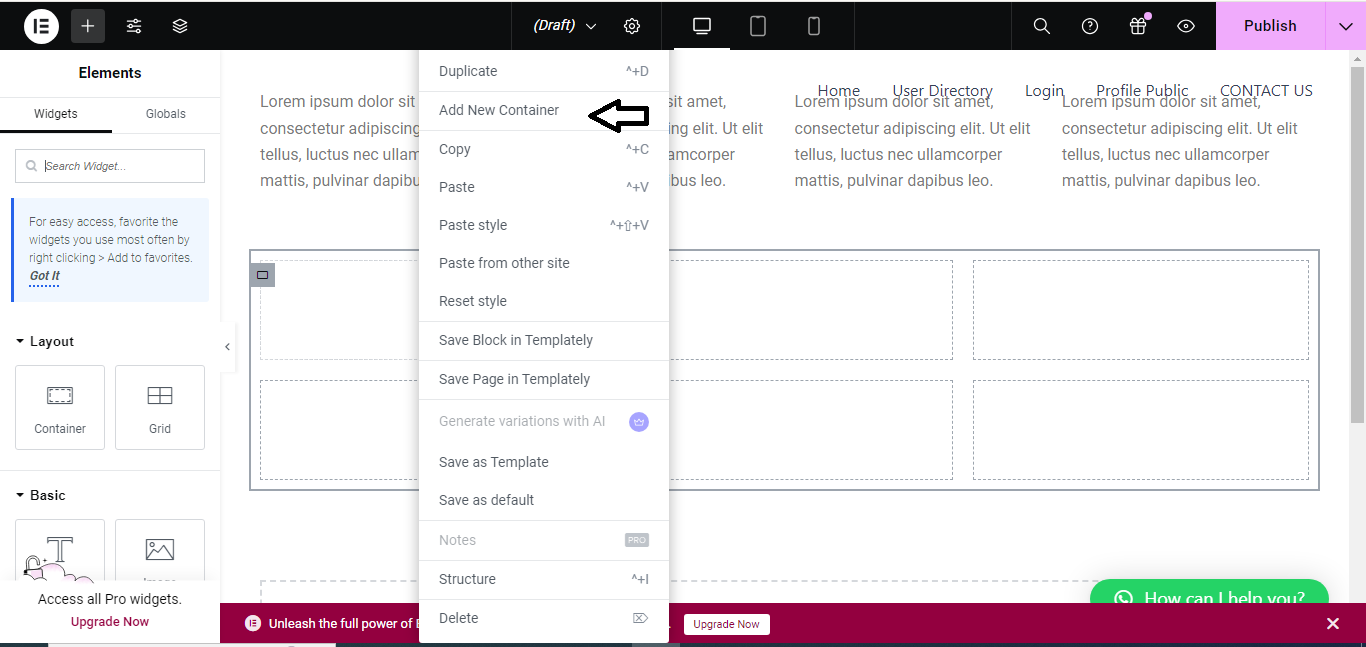
Step 6: Add More Columns (Optional)
- To add more columns, right-click the Column handle of an existing column and choose Add New Column.
Step 7: Save Your Work
- Once you’re happy with the layout, click Update at the bottom of the page to save your changes.
This simple process helps you create customizable, responsive column layouts in Elementor!


