Create User Management System On WordPress Website

Steps to Create a User Management System in WordPress:
- Log in to WordPress Dashboard:
- Go to your WordPress site and log in with your admin credentials.
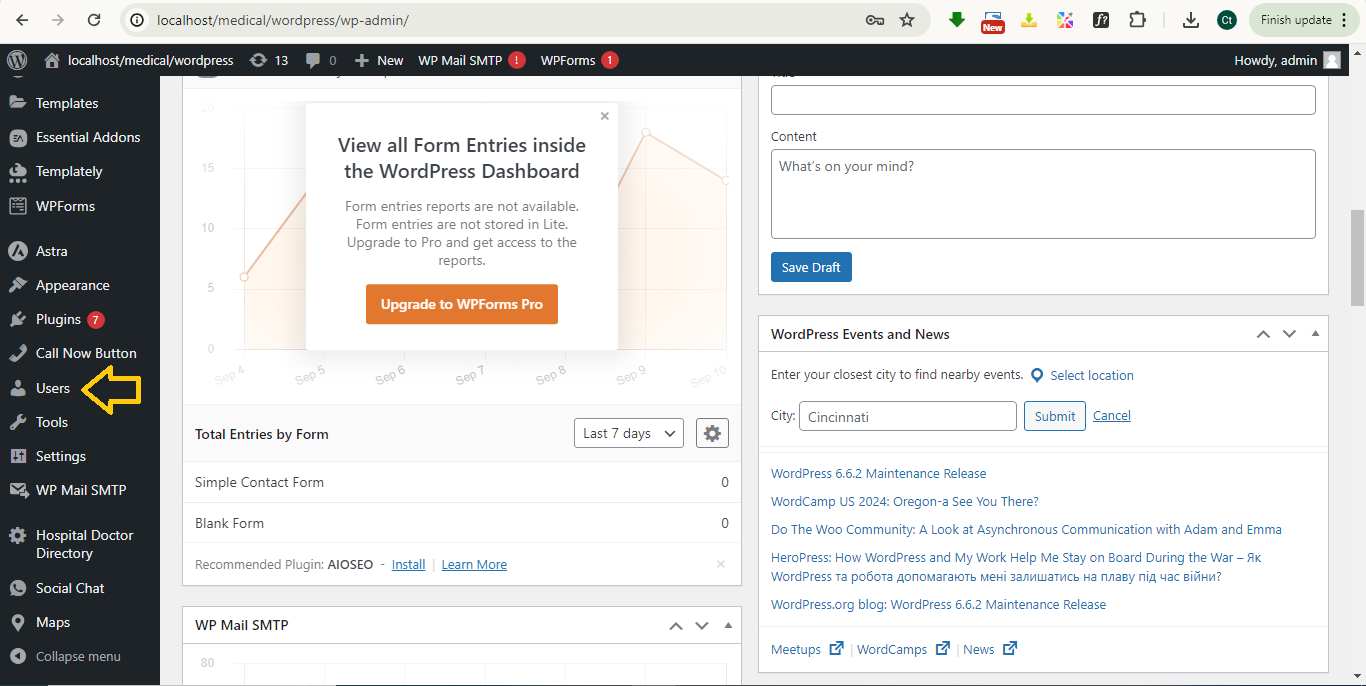
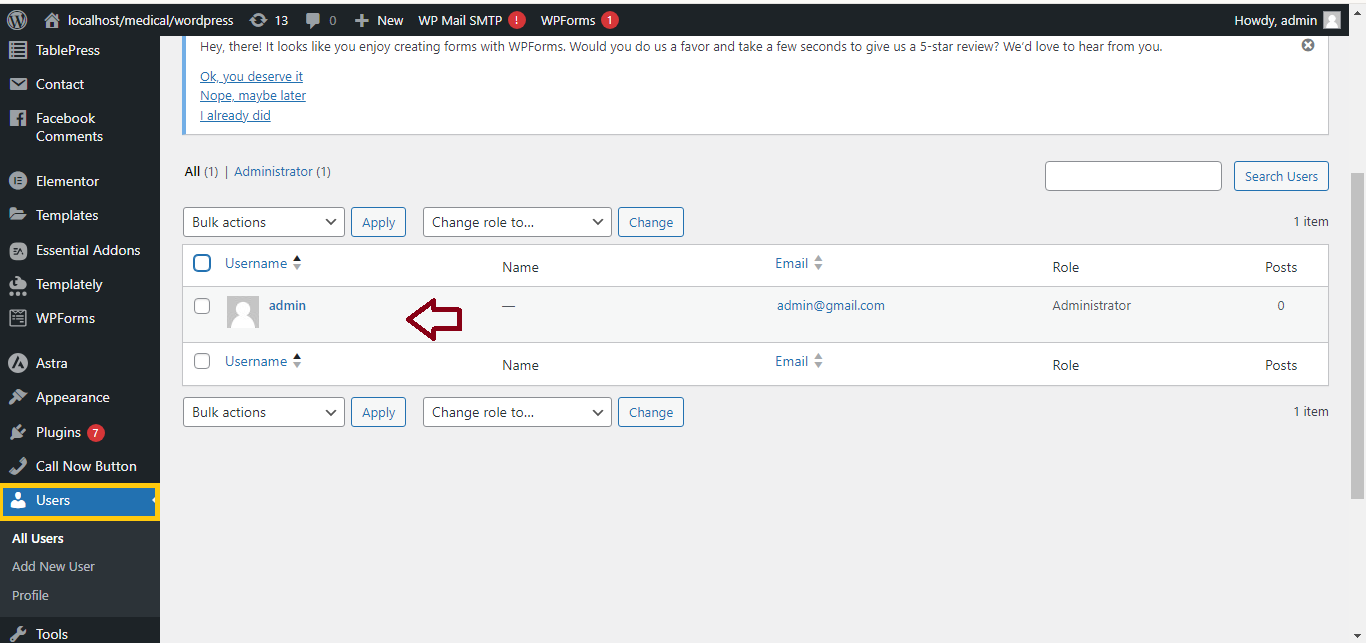
- Navigate to Users:
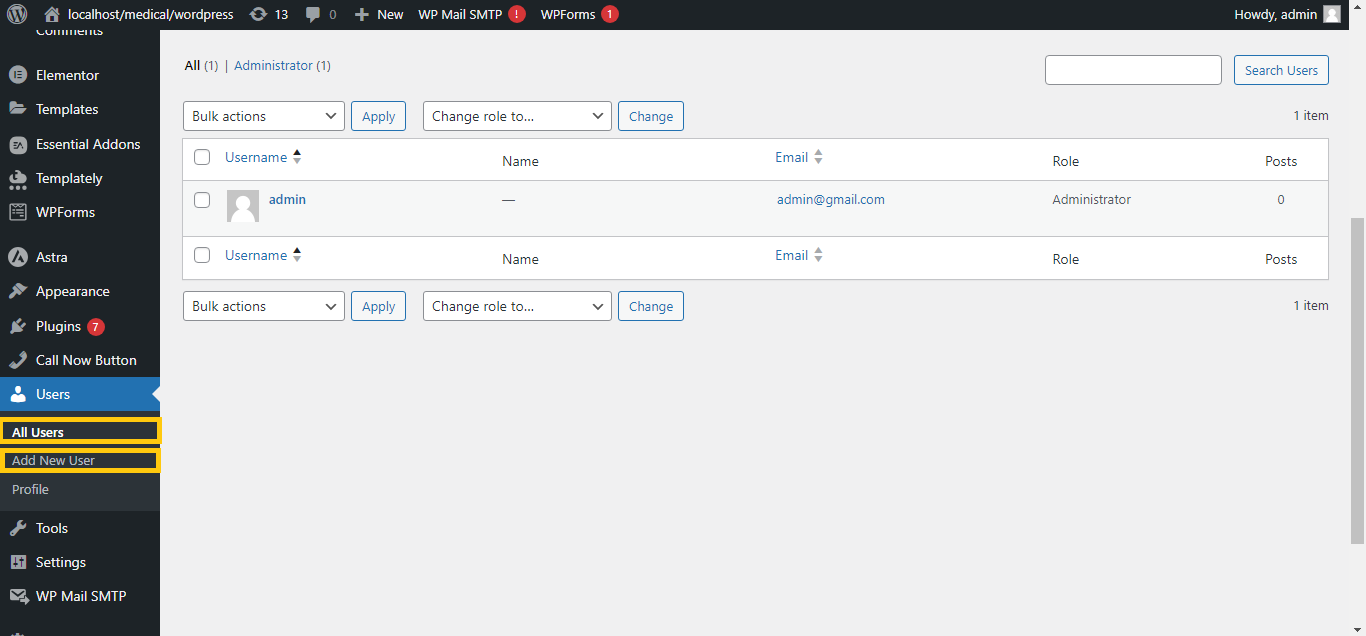
- On the left-hand menu, click on Users and then All Users to manage existing users or Add New to create new users.
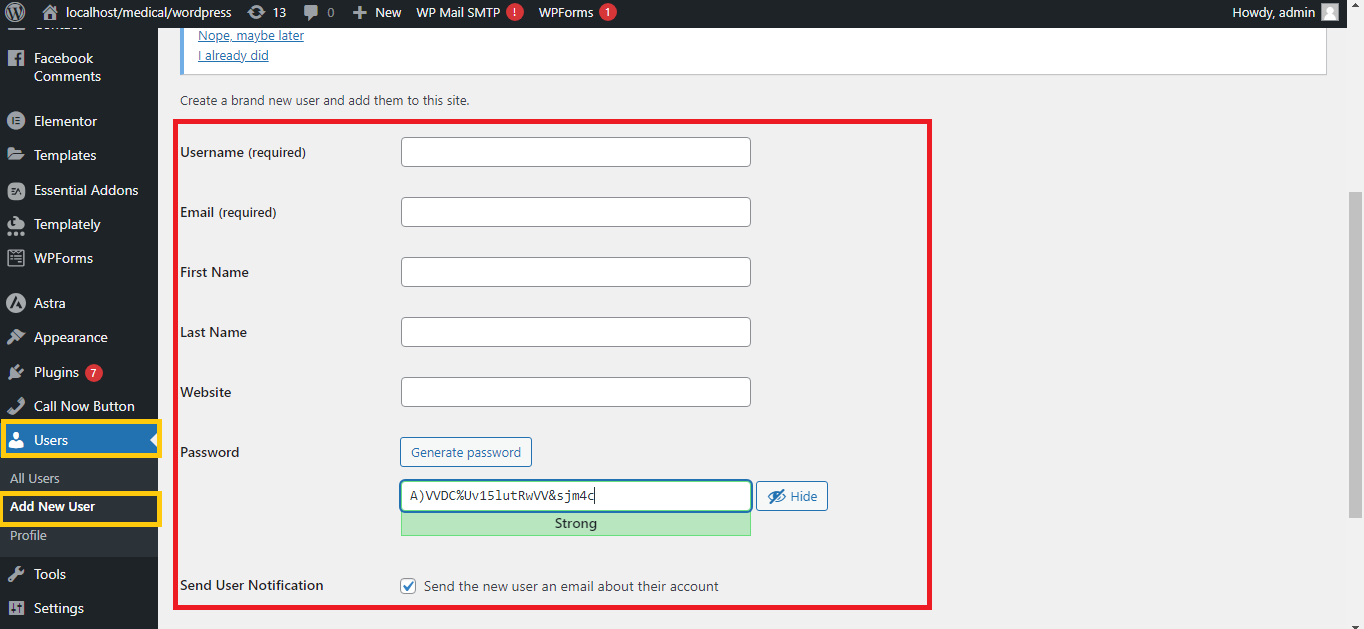
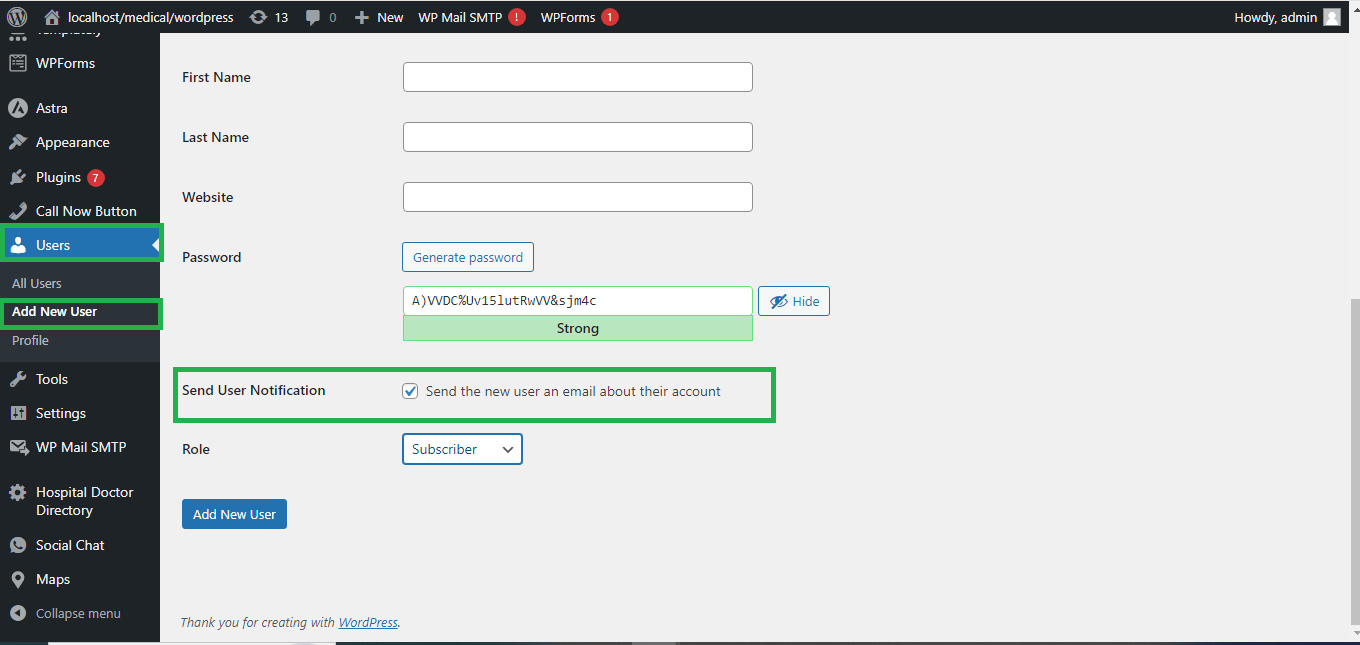
- Add New User:
- Click Add New to create a new user.
- Fill in the required details: Username, Email, First Name, Last Name, Password.
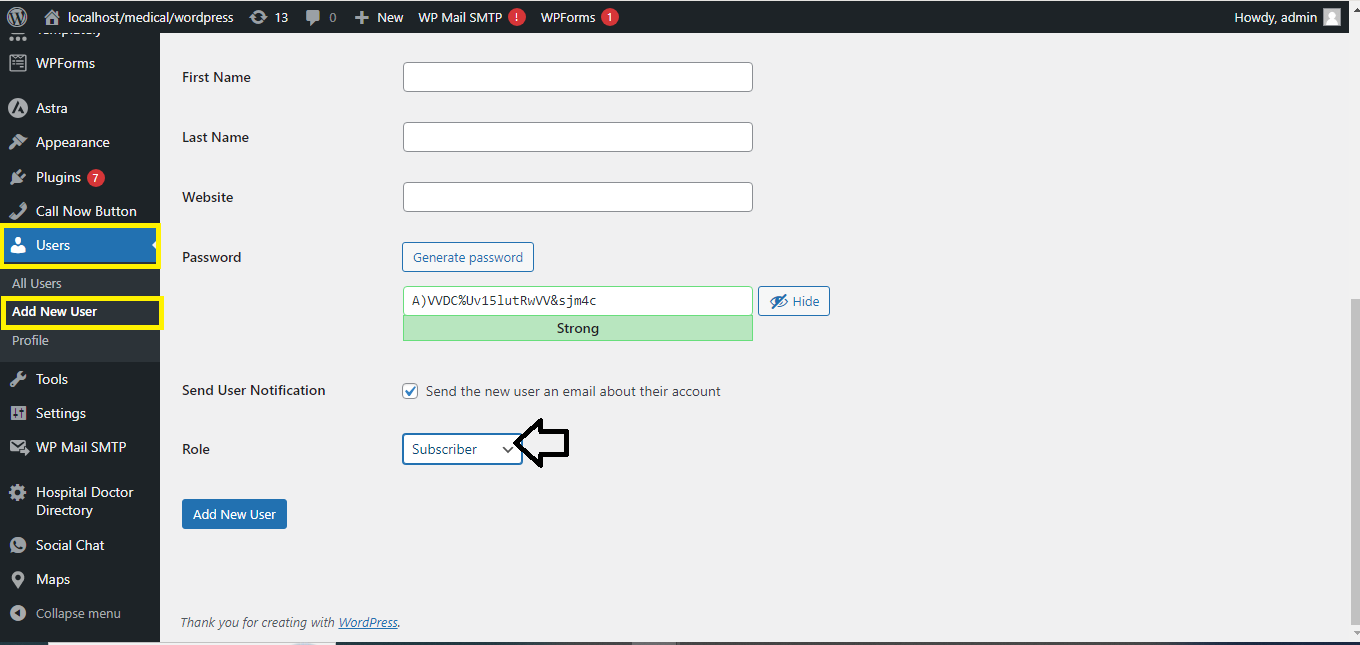
- Assign User Roles:
- Under the Role dropdown, choose a user role:
- Administrator: Full control of the website.
- Editor: Can publish and manage all content.
- Author: Can write and publish their own content.
- Contributor: Can write content but needs admin approval to publish.
- Subscriber: Can manage their profile and view content.
- Under the Role dropdown, choose a user role:
- Send User Notification (Optional):
- Check the box for Send User Notification if you want to notify the new user about their account via email.
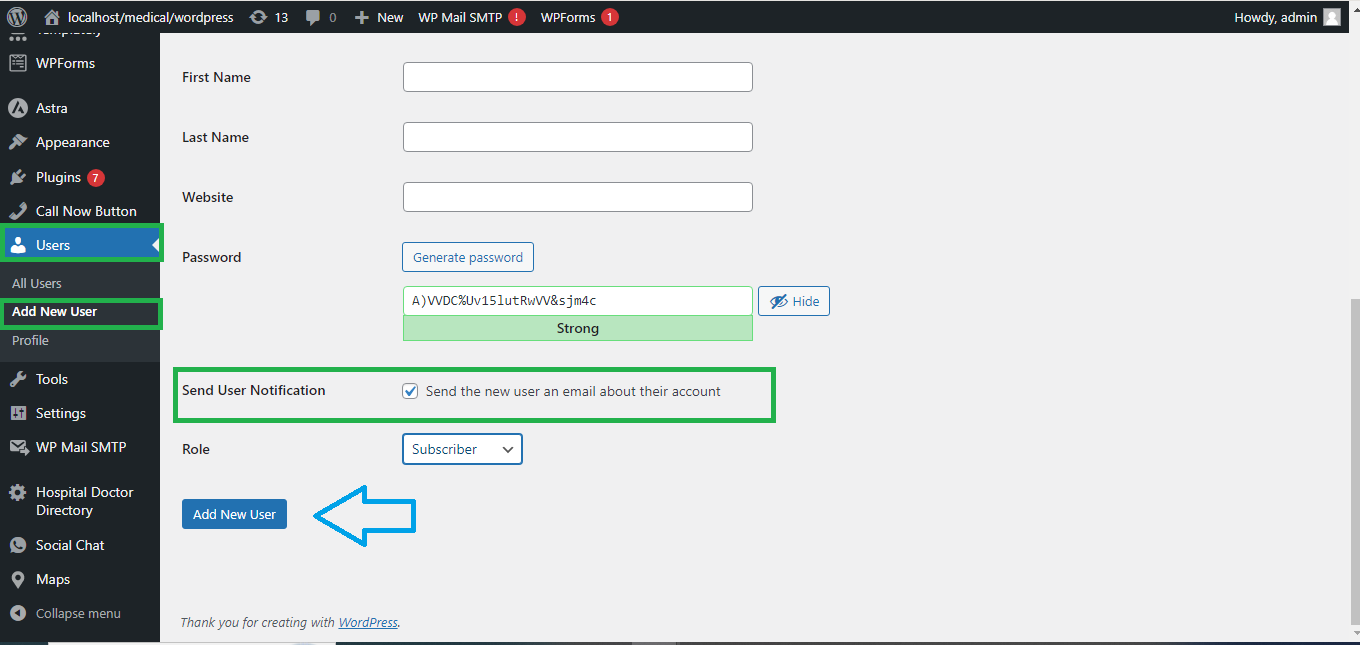
- Click Add New User:
- Once the information is filled out, click Add New User to save the new user.
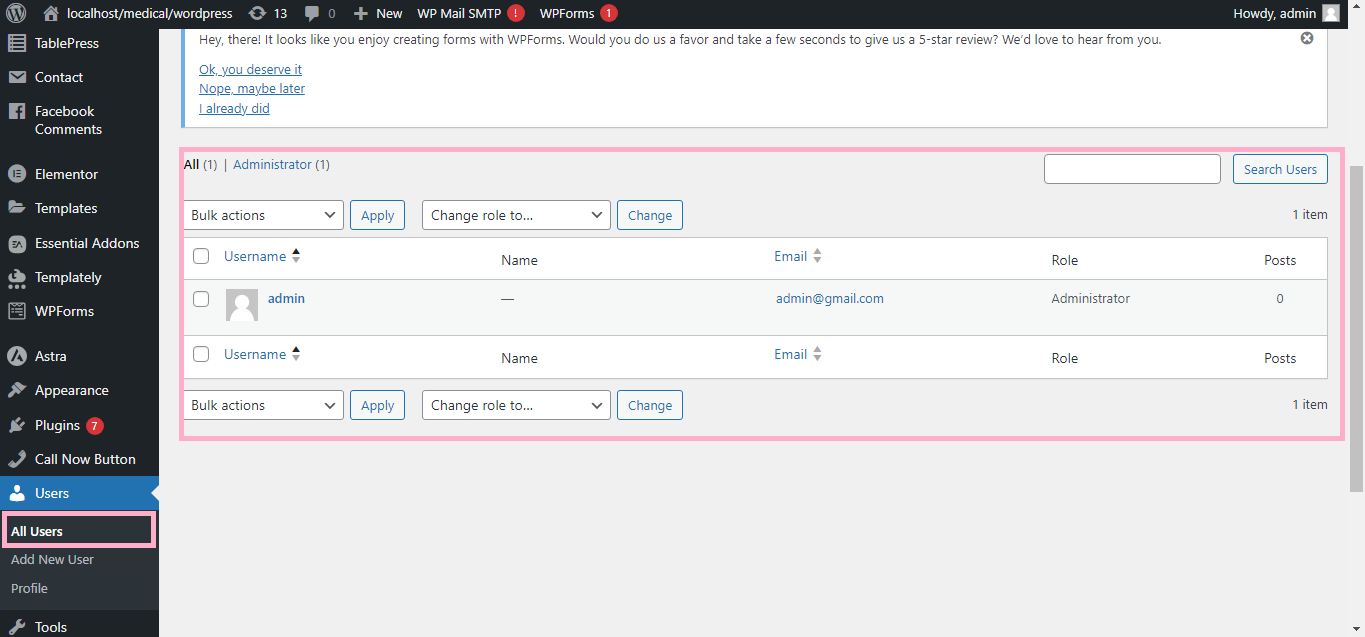
Managing Users:
- View Users:
- In the Users section, you can see a list of all users, their roles, and their activity. You can edit or delete users as needed.
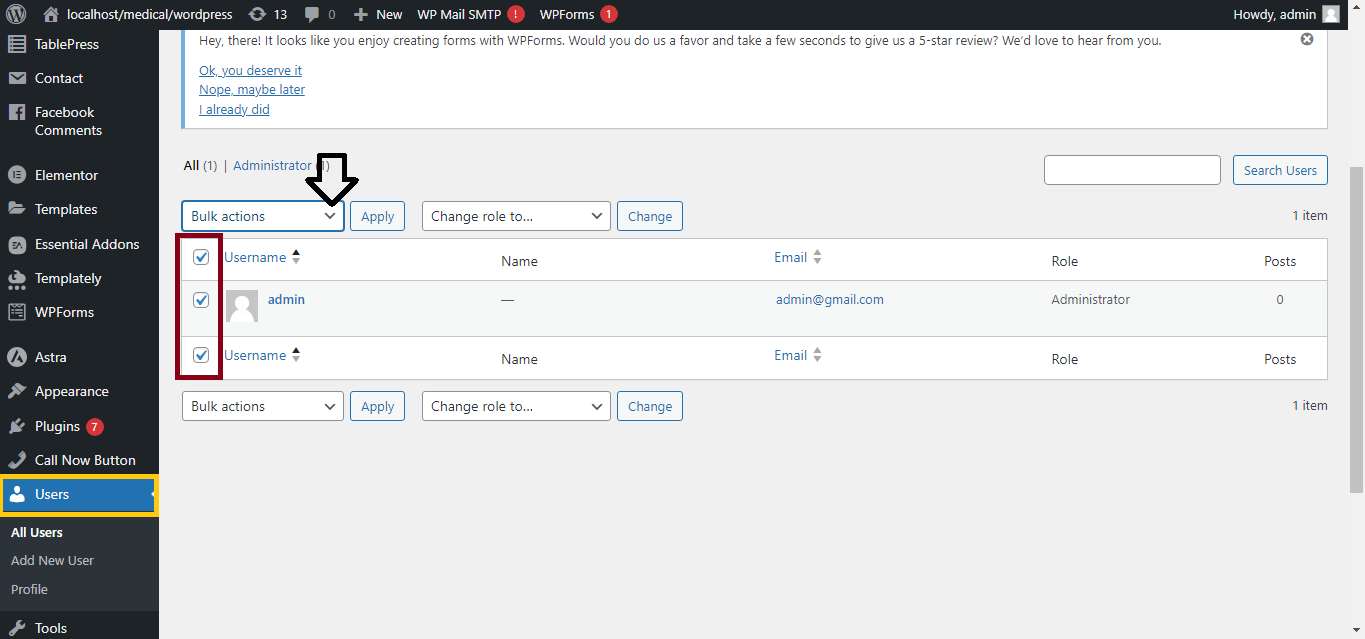
- Bulk Actions:
- Select multiple users to delete, change roles, or send emails.
- User Profile Customization:
- Each user can customize their profile, including updating their password, bio, and contact details by clicking Your Profile under the Users section.
Extending User Management:
If you need more advanced user management, such as creating custom roles, you can use plugins like User Role Editor or Members to easily create and manage roles and permissions.
That’s it! You’ve successfully set up a basic user management system in WordPress.


