Edit Text Editor in WordPress with Elementor

Editing text in WordPress using Elementor is simple. Here’s a step-by-step guide:
Step 1: Open Elementor Editor
- In the WordPress dashboard, go to Pages or Posts.
- Select the page or post you want to edit.

- Click Edit with Elementor.

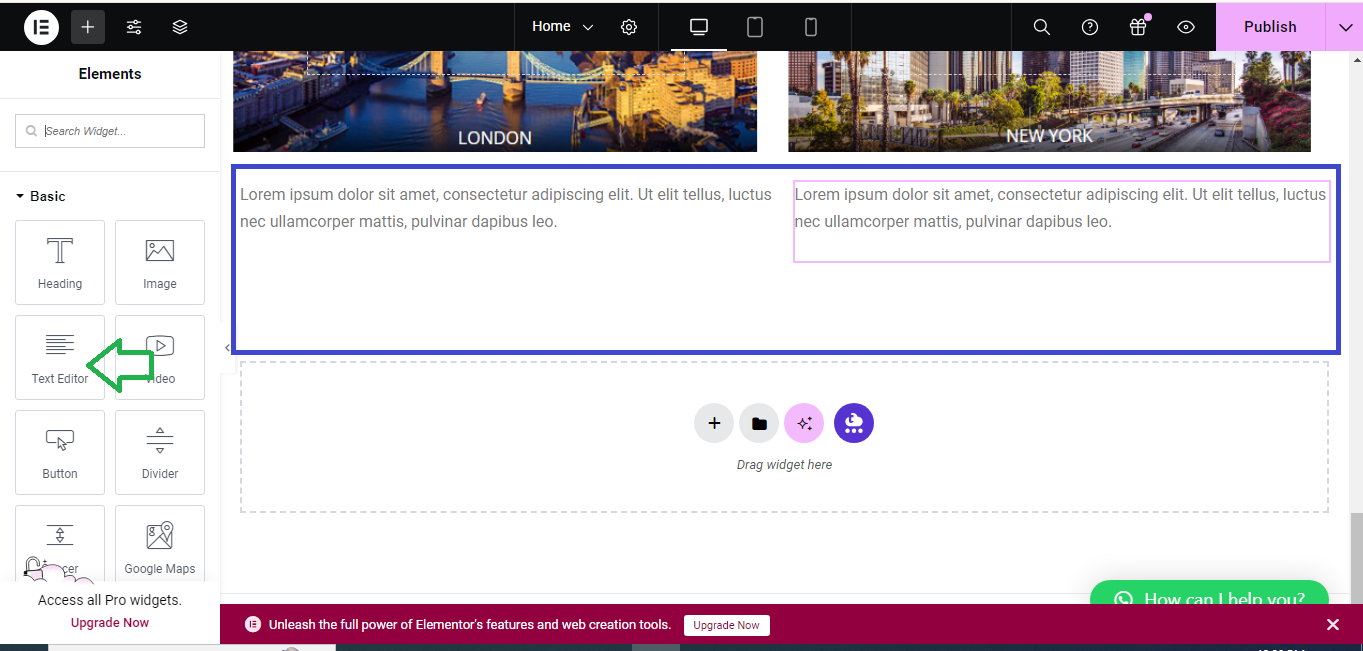
Step 2: Add or Select a Text Editor Widget
- If you want to add new text, drag the Text Editor widget from the Elementor panel on the left and drop it onto your page where you want the text to appear.
- If you’re editing existing text, click directly on the Text Editor block to select it.
Step 3: Edit Text Content
- Once the Text Editor widget is selected, you’ll see the text appear in a box on the left panel.
- You can type directly in the text box to edit or replace the content.
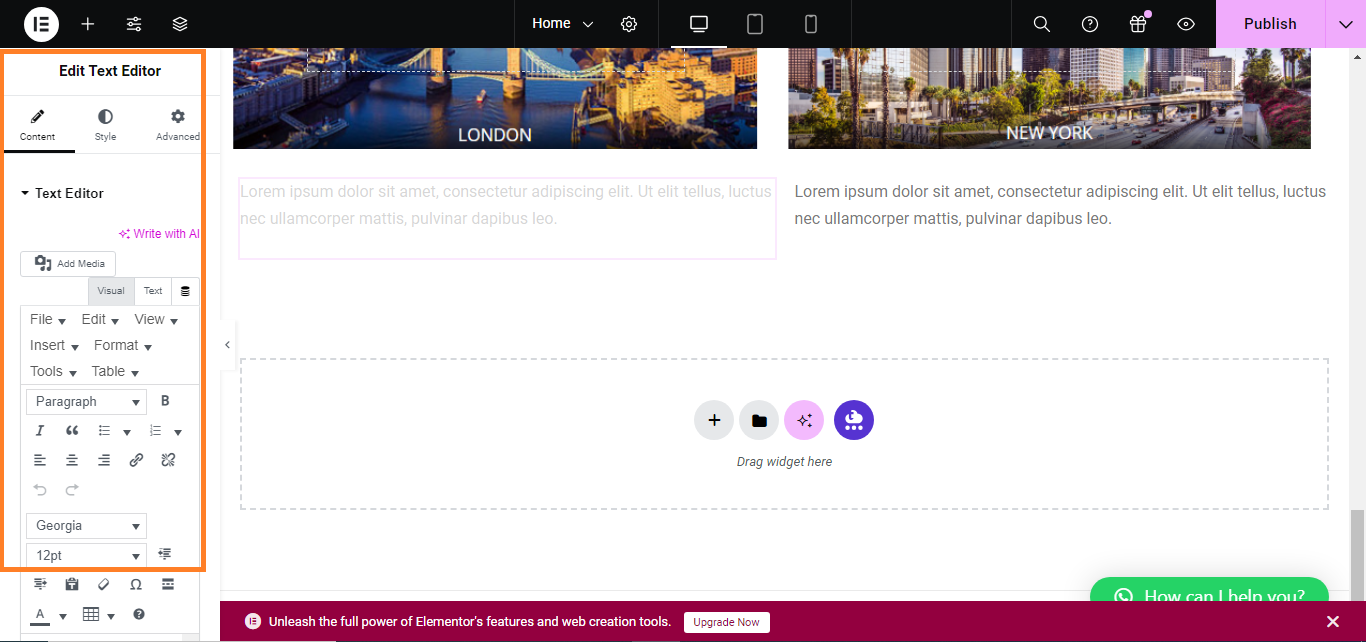
Step 4: Format the Text
- Use the formatting options (bold, italic, bullet points, alignment, etc.) in the Text Editor to style your text.
- For more advanced formatting, click the Text tab (next to the Visual tab) to add HTML or custom styling.
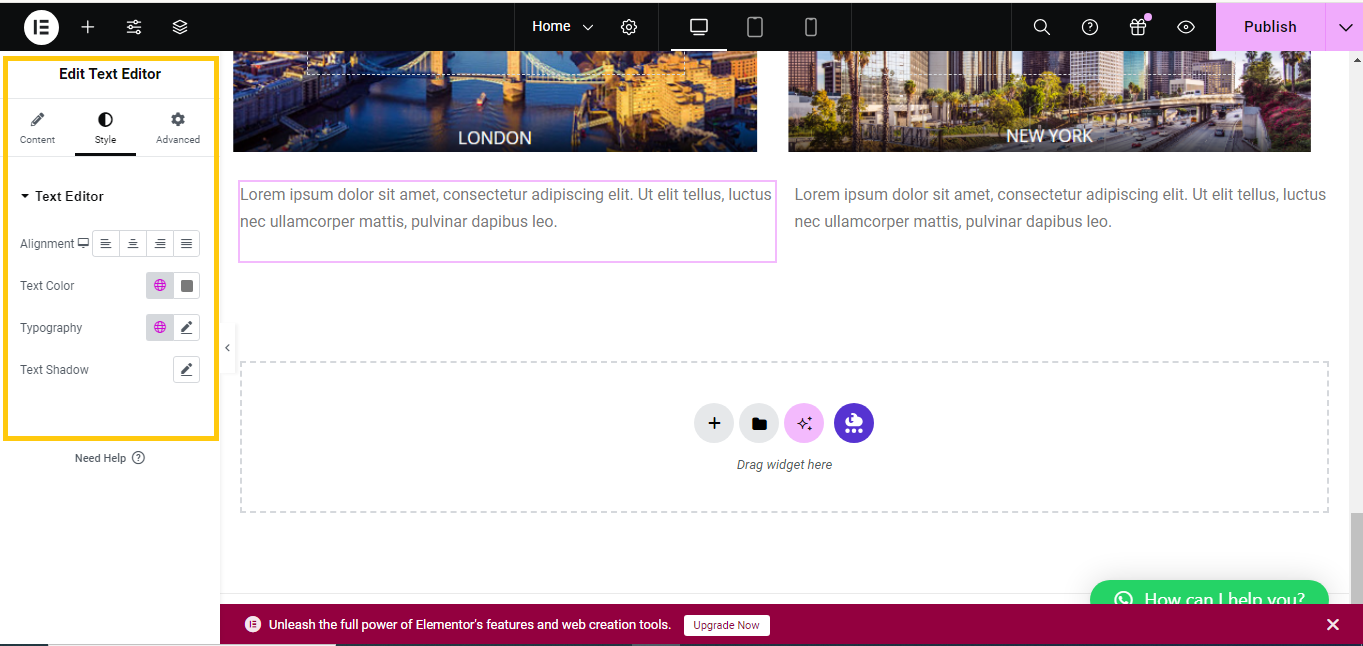
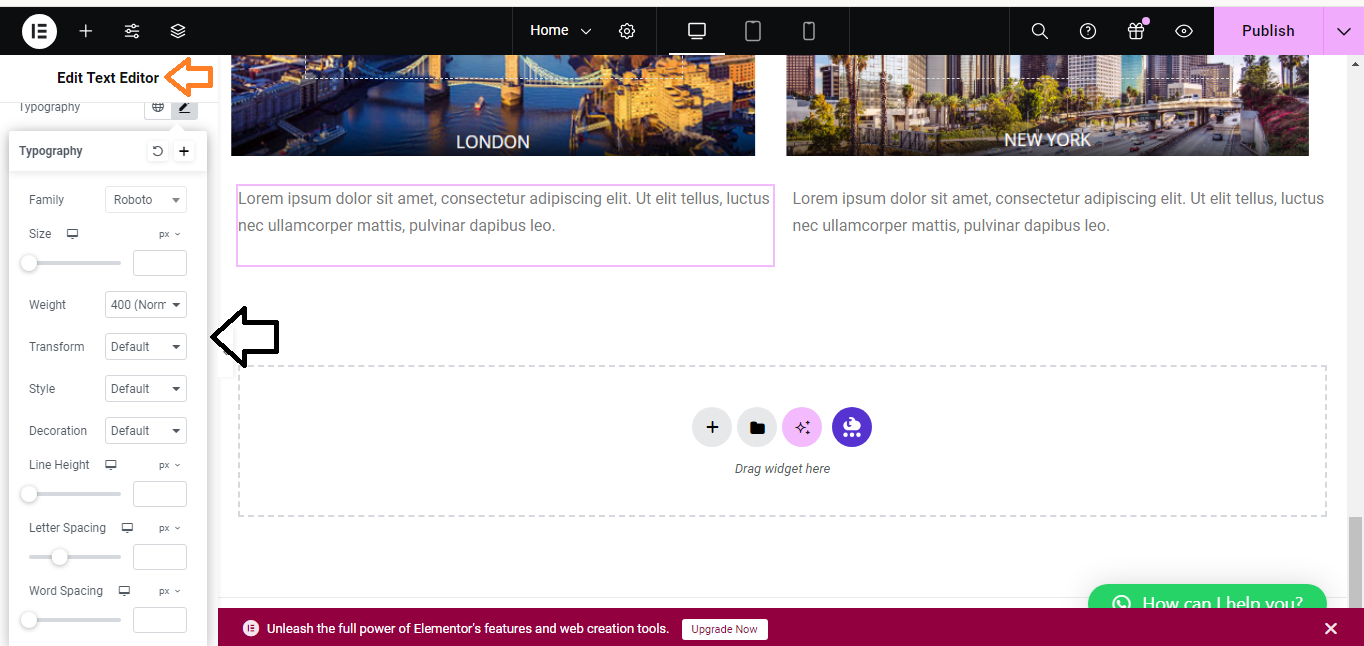
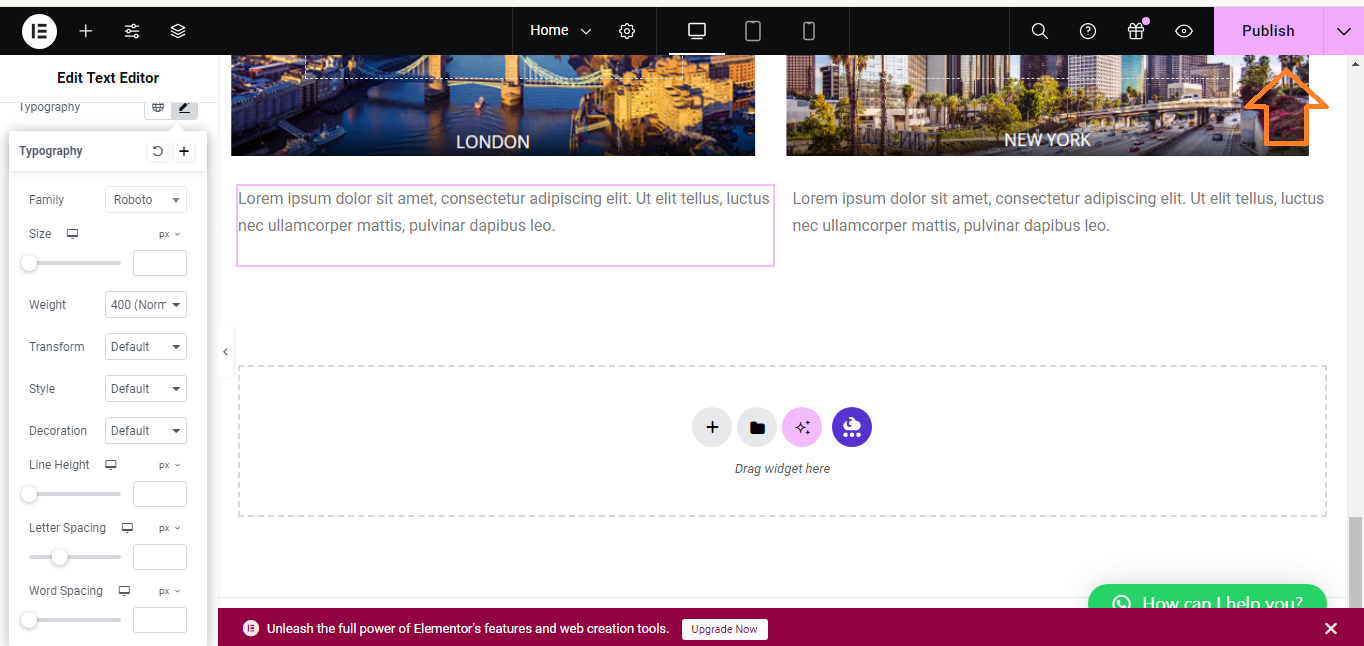
Step 5: Style the Text (Optional)
- Go to the Style tab in the left panel to further customize the text’s color, typography, spacing, and more.
Step 6: Save Your Changes
- When you’re done editing, click Update at the bottom of the page to save your changes.
By following these steps, you can easily edit any text on your WordPress site using Elementor!


