Add Text Heading with Elementor

Adding a text heading with Elementor is quick and easy. Follow these small steps:
Step 1: Open Elementor Editor
- In your WordPress dashboard, go to Pages or Posts.
- Select the page or post you want to edit.

- Click Edit with Elementor.

Step 2: Add a Heading Widget
- In the Elementor editor, locate the Heading widget from the left panel.
- Drag and drop the Heading widget onto the section where you want your heading to appear.

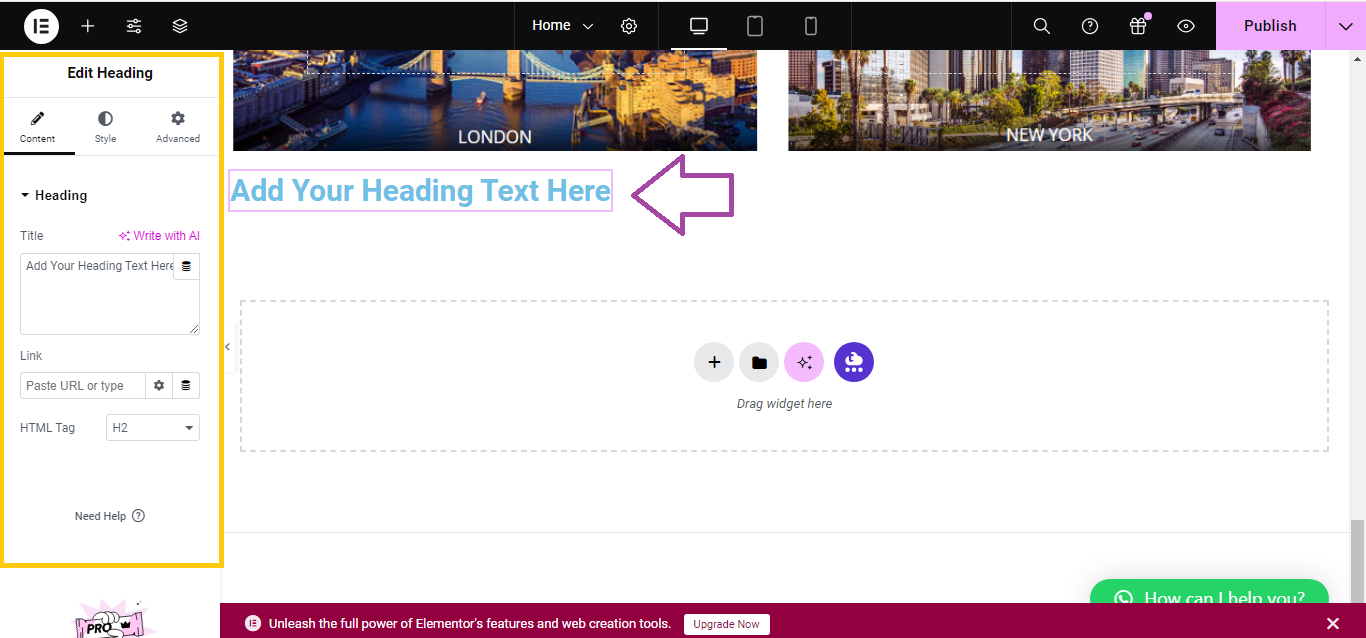
Step 3: Edit the Heading Text
- Once the widget is placed, the Heading settings will open in the left panel.
- Type your heading text into the Title field.
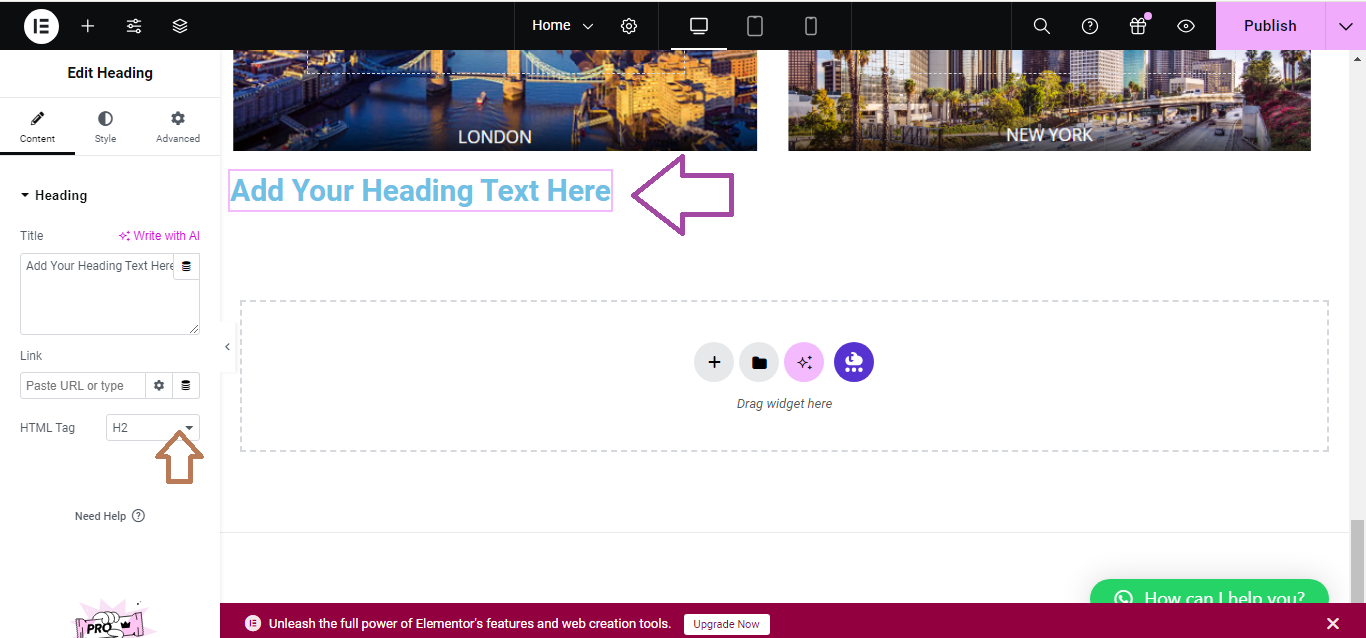
Step 4: Customize the Heading
- You can select the heading type (H1, H2, etc.) from the HTML Tag dropdown.
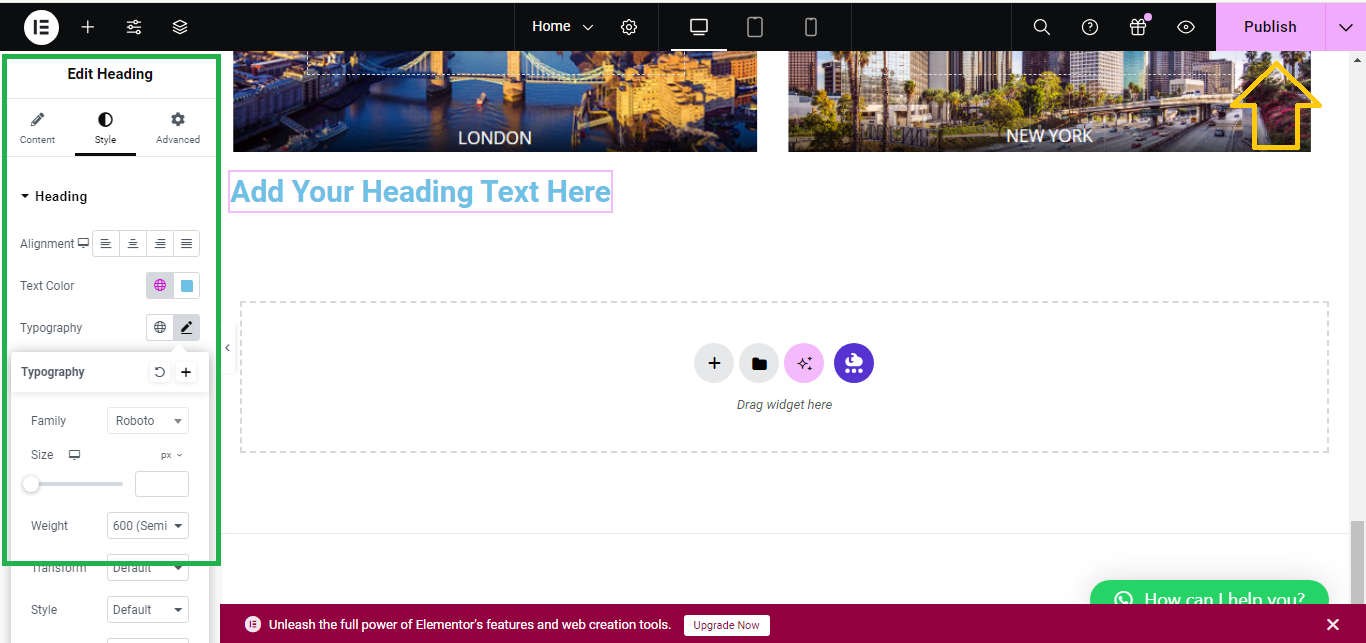
- In the Style tab, you can customize the heading’s Text Color, Typography, Alignment, and more.

Step 5: Save Your Work
- After you’ve added and customized the heading, click Update at the bottom to save your changes.
That’s it! You’ve successfully added a heading to your page using Elementor.


