Add Section in WordPress

Step 1: Open Elementor Editor
- Log in to your WordPress dashboard.
- Navigate to the page or post where you want to add the section.
- Click Edit with Elementor to open the Elementor editor.

Step 2: Add a New Section
- In the Elementor editor, click the + (plus) button that appears in the content area.
- Choose a structure for your section (e.g., single column, two columns, three columns, etc.). Select the one that fits your design.

Step 3: Add Widgets to the Section
- Once the section is added, it will be an empty space. Now, drag and drop widgets from the Elementor widget panel (on the left) into the section.
- You can add Headings, Text, Images, Buttons, or any other widget from the Elementor panel.

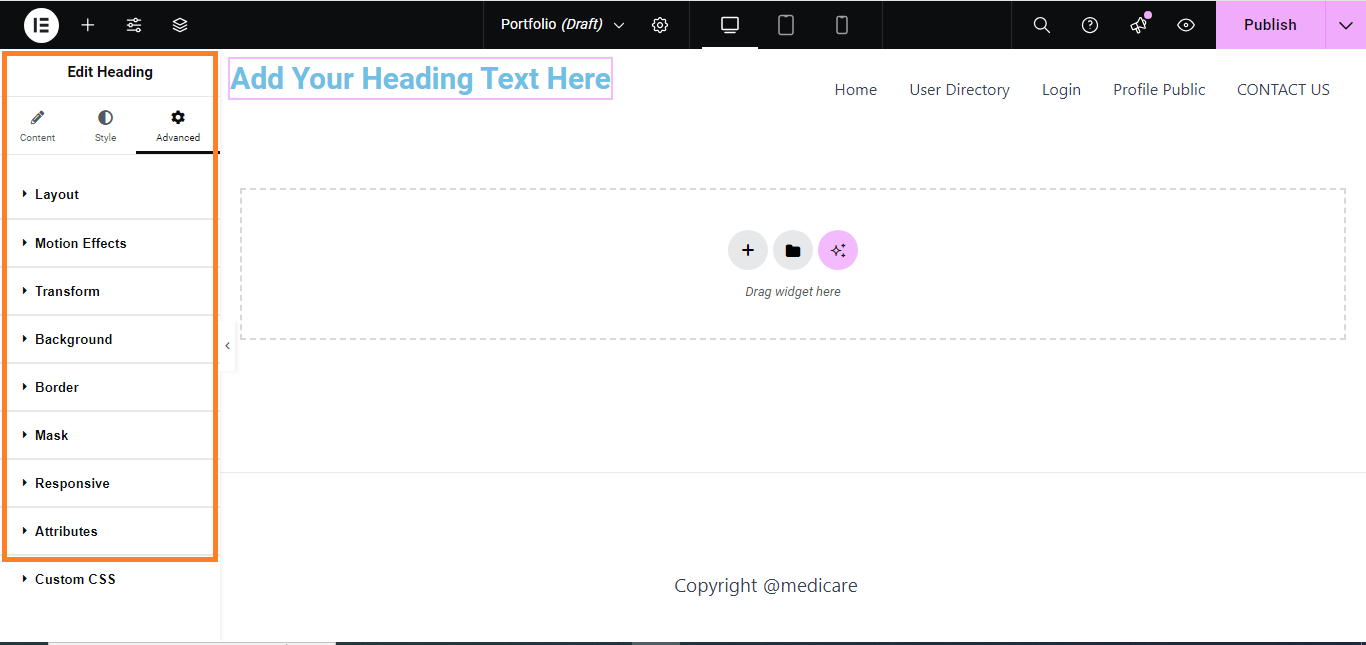
Step 4: Customize Section Settings
- To customize the section, click on the Edit Section icon (three horizontal lines) at the top of the section.
- In the Section Settings panel, you can modify:
- Layout: Adjust the section height, column width, and content positioning.
- Style: Change the background color, image, borders, and more.
- Advanced: Control the padding, margins, and responsiveness of the section.
Step 5: Publish/Update
- Once you’ve added and customized the section to your liking, click Publish (if it’s a new page) or Update (if you’re editing an existing page) to save your changes.

Your new Section is now live and ready for use on your WordPress page!


