How to Schedule WordPress Posts?
Scheduling WordPress posts allows you to publish content at a future date and time. Here’s how to schedule posts in WordPress:
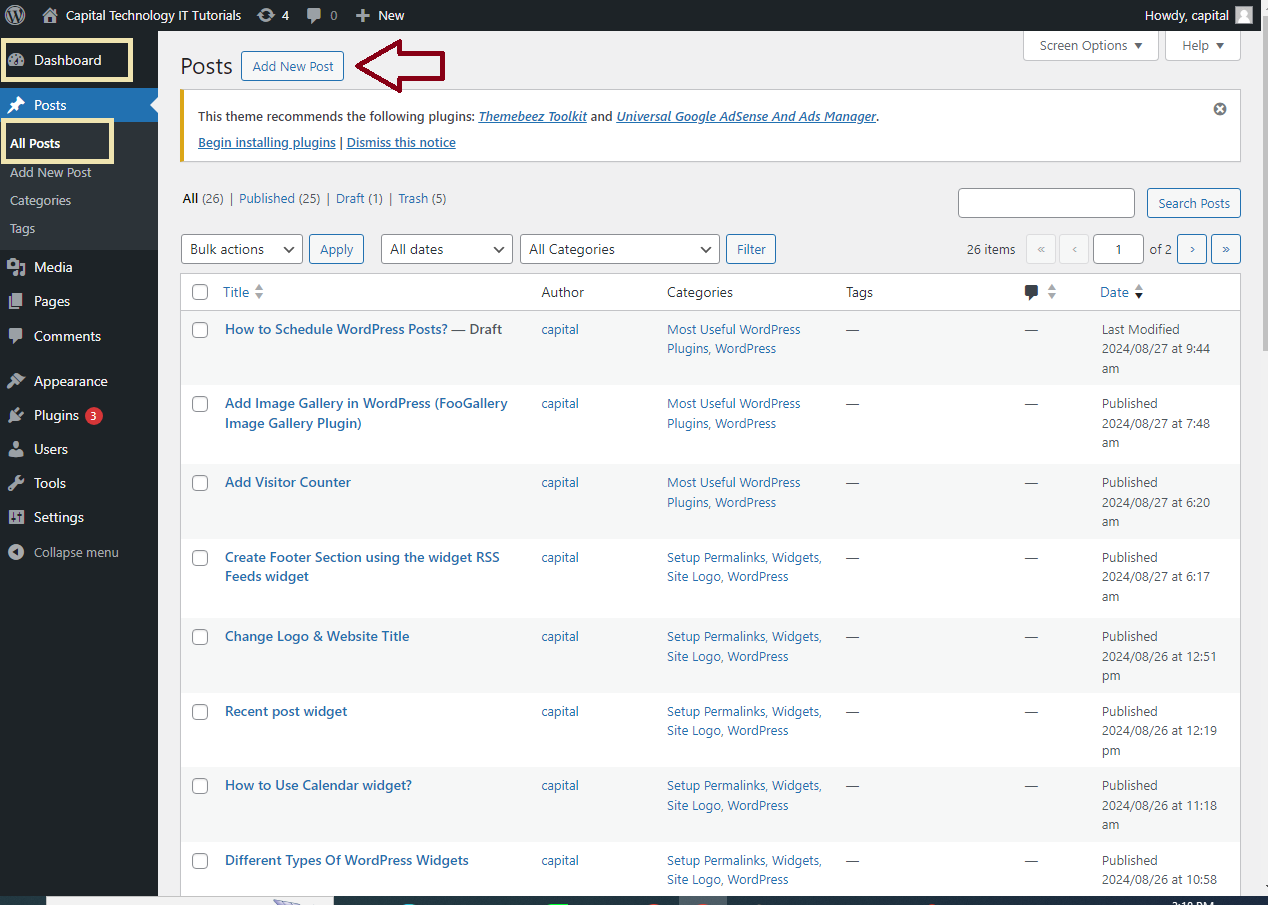
Step 1: Create a New Post
- Log in to your WordPress admin dashboard.

- Navigate to
Posts>Add Newto create a new post.
Step 2: Write Your Post
- Write your post content as usual. You can add titles, text, images, and any other content.

Step 3: Schedule the Post
- On the right side of the post editor, locate the
Publishbox. - Click the
Editlink next to thePublish immediatelyoption. - Set the desired date and time when you want your post to be published.
- Click
OKto confirm the date and time settings.

Step 4: Save and Schedule
- Instead of clicking
Publish, click theSchedulebutton. This will save your post and set it to be automatically published at the date and time you specified.

Step 5: Manage Scheduled Posts
- To view and manage your scheduled posts, go to
Posts>All Posts. - Click on the
Scheduledtab to see a list of posts that are scheduled to be published in the future.

Step 6: Edit or Cancel Scheduled Posts (Optional)
- To edit a scheduled post, click on the post title under the
Scheduledtab. Make your changes, and then clickUpdateto save the changes. - To cancel scheduling, change the
Publishstatus back toDraftorPending Review, then clickSave DraftorUpdate.
That’s it! Your WordPress post will be published automatically on the scheduled date and time.


