Elementor Header Footer Builder

To create and customize a Header and Footer in WordPress using Elementor Header Footer Builder, follow these easy steps:
1. Install the Elementor Header & Footer Builder Plugin:
- Go to your WordPress Dashboard.
- Navigate to Plugins > Add New.
- Search for Elementor Header & Footer Builder.
- Click Install Now and then Activate the plugin.

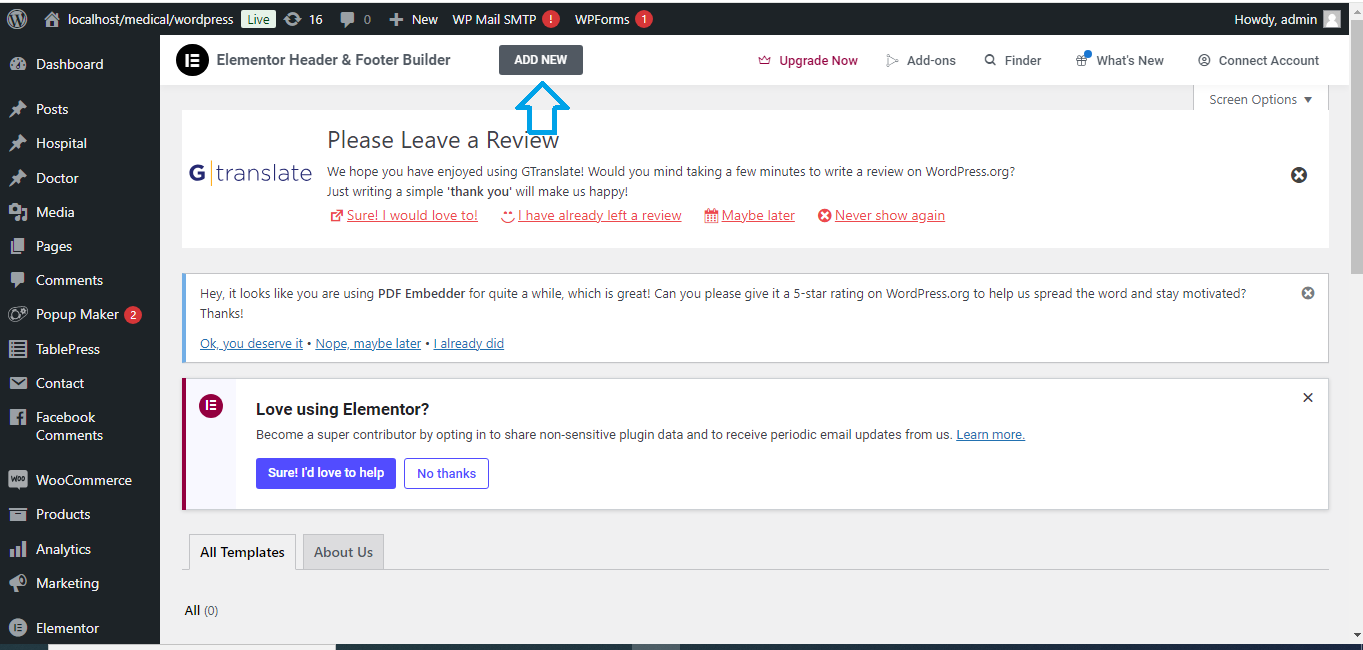
2. Create a New Header or Footer:
- In the WordPress Dashboard, go to Appearance > Header Footer Builder.
- Click on Add New.
- Choose Header or Footer as the template type.
- Name your header or footer (e.g., “Main Header”).
- Under Display On, select where you want the header/footer to appear (e.g., Entire Website).
3. Design Using Elementor:
- Once you’ve set the template, click on Edit with Elementor.
- Design your header/footer using Elementor’s drag-and-drop builder.
- Add elements like logo, navigation menus, social icons, etc., for the Header.
- For the Footer, you can add widgets like contact details, copyright text, and social media icons.

4. Publish the Header/Footer:
- After designing, click Publish.
- Your custom header or footer will now be active on your site based on the display rules you’ve set.

5. Check Your Website:
- Visit your website to ensure the custom header/footer is visible and working as intended.
With these steps, you can easily build and customize headers and footers for your WordPress site using Elementor!


