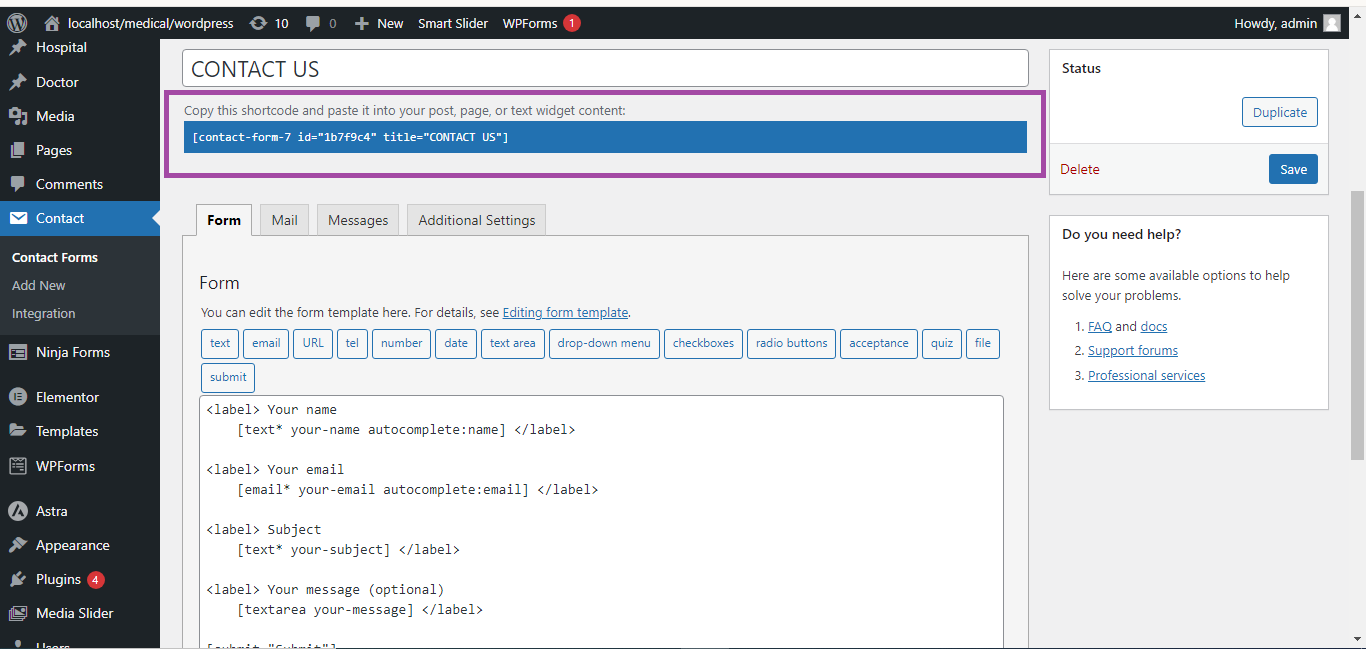
Add File Attachment in Contact Form 7

To add a file attachment option to a Contact Form 7 form in WordPress, follow these easy steps:
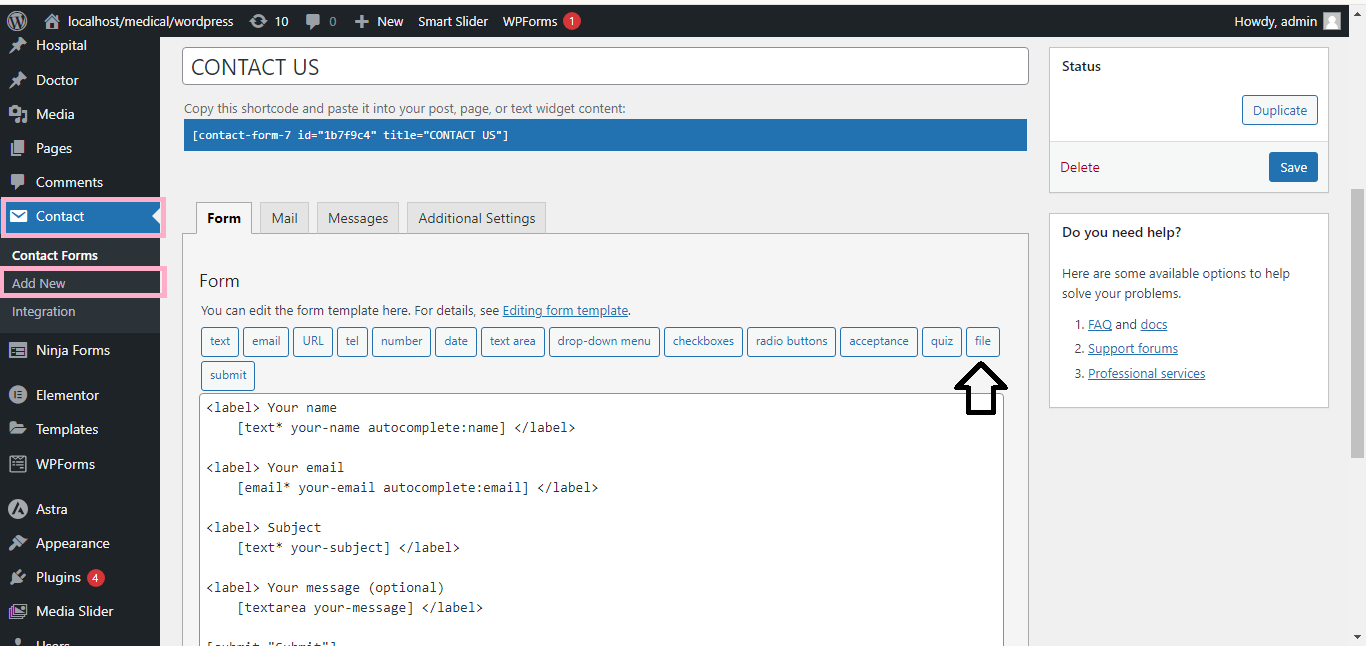
1. Access Contact Form 7
- Go to your WordPress dashboard.
- Navigate to Contact > Contact Forms.
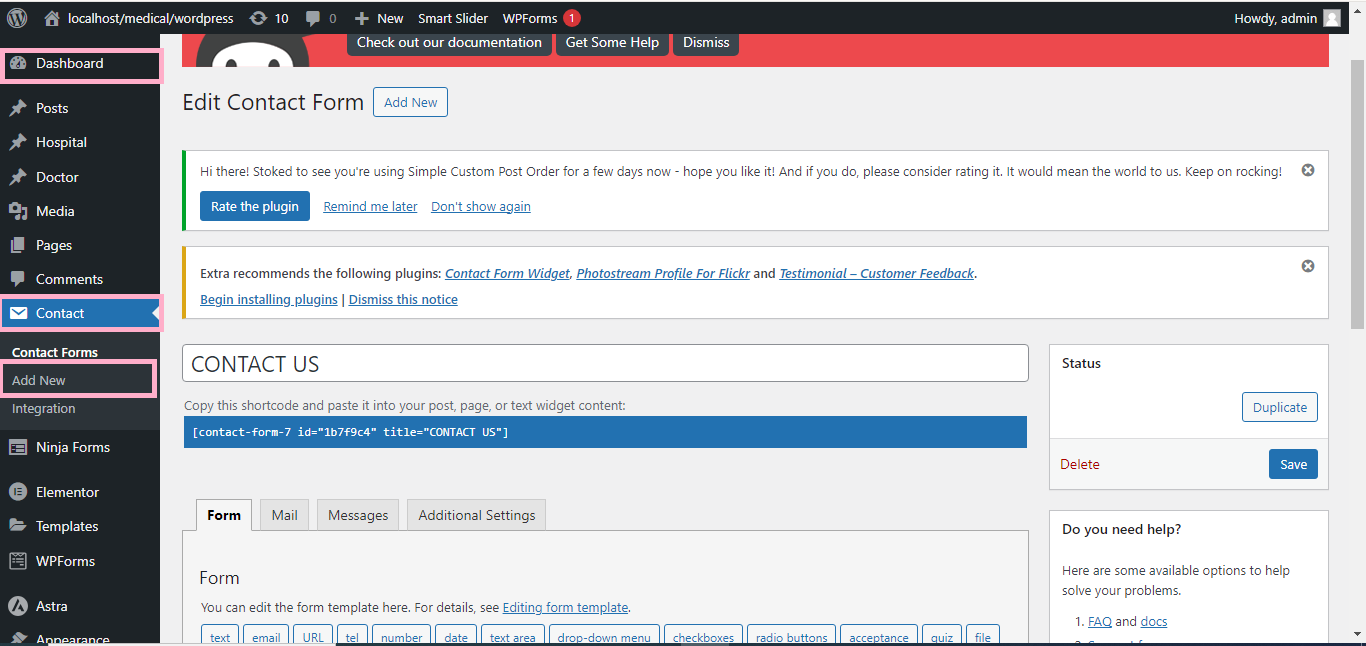
2. Edit or Create a Form
- Click on the form you want to edit, or create a new form by clicking “Add New”.
3. Add File Attachment Field
- In the form editor, place your cursor where you want the file attachment field to appear.
- Click the “File” button from the toolbar.
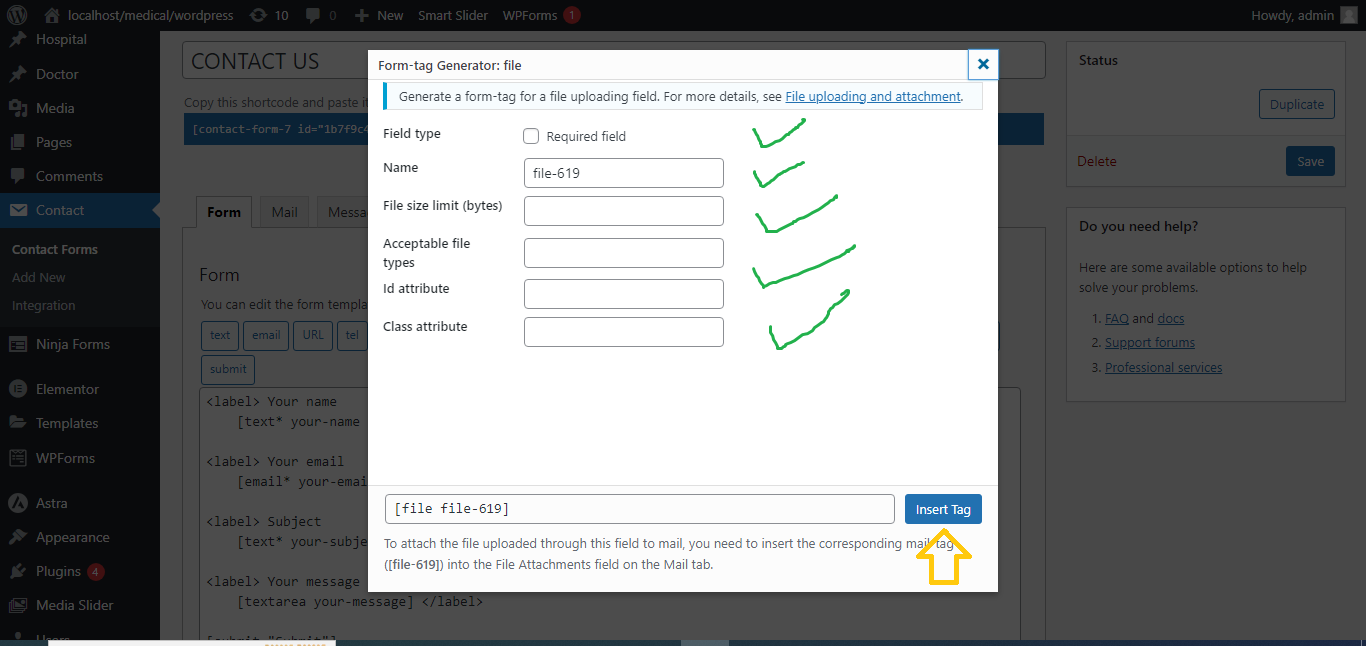
4. Configure the File Attachment Field
- In the popup that appears:
- Name: Enter a name for the file field (e.g.,
your-file). - Field Label: Enter the label you want to display (e.g.,
Upload your file). - Allowed File Types: You can specify the allowed file types by entering a list separated by commas (e.g.,
jpg, jpeg, png, pdf). - Max File Size: You can set a maximum file size limit (e.g.,
2MB). - Check “Required field?” if you want the user to upload a file before submitting the form.
- Name: Enter a name for the file field (e.g.,
- Click “Insert Tag” to add the file field to your form.
5. Save the Form
- Scroll down and click “Save” to apply the changes.
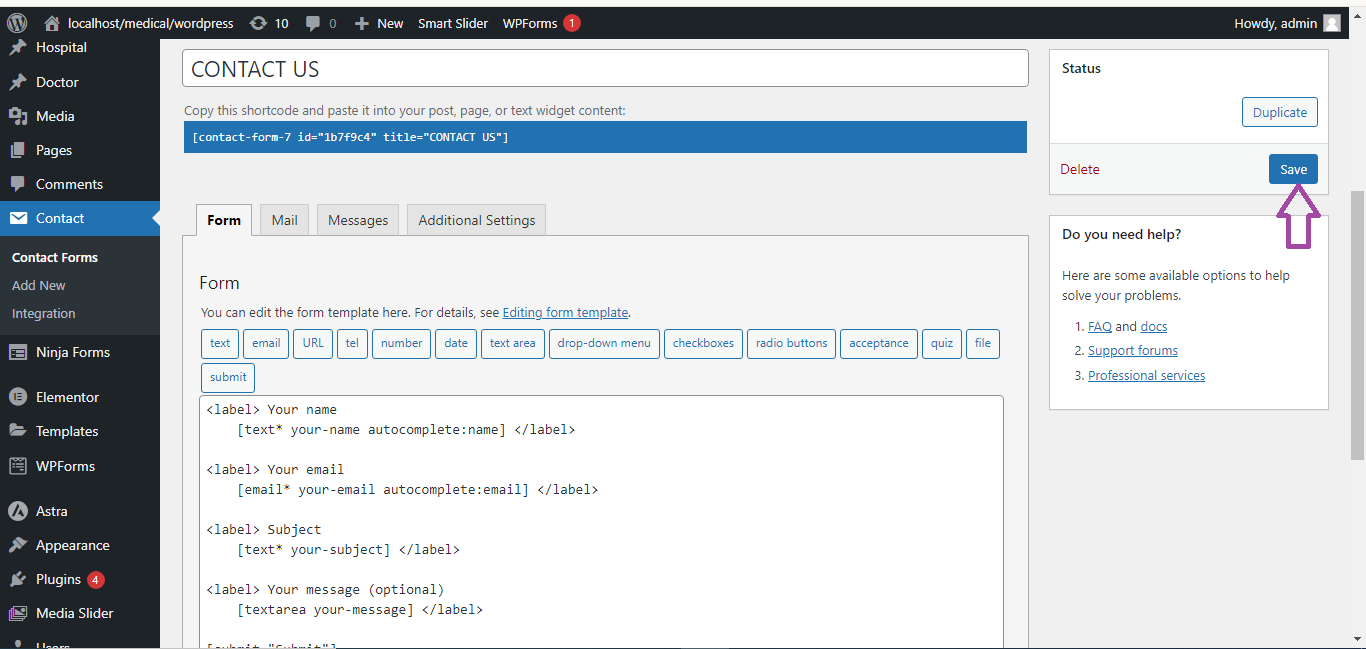
6. Add the Form to a Page/Post
- Copy the form’s shortcode from the top of the form editor.
- Paste the shortcode into the page or post where you want the form to appear.
Your form will now include a file attachment option, allowing users to upload files when they submit the form.