Add a Date Picker Option in Contact Form 7

Here’s how to add a Date Picker option in Contact Form 7 without writing any code:
Step 1: Install and Activate Contact Form 7
If you haven’t installed it yet, go to Plugins > Add New, search for Contact Form 7, install, and activate the plugin.

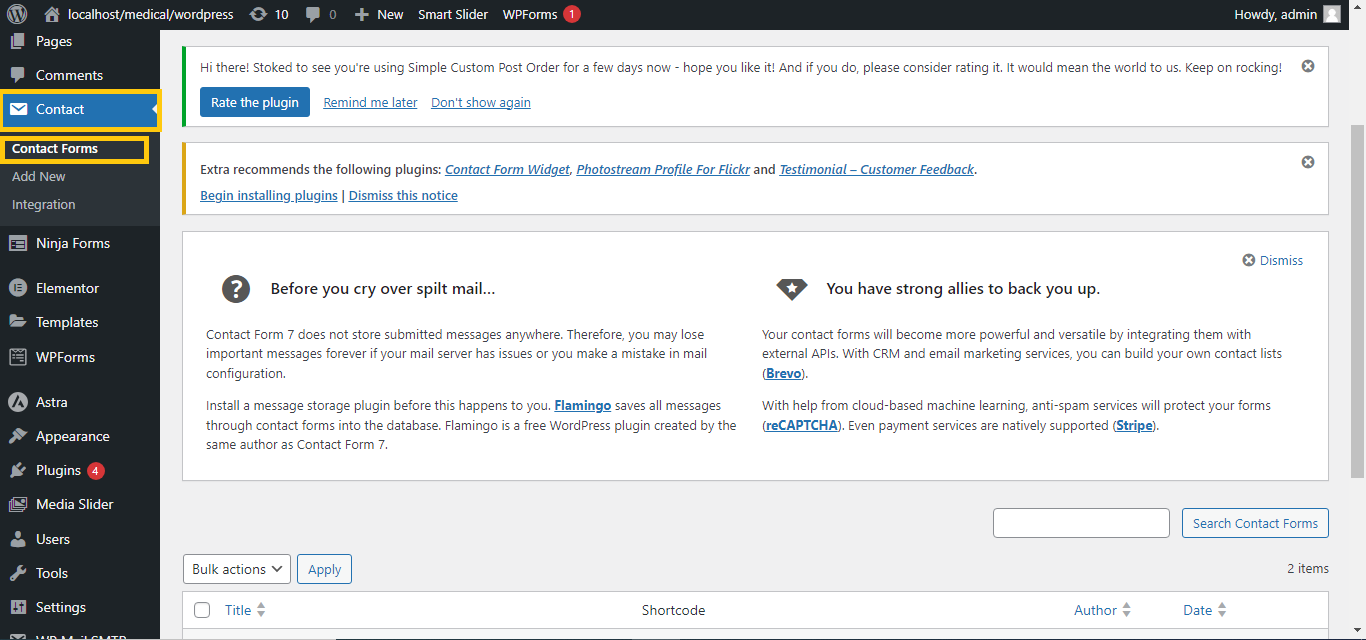
Step 2: Create or Edit a Form
Go to Contact > Contact Forms, then either create a new form or edit an existing one.
Step 3: Use the Form Editor to Add a Date Picker
- In the form editor, click on the “Date” button in the toolbar above the form.
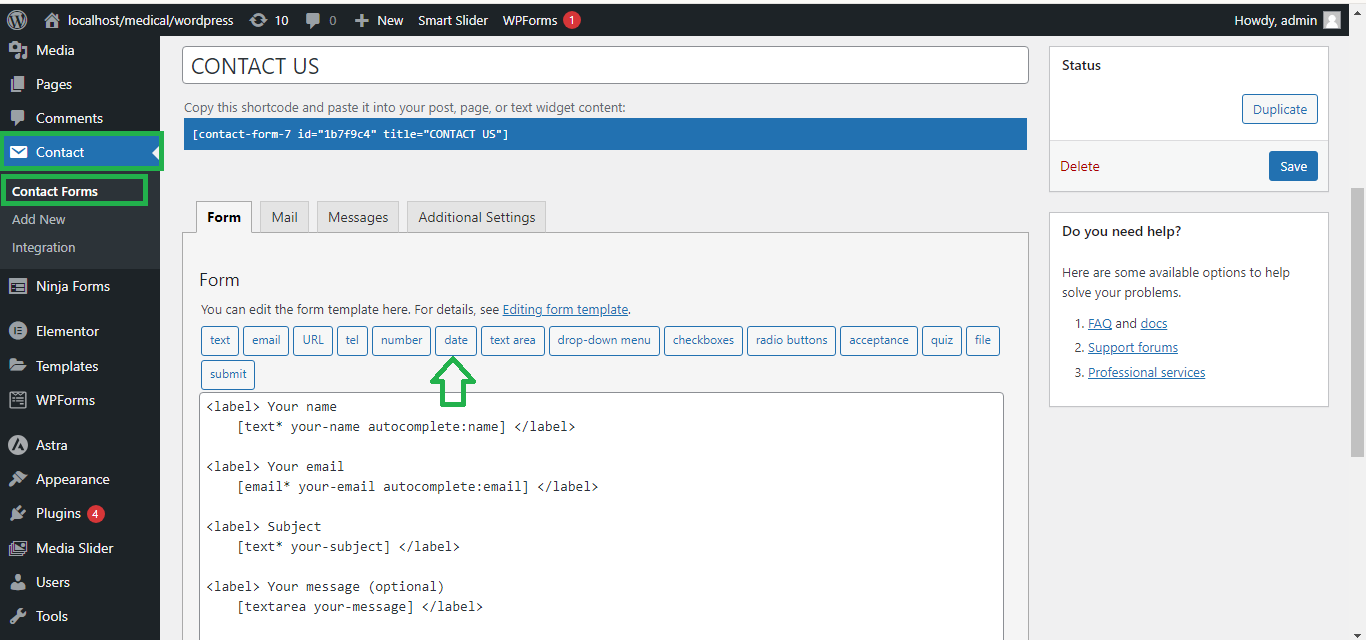
- A pop-up will appear with options for customizing the date picker field.
- You can make the field required by checking the “Required field?” box.
- Optionally, set a default date, minimum date, and maximum date.
- After configuring the options, click “Insert Tag”.

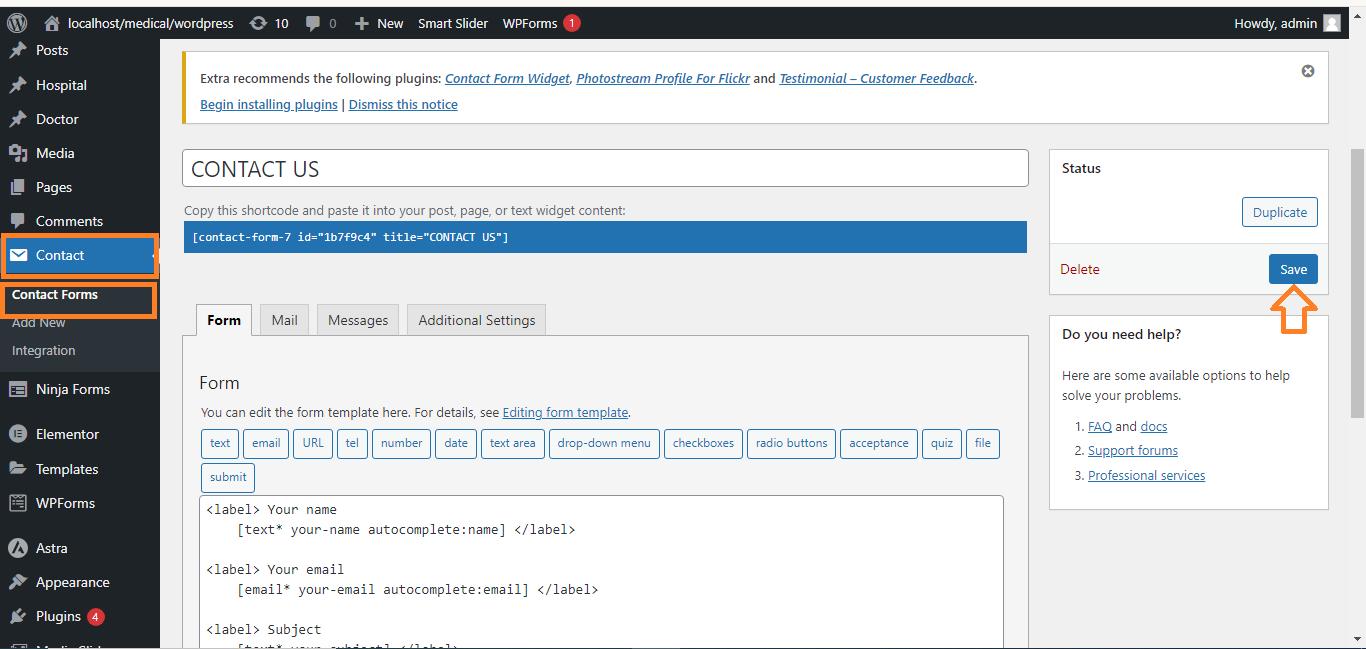
Step 4: Save the Form
Click Save to update the form.
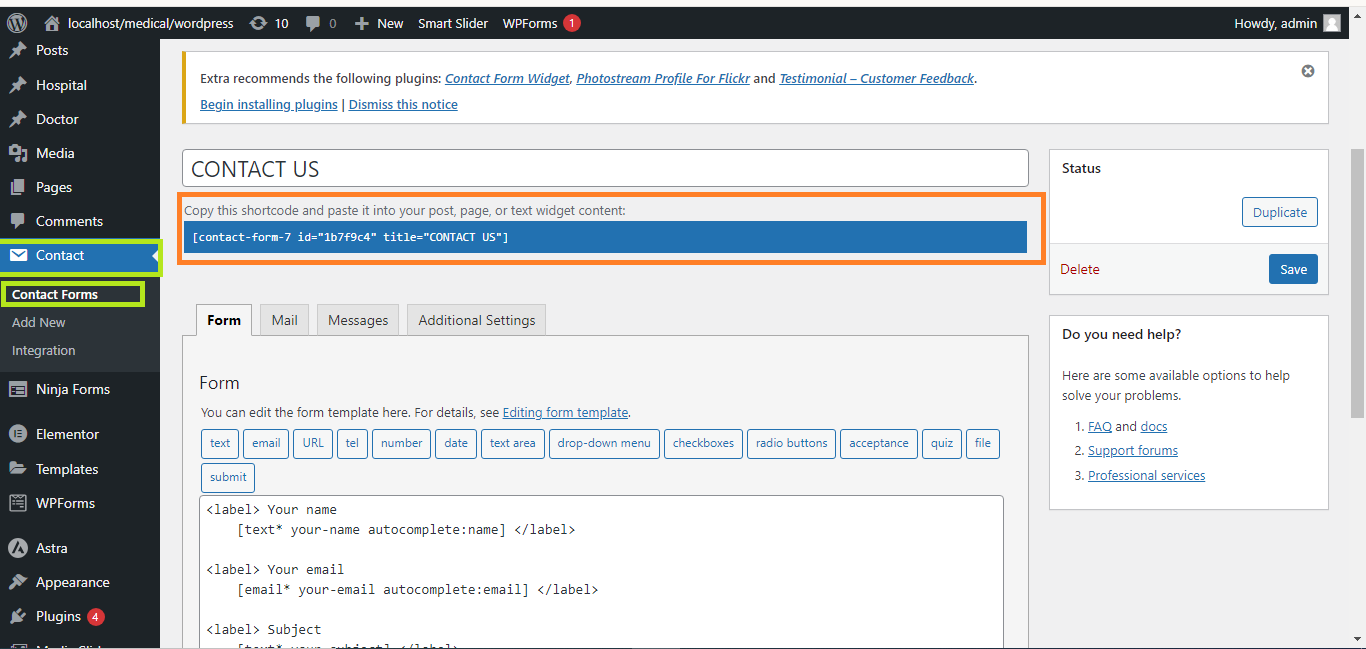
Step 5: Add the Form to a Page or Post
Copy the form shortcode displayed at the top of the form editor and paste it into a page or post where you want the form to appear.
Step 6: Test the Form
Preview or publish the page, then test the Date Picker to ensure it’s working properly.
That’s it! You’ve added a Date Picker to Contact Form 7 without writing any code.


