Add Google Fonts in WordPress

To add Google Fonts to your WordPress site using Elementor, follow these easy steps:
Step 1: Edit the Page with Elementor
- Go to your WordPress dashboard.
- Navigate to Pages or Posts.
- Select the page or post where you want to apply Google Fonts and click Edit with Elementor.

Step 2: Select a Widget to Apply Google Fonts
- In the Elementor editor, click on the text or heading widget where you want to change the font.
- In the left panel, go to the Style tab.

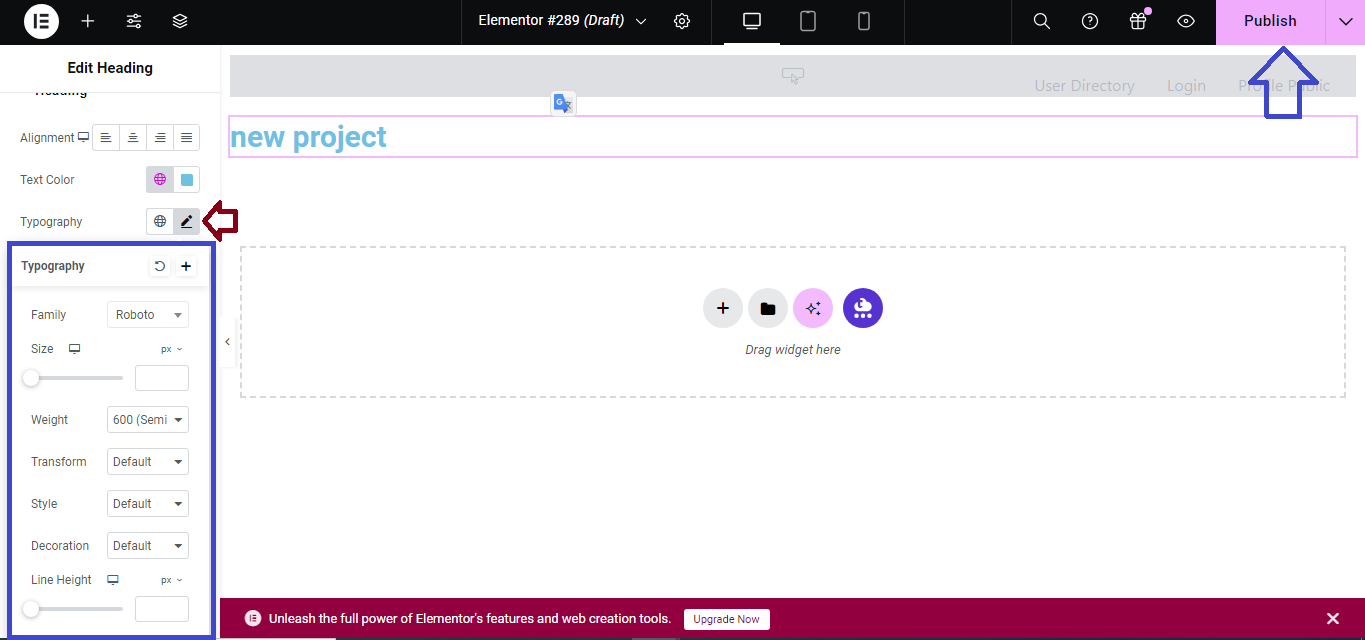
Step 3: Change Typography Settings
- Under Typography, click the pencil icon next to Typography.
- In the Family dropdown, you’ll see a list of Google Fonts.
- Search or scroll through the list to find the Google Font you want to use.
- Select your desired font, and it will be applied to the text or heading.

Step 4: Customize Font Style (Optional)
- You can also customize font size, weight, transform, and line height under the same Typography section.

Step 5: Publish or Update the Page
- After applying the desired Google Font, click Publish (or Update if editing).
Now, the Google Fonts you selected will be applied to your WordPress site via Elementor!


