Add Image and Video With Elementor

Adding images and videos with Elementor is simple. Here’s how to do it step-by-step:
Step 1: Open Elementor Editor
- In your WordPress dashboard, go to Pages or Posts.
- Select the page or post you want to edit.

- Click Edit with Elementor.

Adding an Image
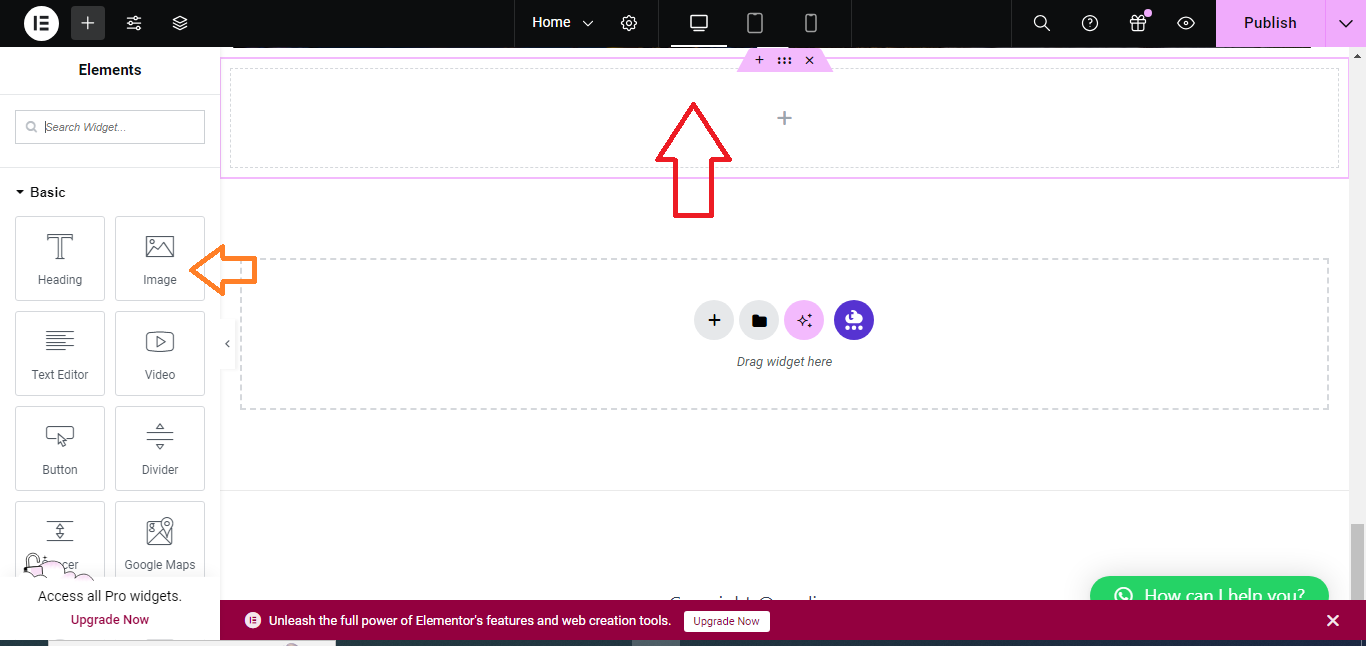
Step 2: Add an Image Widget
- In the Elementor editor, find the Image widget in the left panel.
- Drag and drop the Image widget onto your page where you want the image to appear.
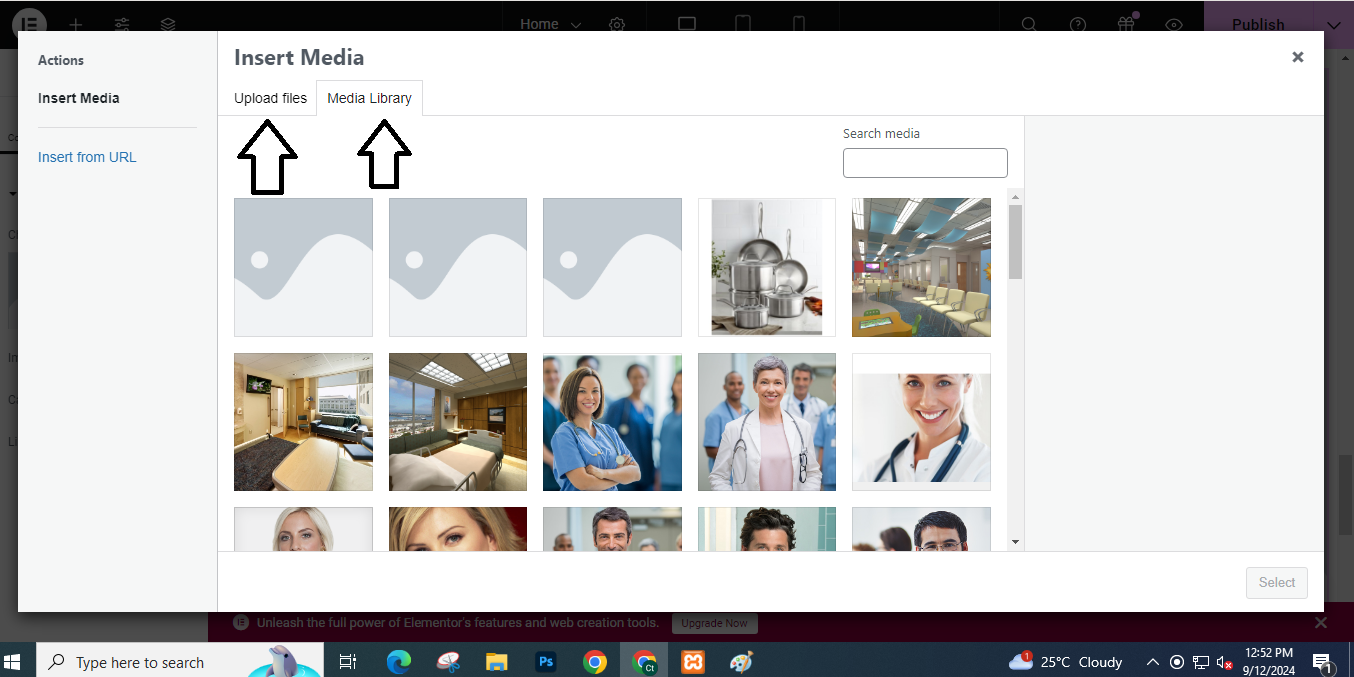
Step 3: Upload or Choose an Image
- Once the widget is placed, click the Choose Image button on the left panel.
- Upload a new image or select one from the Media Library.
- Click Insert Media to add the image.
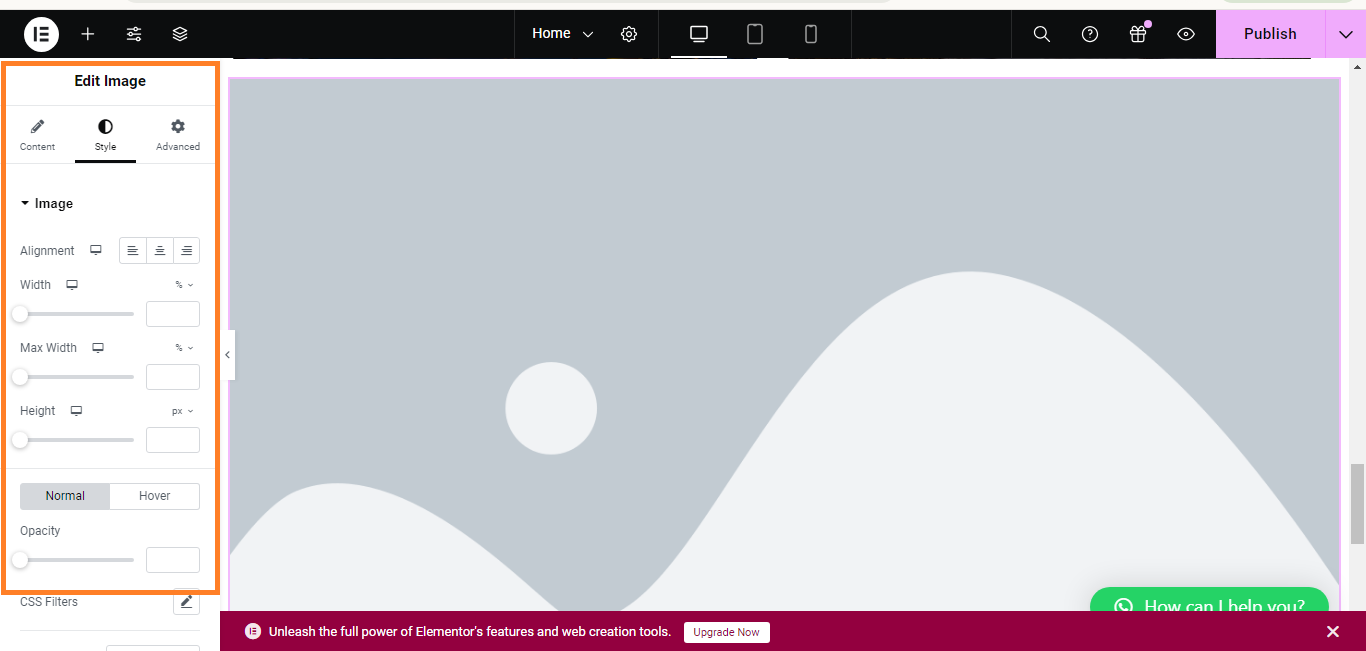
Step 4: Customize the Image
- You can adjust the Image Size, Alignment, and Linking Options in the left panel.
- In the Style tab, you can add borders, shadows, or change the size and opacity of the image.
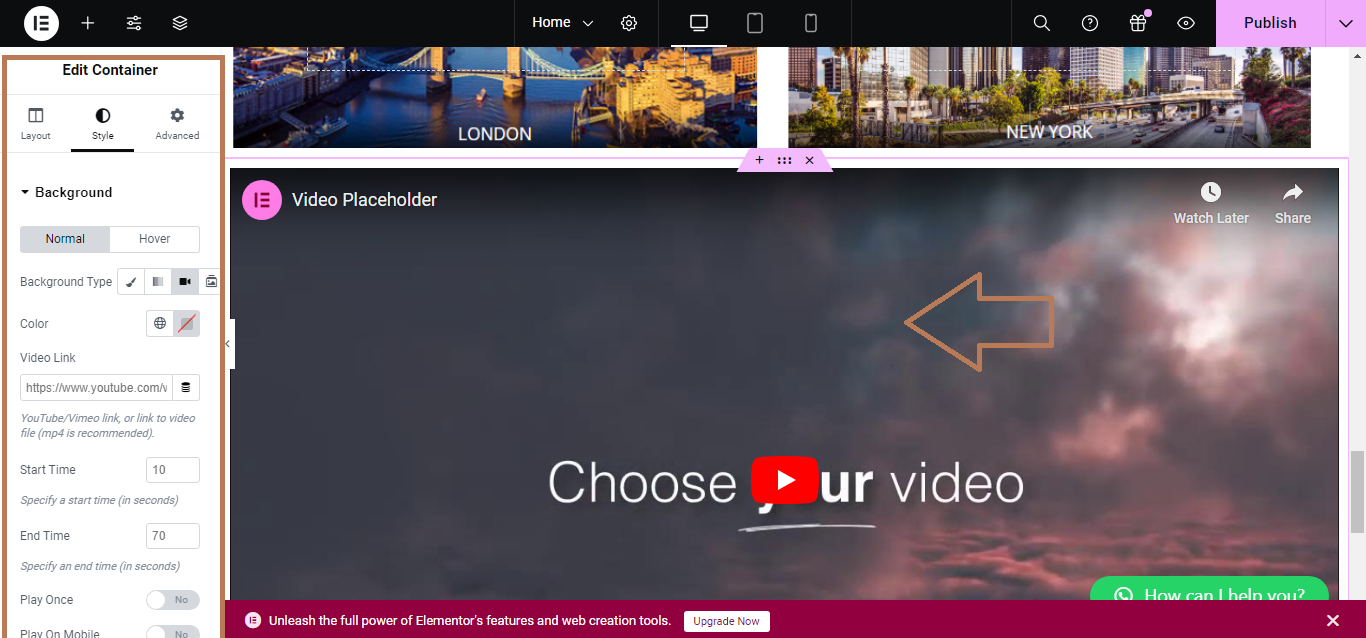
Adding a Video
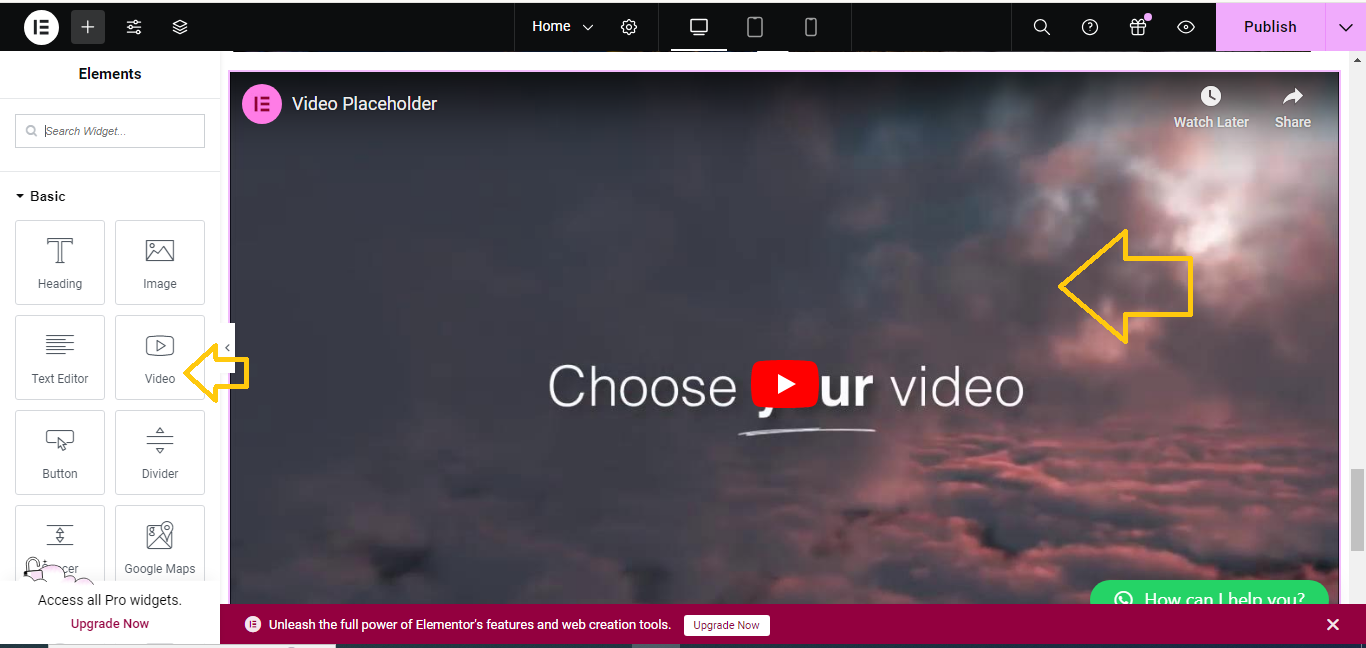
Step 5: Add a Video Widget
- In the Elementor editor, locate the Video widget in the left panel.
- Drag and drop the Video widget onto your page where you want the video to appear.
Step 6: Insert Video Link
- In the left panel, enter the URL of the video (YouTube, Vimeo, or self-hosted).
- The video will automatically appear in the widget.
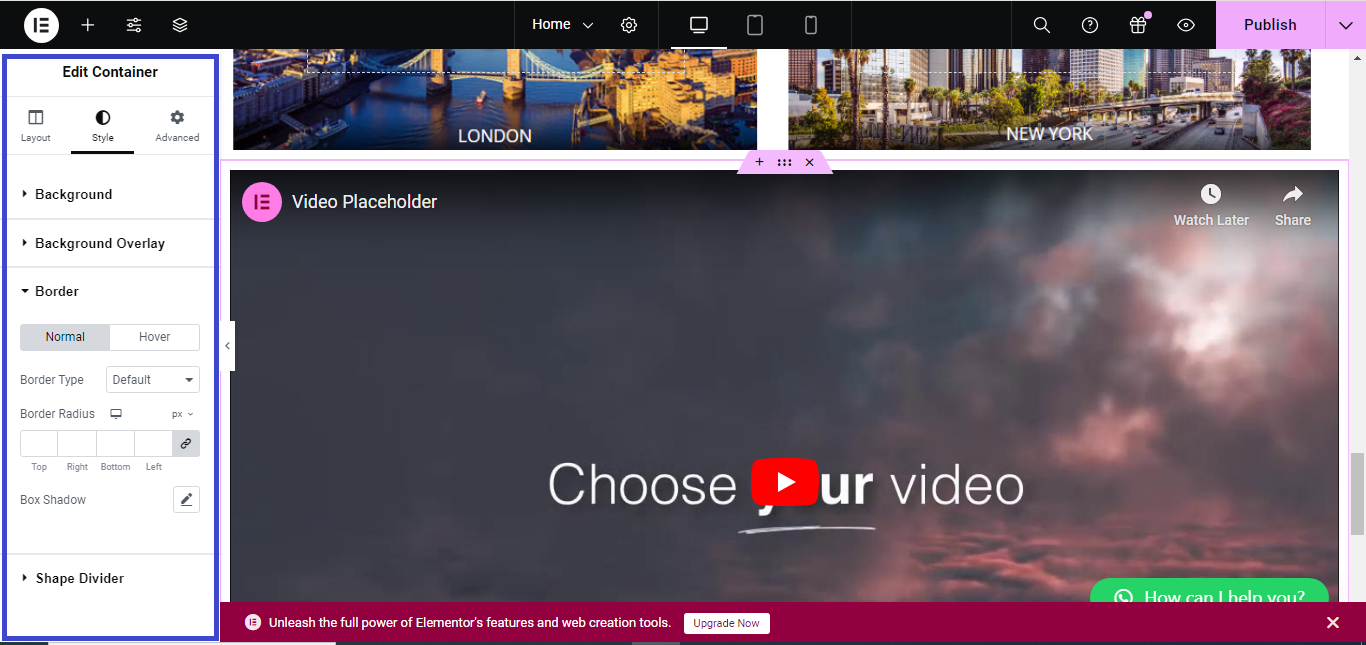
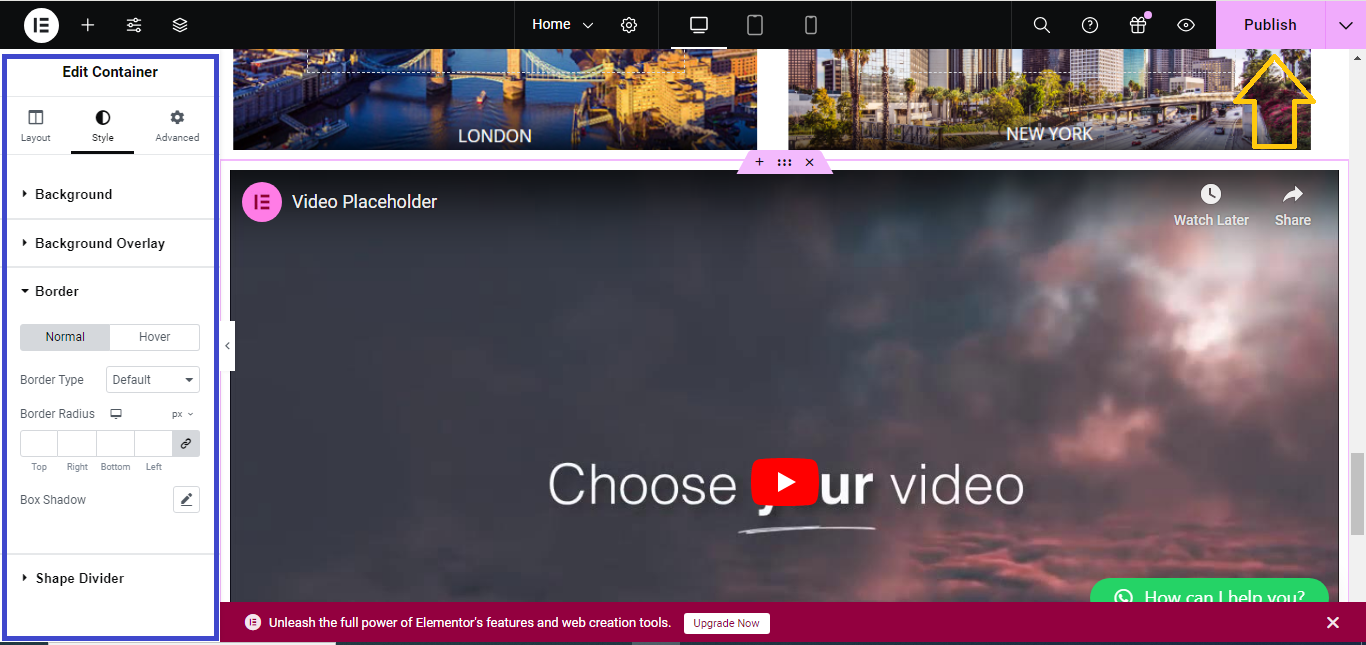
Step 7: Customize the Video
- In the Content tab, you can adjust Autoplay, Mute, Loop, and Player Controls.

- In the Style tab, you can add borders, adjust width, and more.
Step 8: Save Your Work
- After adding the image or video, click Update at the bottom to save your changes.
This process helps you easily add images and videos to your Elementor page!


