Add Media Carousel

Step 1: Open Elementor Editor
- Log in to your WordPress dashboard.
- Navigate to the page or post where you want to add the Media Carousel.
- Click Edit with Elementor to open the Elementor editor.

Step 2: Add a New Section
- In the Elementor editor, click the + (plus) button to add a new section.
- Choose a single-column structure (or any other layout that suits your design).

Step 3: Add the Media Carousel Widget
- In the Elementor widget panel, search for Media Carousel.
- Drag and drop the Media Carousel widget into the section you created.

Step 4: Add Media to the Carousel
- Under the Content tab:
- Slides: Click on the + Add Item button to upload images, videos, or media.
- For each slide, you can set the Image/Video by uploading files or selecting them from the media library.
- You can also add a Link to each slide if you want them to be clickable.

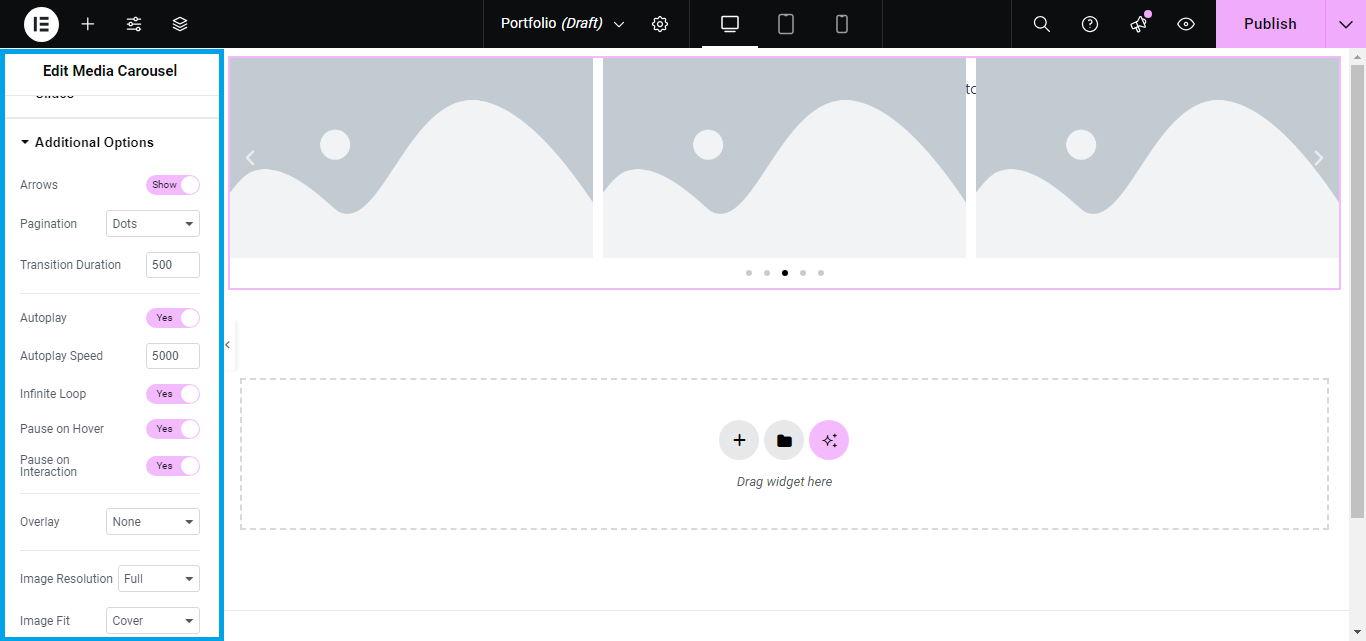
Step 5: Customize Carousel Settings
- Still under the Content tab:
- Slides to Show: Choose how many slides you want to display at once.
- Autoplay: Toggle on if you want the carousel to automatically move.
- Infinite Loop: Enable this option to make the carousel loop continuously.
- Navigation: Choose to show Arrows, Dots, or both for navigating the carousel.
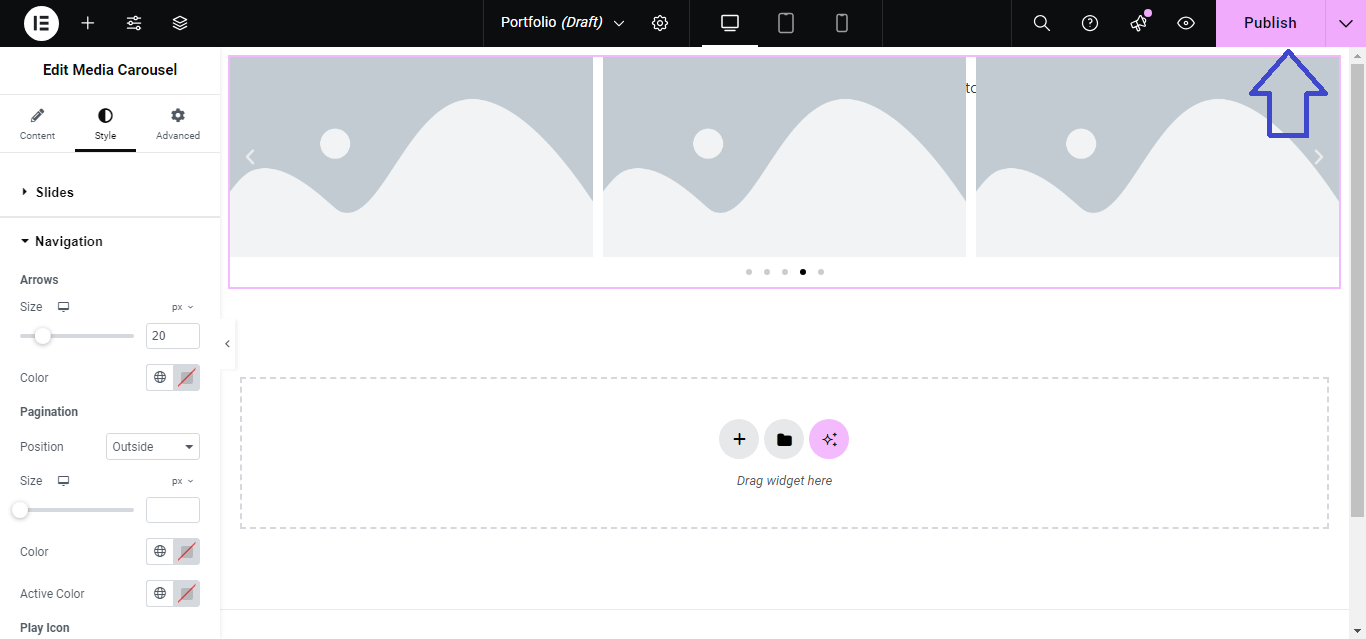
Step 6: Style the Media Carousel
- Switch to the Style tab to customize the look of the carousel:
- Slides: Adjust spacing between slides, slide size, and alignment.
- Navigation: Style the Arrows and Dots (size, color, position).
- Images: Customize the border, box-shadow, and opacity of the images.

Step 7: Publish/Update
- Once you’re satisfied with the carousel’s design, click Publish or Update to save the changes.
Your Media Carousel is now live, displaying images or videos in an interactive, scrolling carousel!


