Add Privacy Policy in Footer Section

 Steps to Add Privacy Policy in Footer Section Using Elementor
- Create a Privacy Policy Page:
- Go to your WordPress Dashboard.
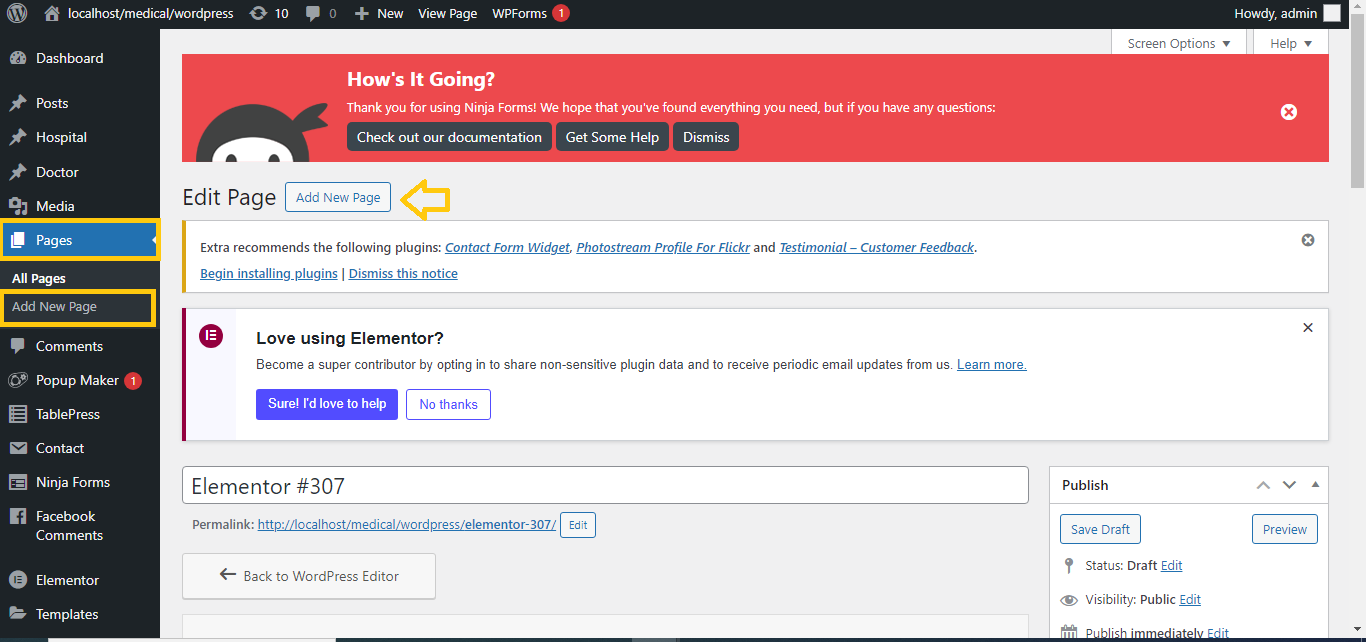
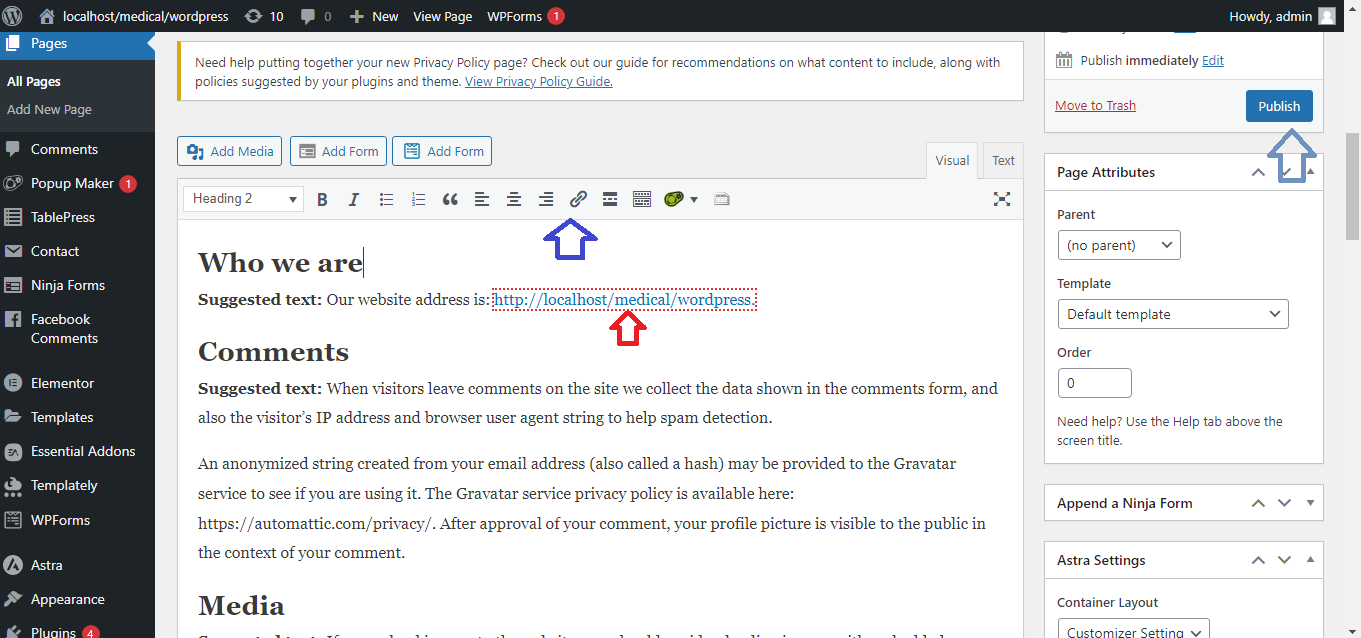
- Navigate to Pages > Add New.
- Create a new page titled “Privacy Policy“.
- Add your privacy policy content and click Publish.
- Open Your Footer Template in Elementor:
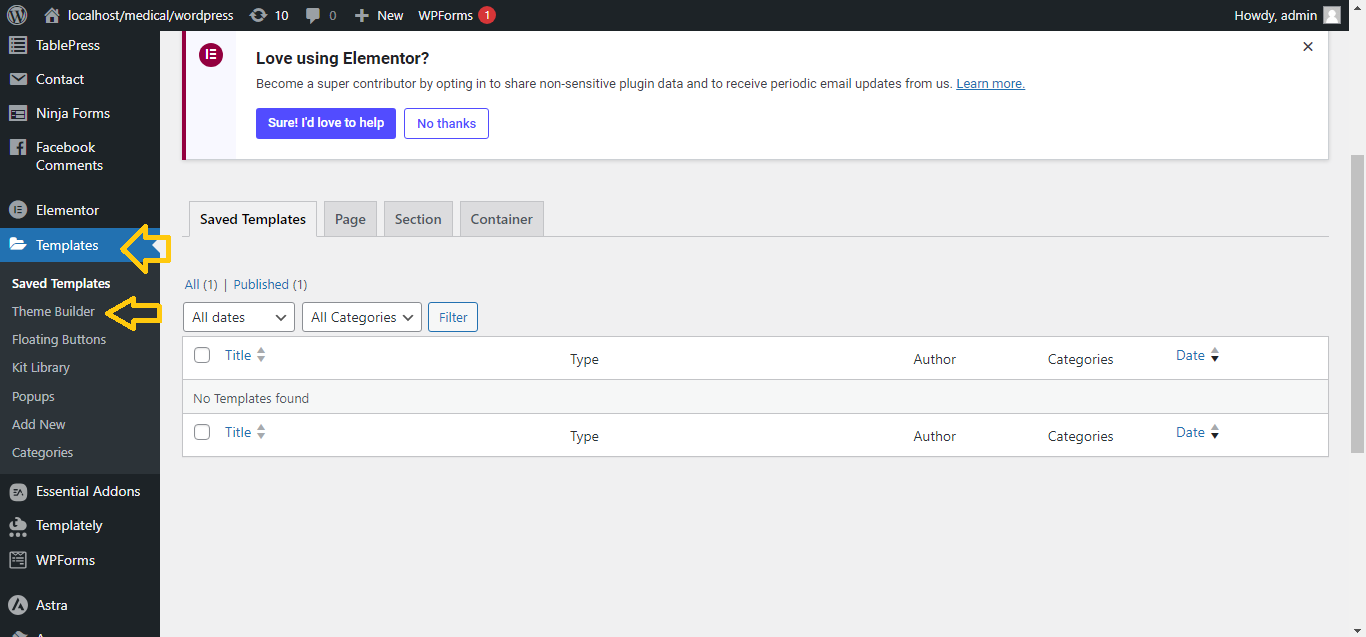
- In the WordPress dashboard, go to Templates > Theme Builder.
-
- Look for the Footer template (or create one if it doesn’t exist).
- Click Edit with Elementor to open the footer in the Elementor editor.
- Add a Text or Menu Widget:
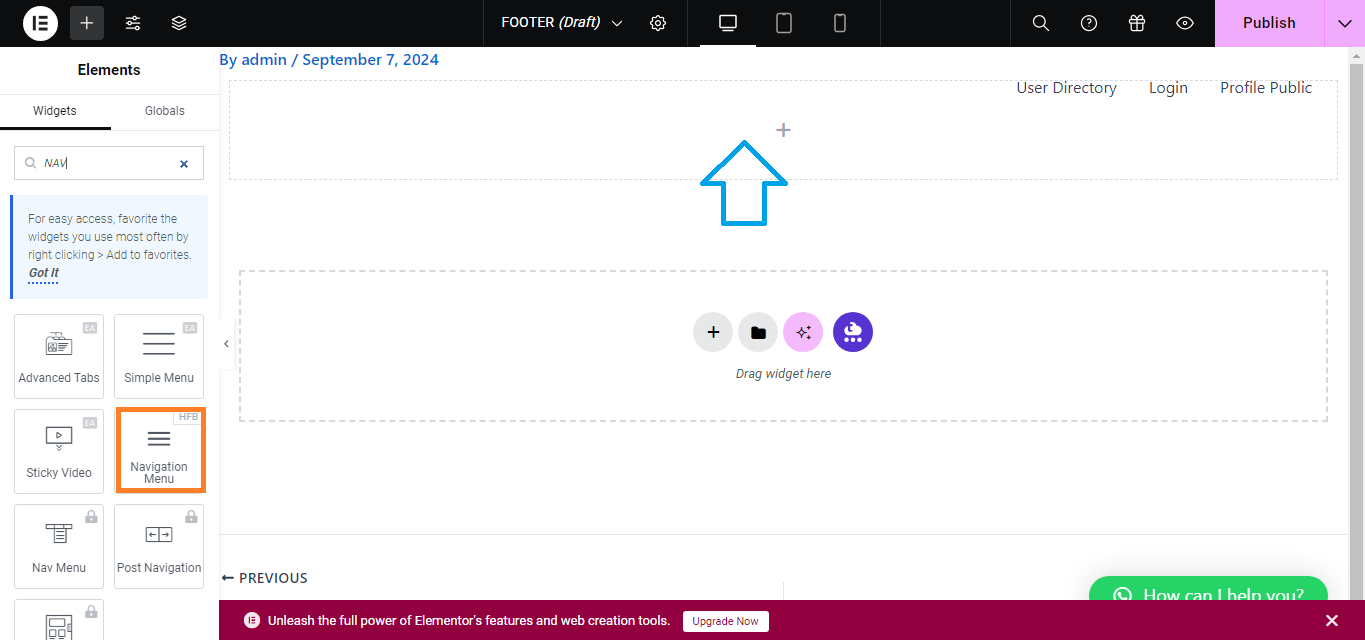
- In Elementor, search for the Text Editor or Nav Menu widget, depending on how you want to display your Privacy Policy link.
- Drag and drop the widget into your footer area where you want the link to appear.
- Insert the Privacy Policy Link:
- If you’re using the Text Editor widget:
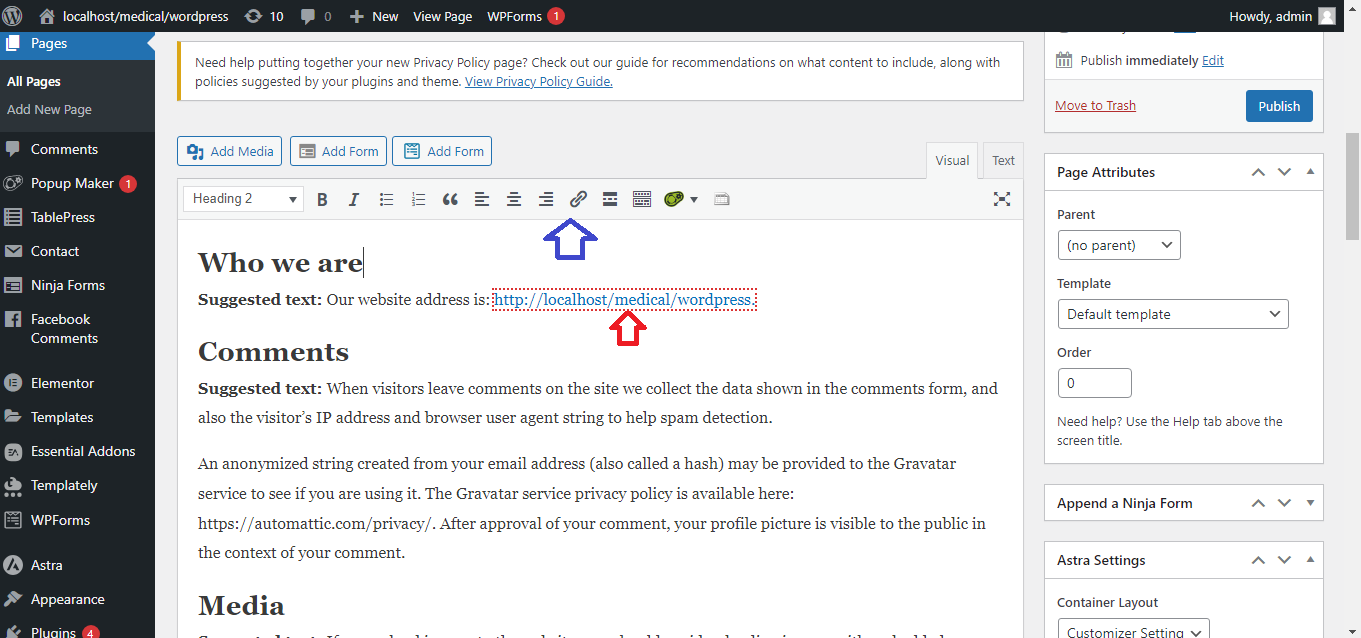
- Type “Privacy Policy” or similar text.
- Highlight the text, click the link icon, and paste the URL of your Privacy Policy page.
- If you’re using the Nav Menu widget:
- Create a menu with the Privacy Policy page in Appearance > Menus and assign it to the Nav Menu widget.
- If you’re using the Text Editor widget:
- Style the Link:
- Go to the Style tab in Elementor to customize the text, color, and alignment of the Privacy Policy link to match your design.
- Save and Publish:
- After adding the link, click Update to save your footer.
Now, your Privacy Policy link will appear in the footer of your website!


