Carousel slider in WordPress

Here’s a simple guide to adding a carousel slider in WordPress:
Step 1: Install a Carousel Slider Plugin
- Log in to your WordPress dashboard.

- Go to
Plugins>Add New.

- Search for “Carousel Slider” or “Slick Slider.”
- Click
Install Nowand thenActivate.

Step 2: Create a New Carousel
- After activation, a new menu option like
Carousel Sliderwill appear in your dashboard. - Click on
Carousel Slider>Add New Carousel.
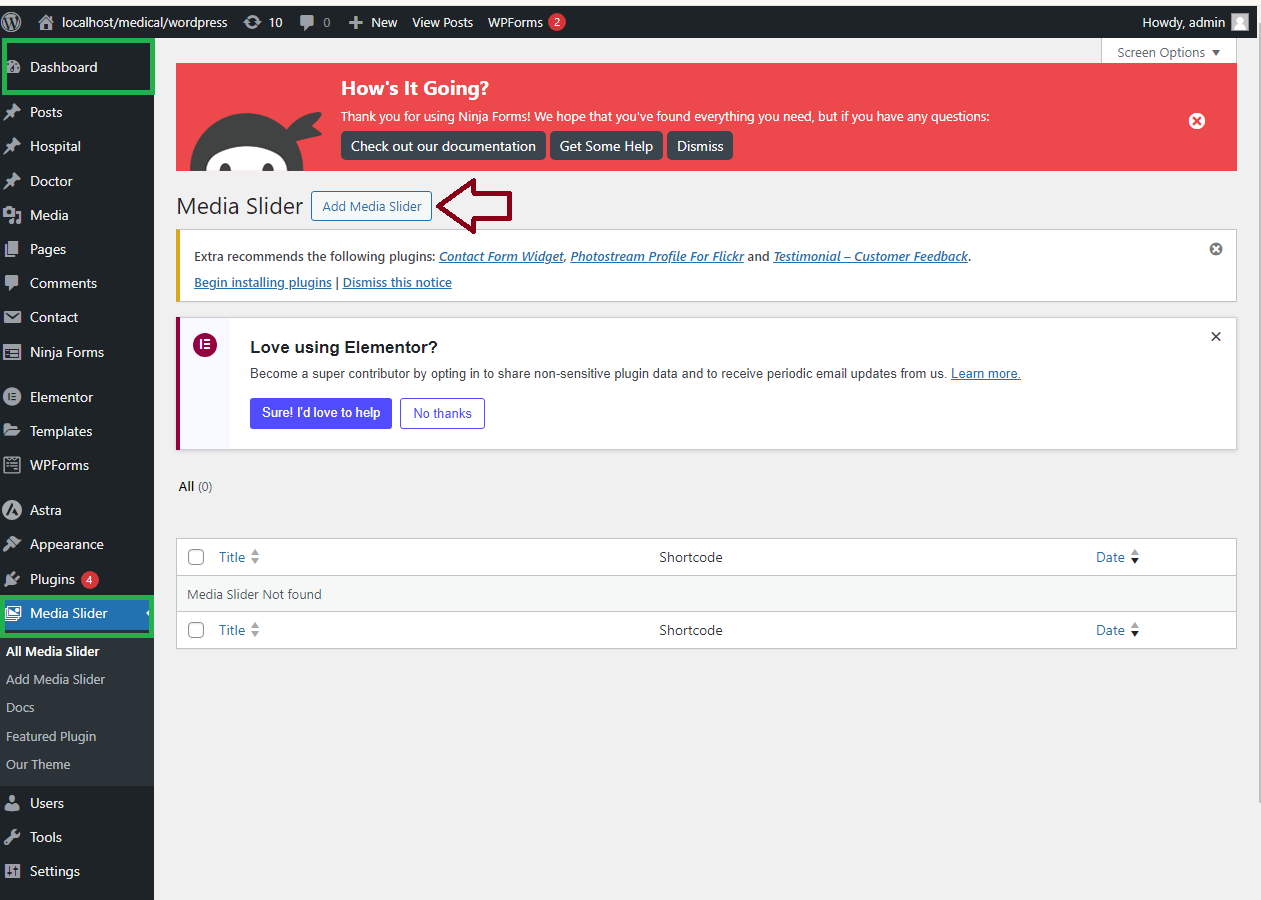
- Click
Add Slideto upload or select images from your media library.

Step 3: Customize Your Carousel
- Set options like slide speed, transition effect, and image size.
- You can also add captions or links to each slide.

- Click
SaveorPublish.

Step 4: Add the Carousel to Your Site
- Copy the shortcode provided by the plugin.
- Paste the shortcode into a post, page, or widget where you want the carousel to appear.
- Click
UpdateorPublishto make the carousel live.

Step 5: Preview and Adjust
- Visit the page where you added the carousel to see how it looks.
- If needed, go back to the carousel settings to make adjustments.

Your carousel slider should now be up and running on your WordPress site!


