Create Contact Form Using WP Forms Plugin

To create a contact form using the WPForms plugin in WordPress, follow these easy steps:
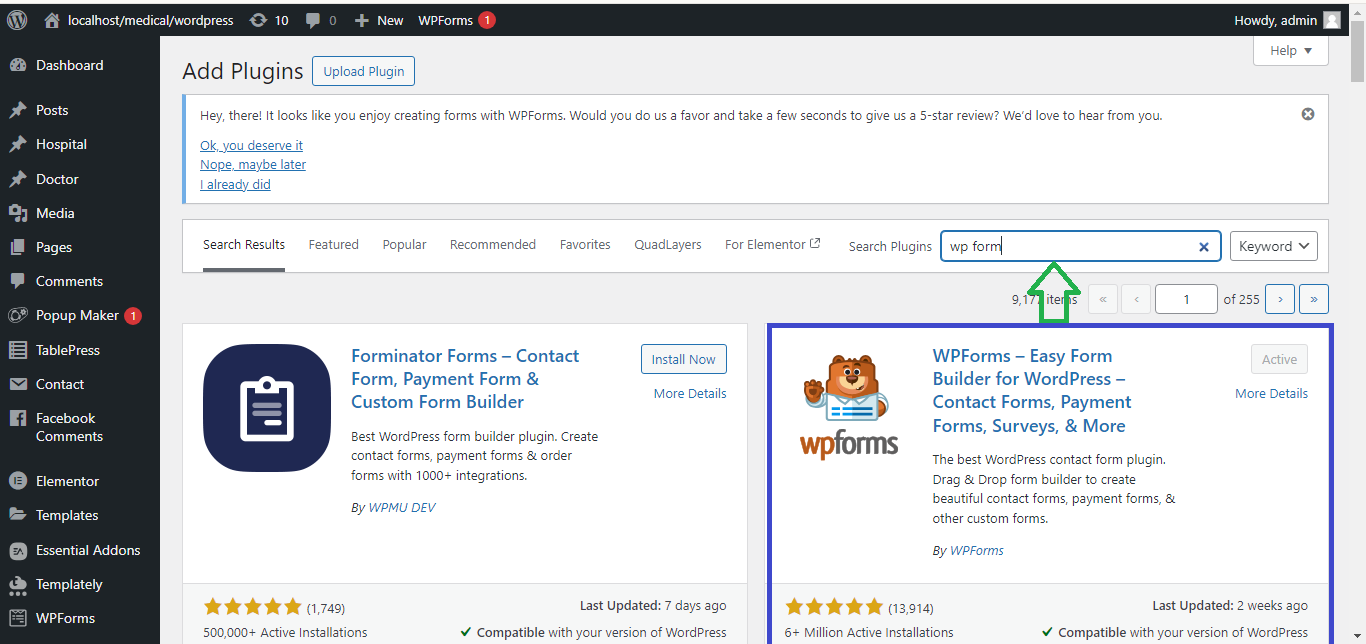
Step 1: Install WPForms Plugin
- Log in to your WordPress Dashboard.
- Navigate to Plugins > Add New.
- In the search bar, type WPForms.
- Find WPForms – Contact Form by WPForms and click Install Now.
- Once installed, click Activate.
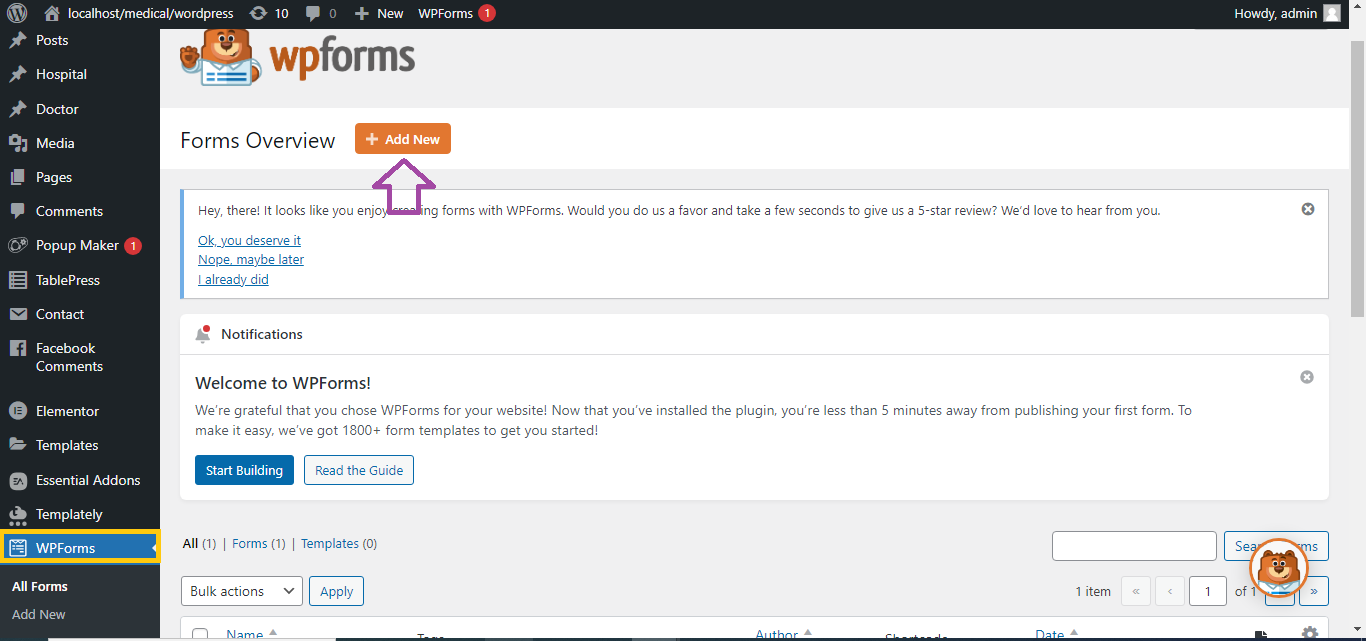
Step 2: Create a New Form
- After activation, go to WPForms in the WordPress sidebar and click Add New.
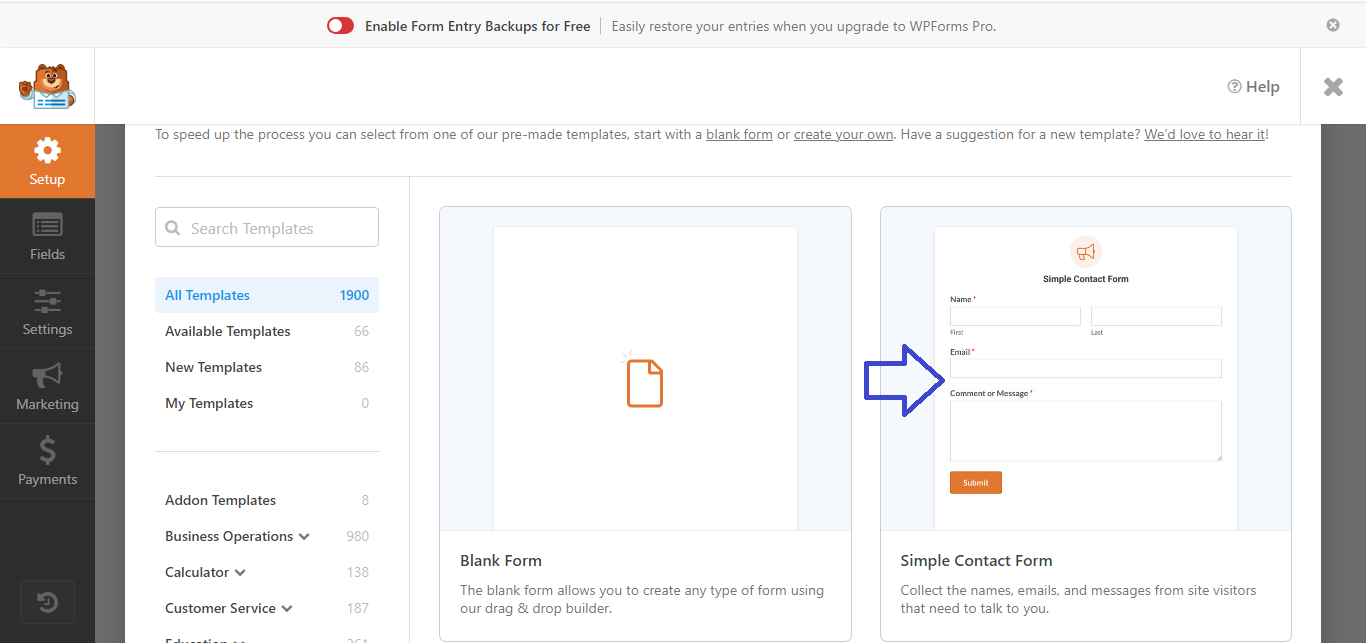
- Choose a form template:
- Select the Simple Contact Form template.
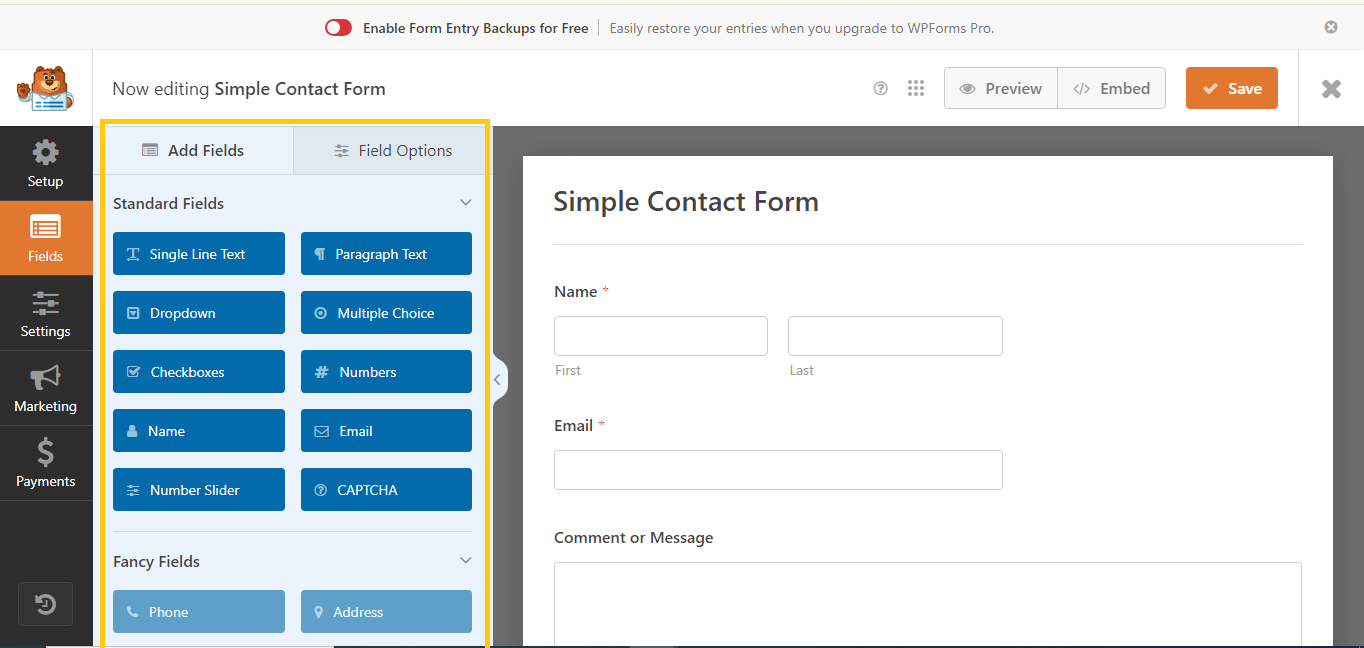
- Edit the form:
- You’ll see a drag-and-drop form builder. WPForms already provides a basic contact form with fields like Name, Email, and Message.
- You can drag additional fields if needed or modify the existing fields.
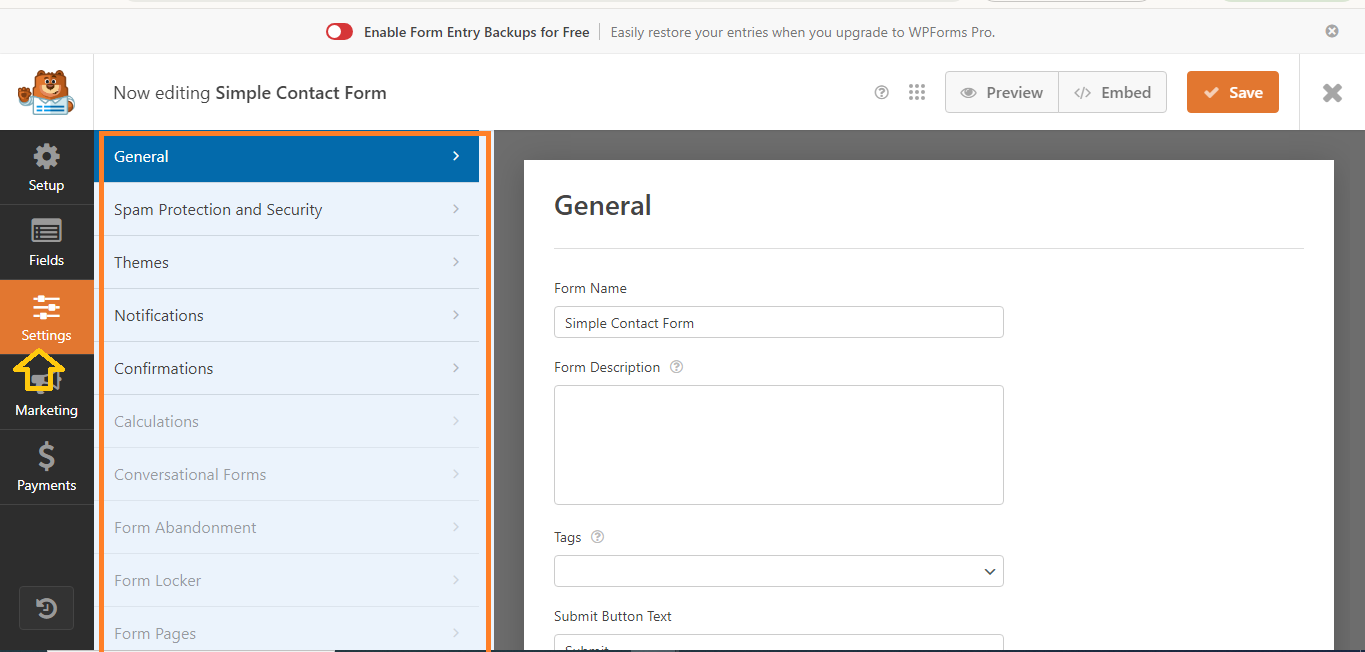
Step 3: Configure Form Settings
- Click on the Settings tab.
- Adjust settings for:
- Form Name (if you want to change it).
- Notifications: Where the form submissions will be sent (usually to your admin email).
- Confirmations: Choose what message visitors see after submitting the form (or redirect them to a specific page).
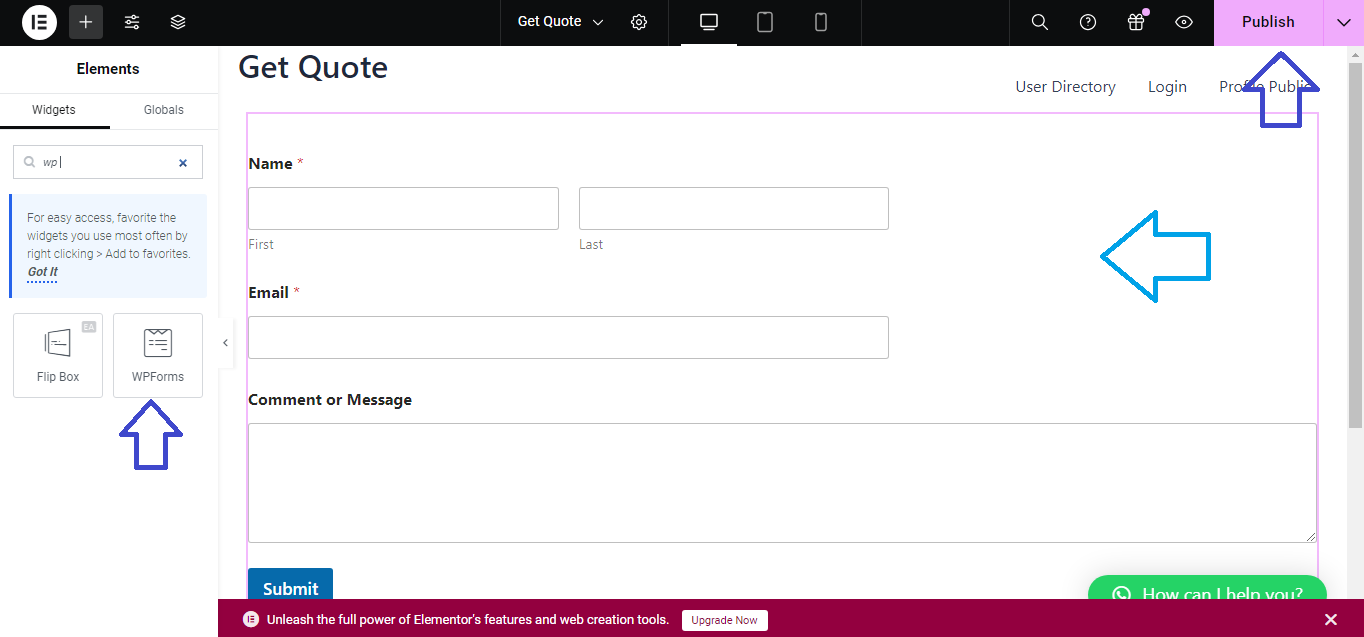
Step 4: Add the Contact Form to Your Website
- Add the form to a page or post:
- Go to Pages > Add New (or edit an existing page).
- Click on the + icon to add a block, then search for WPForms.
- Select the WPForms block, and from the dropdown, choose the form you created.
- Publish or update the page to display the form.
Step 5: Test Your Form
- Visit the page where you added the form to make sure it works properly by submitting a test entry.
Your contact form is now live! WPForms offers additional features for customization if needed.


