Add Google Recaptcha to Contact form 7

Here’s how to add Google reCAPTCHA to Contact Form 7 in a few simple steps:
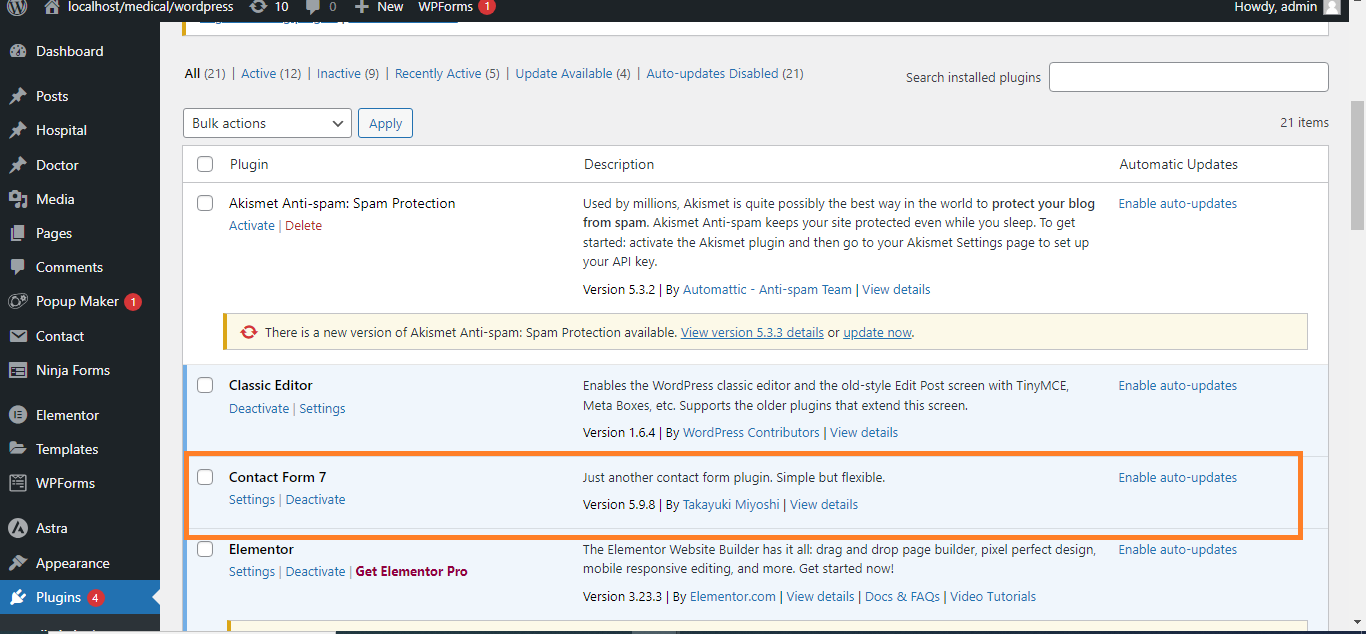
Step 1: Install and Activate Contact Form 7
- Go to Plugins > Add New in your WordPress dashboard.
- Search for Contact Form 7.
- Install and activate the plugin.
- Go to the Google reCAPTCHA site.
- Sign in with your Google account.
- Register your website by providing:
- Label: Name for your site.
- reCAPTCHA Type: Choose reCAPTCHA v3 (for invisible).
- Domains: Add your website domain (e.g.,
yourdomain.com).
- Accept the reCAPTCHA terms and click Submit.
- After submission, you’ll receive a Site Key and a Secret Key.

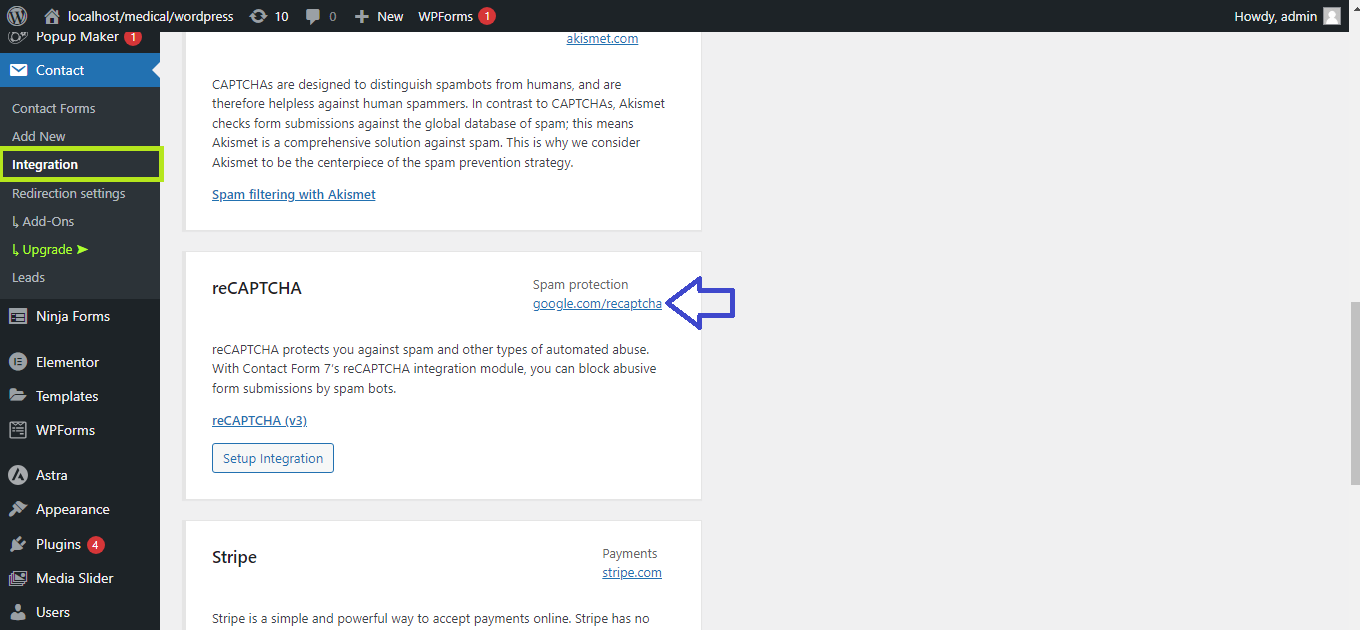
Step 3: Add reCAPTCHA Keys to Contact Form 7
- In your WordPress dashboard, go to Contact > Integration.
- Under reCAPTCHA, click Setup Integration.
- Enter the Site Key and Secret Key from Google, then click Save.
Step 4: Add reCAPTCHA to Your Form
- The integration will automatically enable reCAPTCHA on all your Contact Form 7 forms.
- No need to manually add any shortcode—reCAPTCHA is now protecting your forms.
Step 5: Test the Form
Submit your Contact Form 7 form and ensure that reCAPTCHA is working in the background to prevent spam submissions.
That’s it! You’ve added Google reCAPTCHA to Contact Form 7 in WordPress.


