Add Tables Using TablePress Plugin in WordPress

Step 1: Install and Activate the TablePress Plugin
- Go to your WordPress dashboard.
- Navigate to Plugins > Add New.
- In the search bar, type TablePress.
- Click Install Now and then Activate.

Step 2: Create a Table
- Go to TablePress in the WordPress sidebar.
- Click Add New Table.

- Fill in the table name, description, number of rows, and columns.
- Click Add Table.

Step 3: Edit the Table
- After creating the table, you’ll be taken to the edit screen.
- Enter the data into the table cells.
- You can also use the options below to:
- Insert images.
- Add links.
- Change cell alignment.

- Once you’re done, click Save Changes.

Step 4: Get the Table Shortcode
- After saving, copy the shortcode from the top of the table editing page (it looks like
[table id=1 /]).

Step 5: Add the Table to Elementor
- Go to the page or post where you want to add the table.

- Open the page with Elementor.

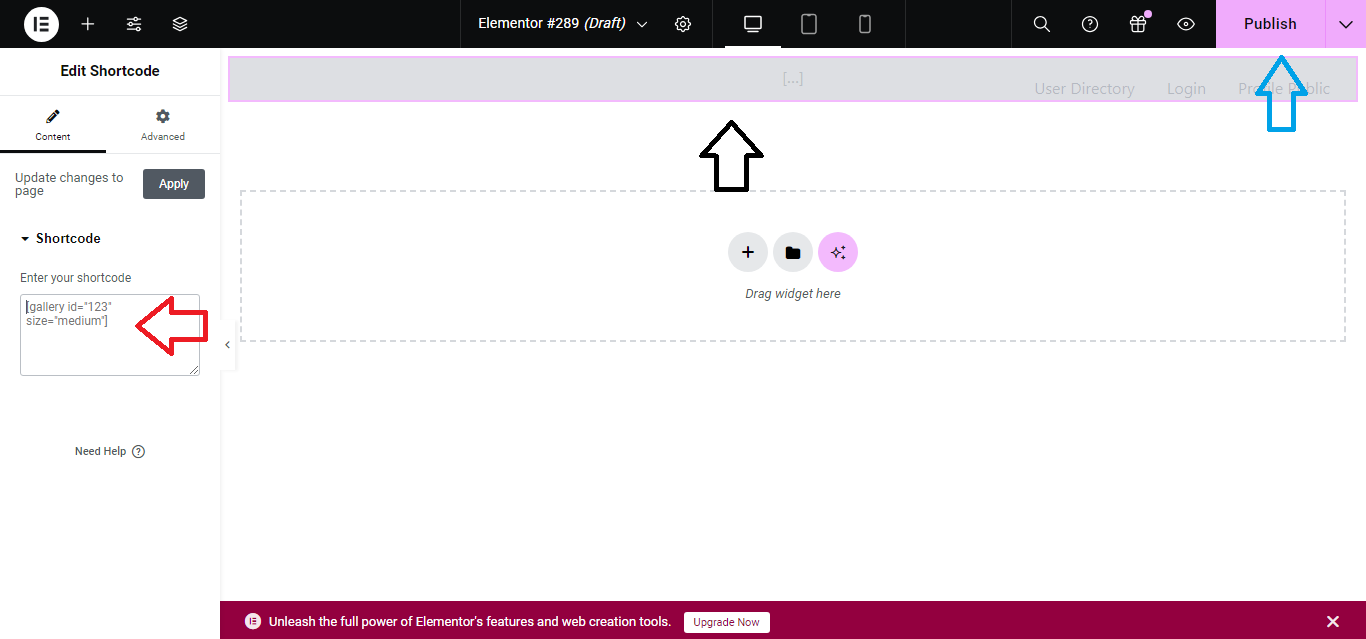
- Add a Shortcode widget from the Elementor panel.
- Paste the TablePress shortcode you copied earlier into the shortcode field.
- Update or Publish the page.
Your table will now be displayed on the page using Elementor.


