Pop Up Message for Contact Form 7

Step 1: Install and Activate Contact Form 7
If you haven’t installed it, go to Plugins > Add New, search for Contact Form 7, and install and activate it.

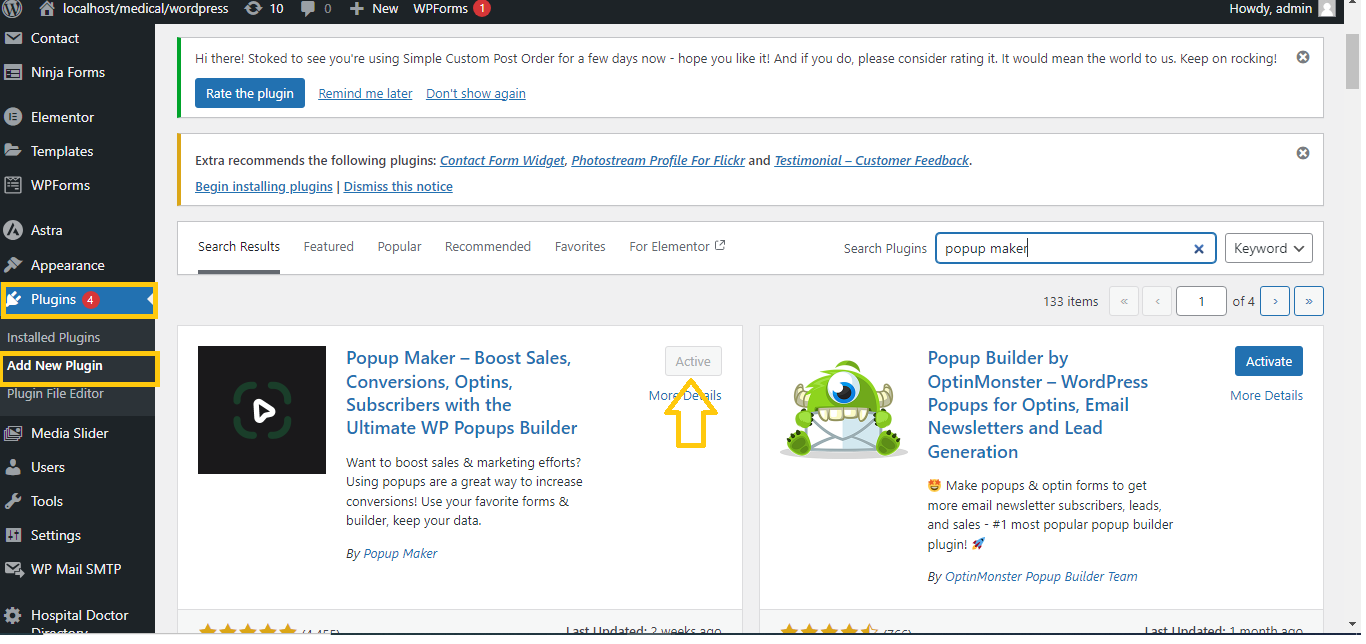
Step 2: Install and Activate the Popup Maker Plugin
- Go to Plugins > Add New.
- Search for Popup Maker.
- Install and activate Popup Maker.
Step 3: Create a New Popup
- Go to Popup Maker > Add Popup in the WordPress dashboard.
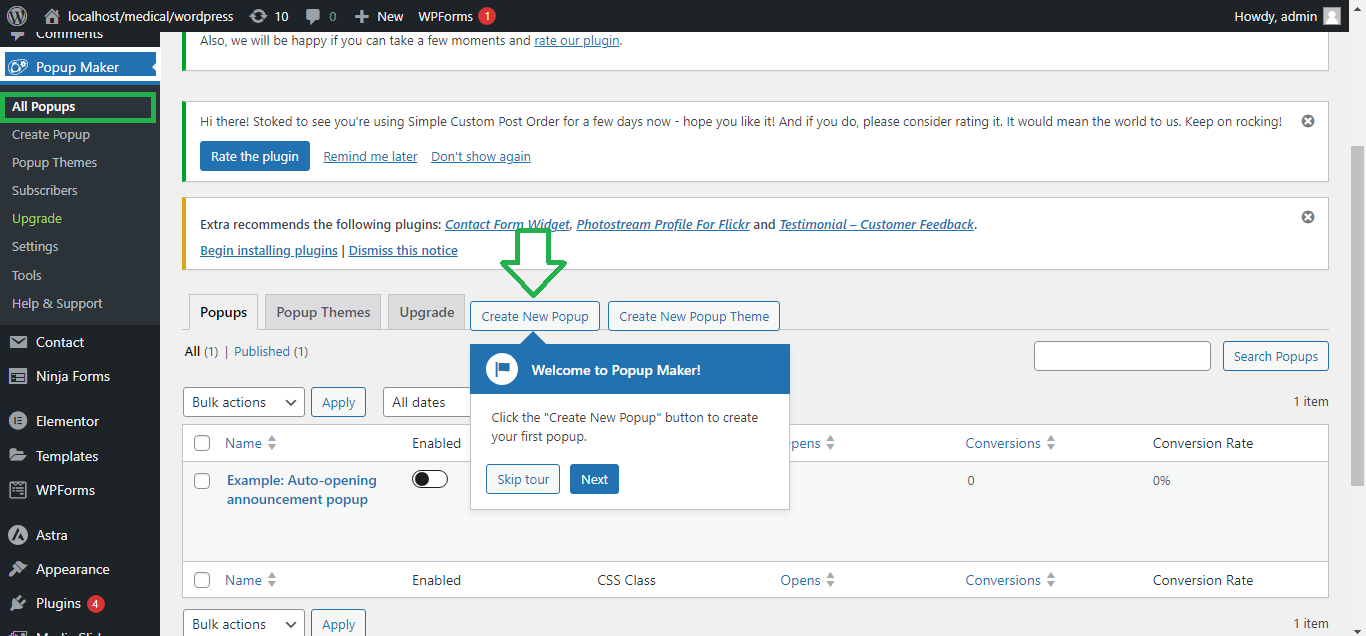
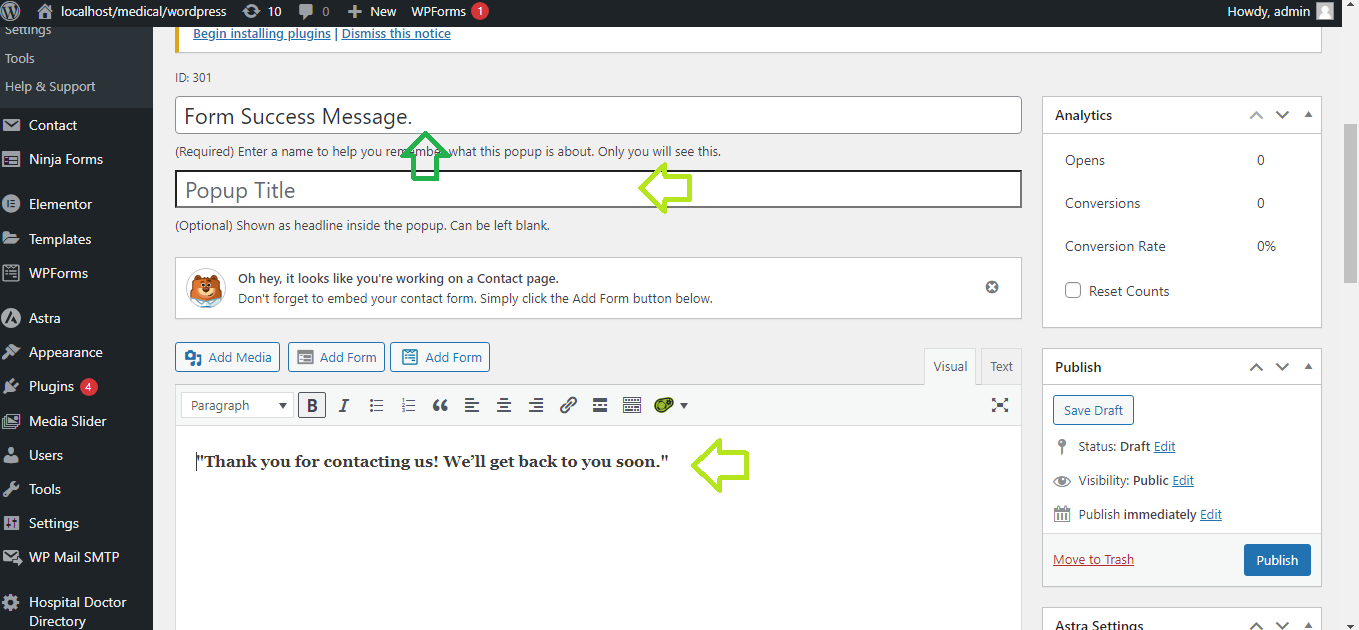
- Give your popup a name, like Form Success Message.
- In the editor, write the message you want to show after the form submission, like:
- “Thank you for contacting us! We’ll get back to you soon.”
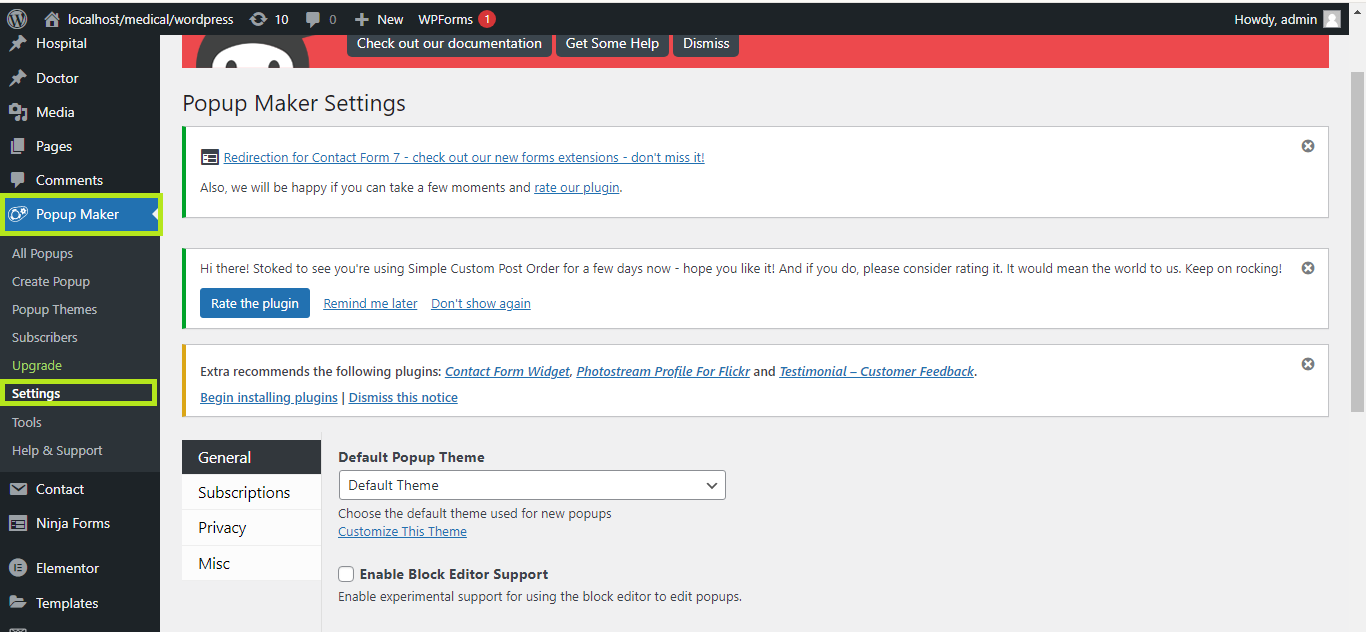
Step 4: Configure the Popup Settings
- Scroll to the Popup Settings section below the editor.
- Under Triggers, click Add New Trigger.
- Select Contact Form 7 – Form Submission Success as the trigger type.
- Choose the specific form you want to trigger the popup.
- Save the trigger.
Step 5: Save the Popup
Once you’ve customized the popup content and settings, click Publish to save your popup.

Step 6: Test the Form
Submit the Contact Form 7 form on your website, and the popup should appear when the form is successfully submitted.
That’s it! You’ve set up a pop-up message for Contact Form 7 without using any code.


