Add RazorPay Payment Gateway in WooCommerce

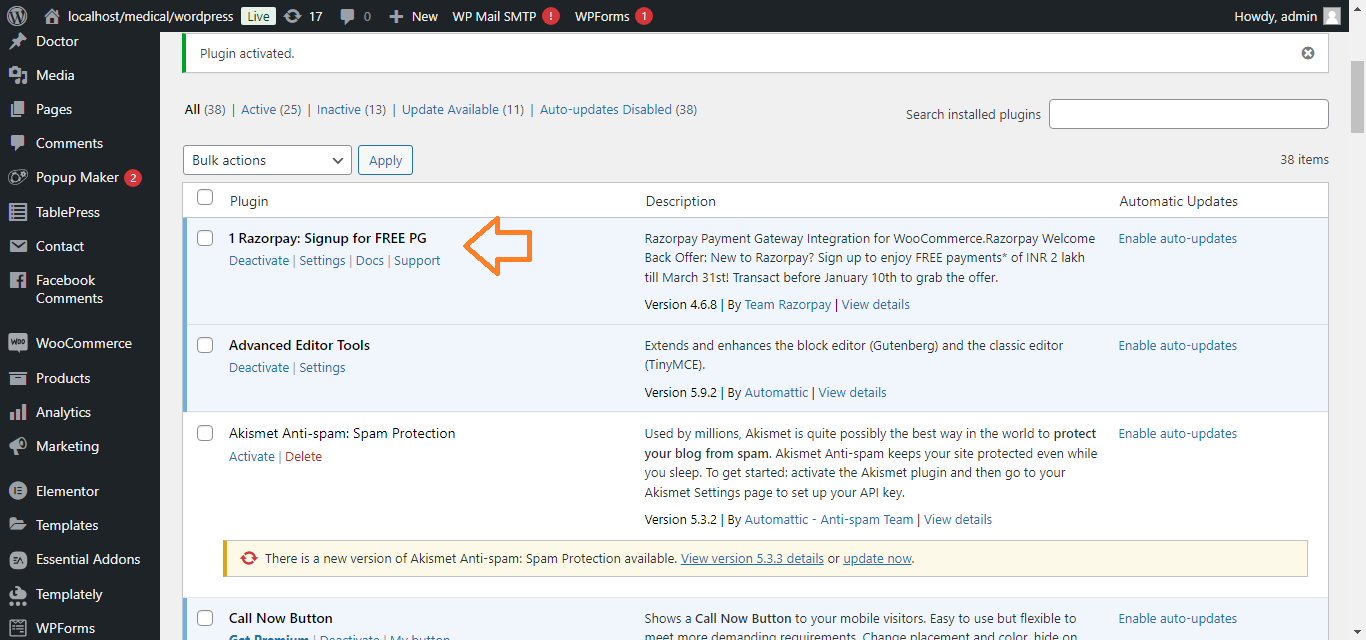
1. Install the Razorpay Plugin:
- In your WordPress Dashboard, go to Plugins > Add New.
- Search for Razorpay for WooCommerce.
- Click Install Now and then Activate the plugin.
2. Create a Razorpay Account:
- Go to the Razorpay website and sign up for an account (if you don’t have one).
- Complete the verification process and set up your Razorpay account.

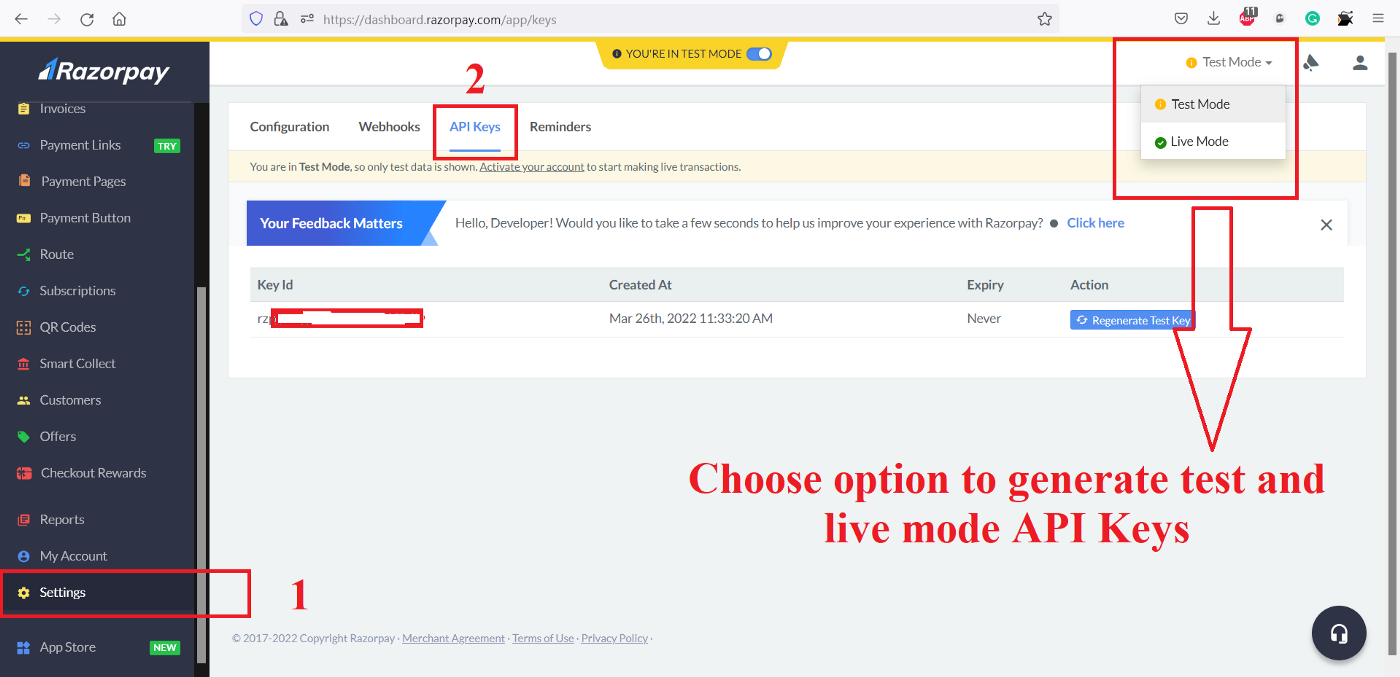
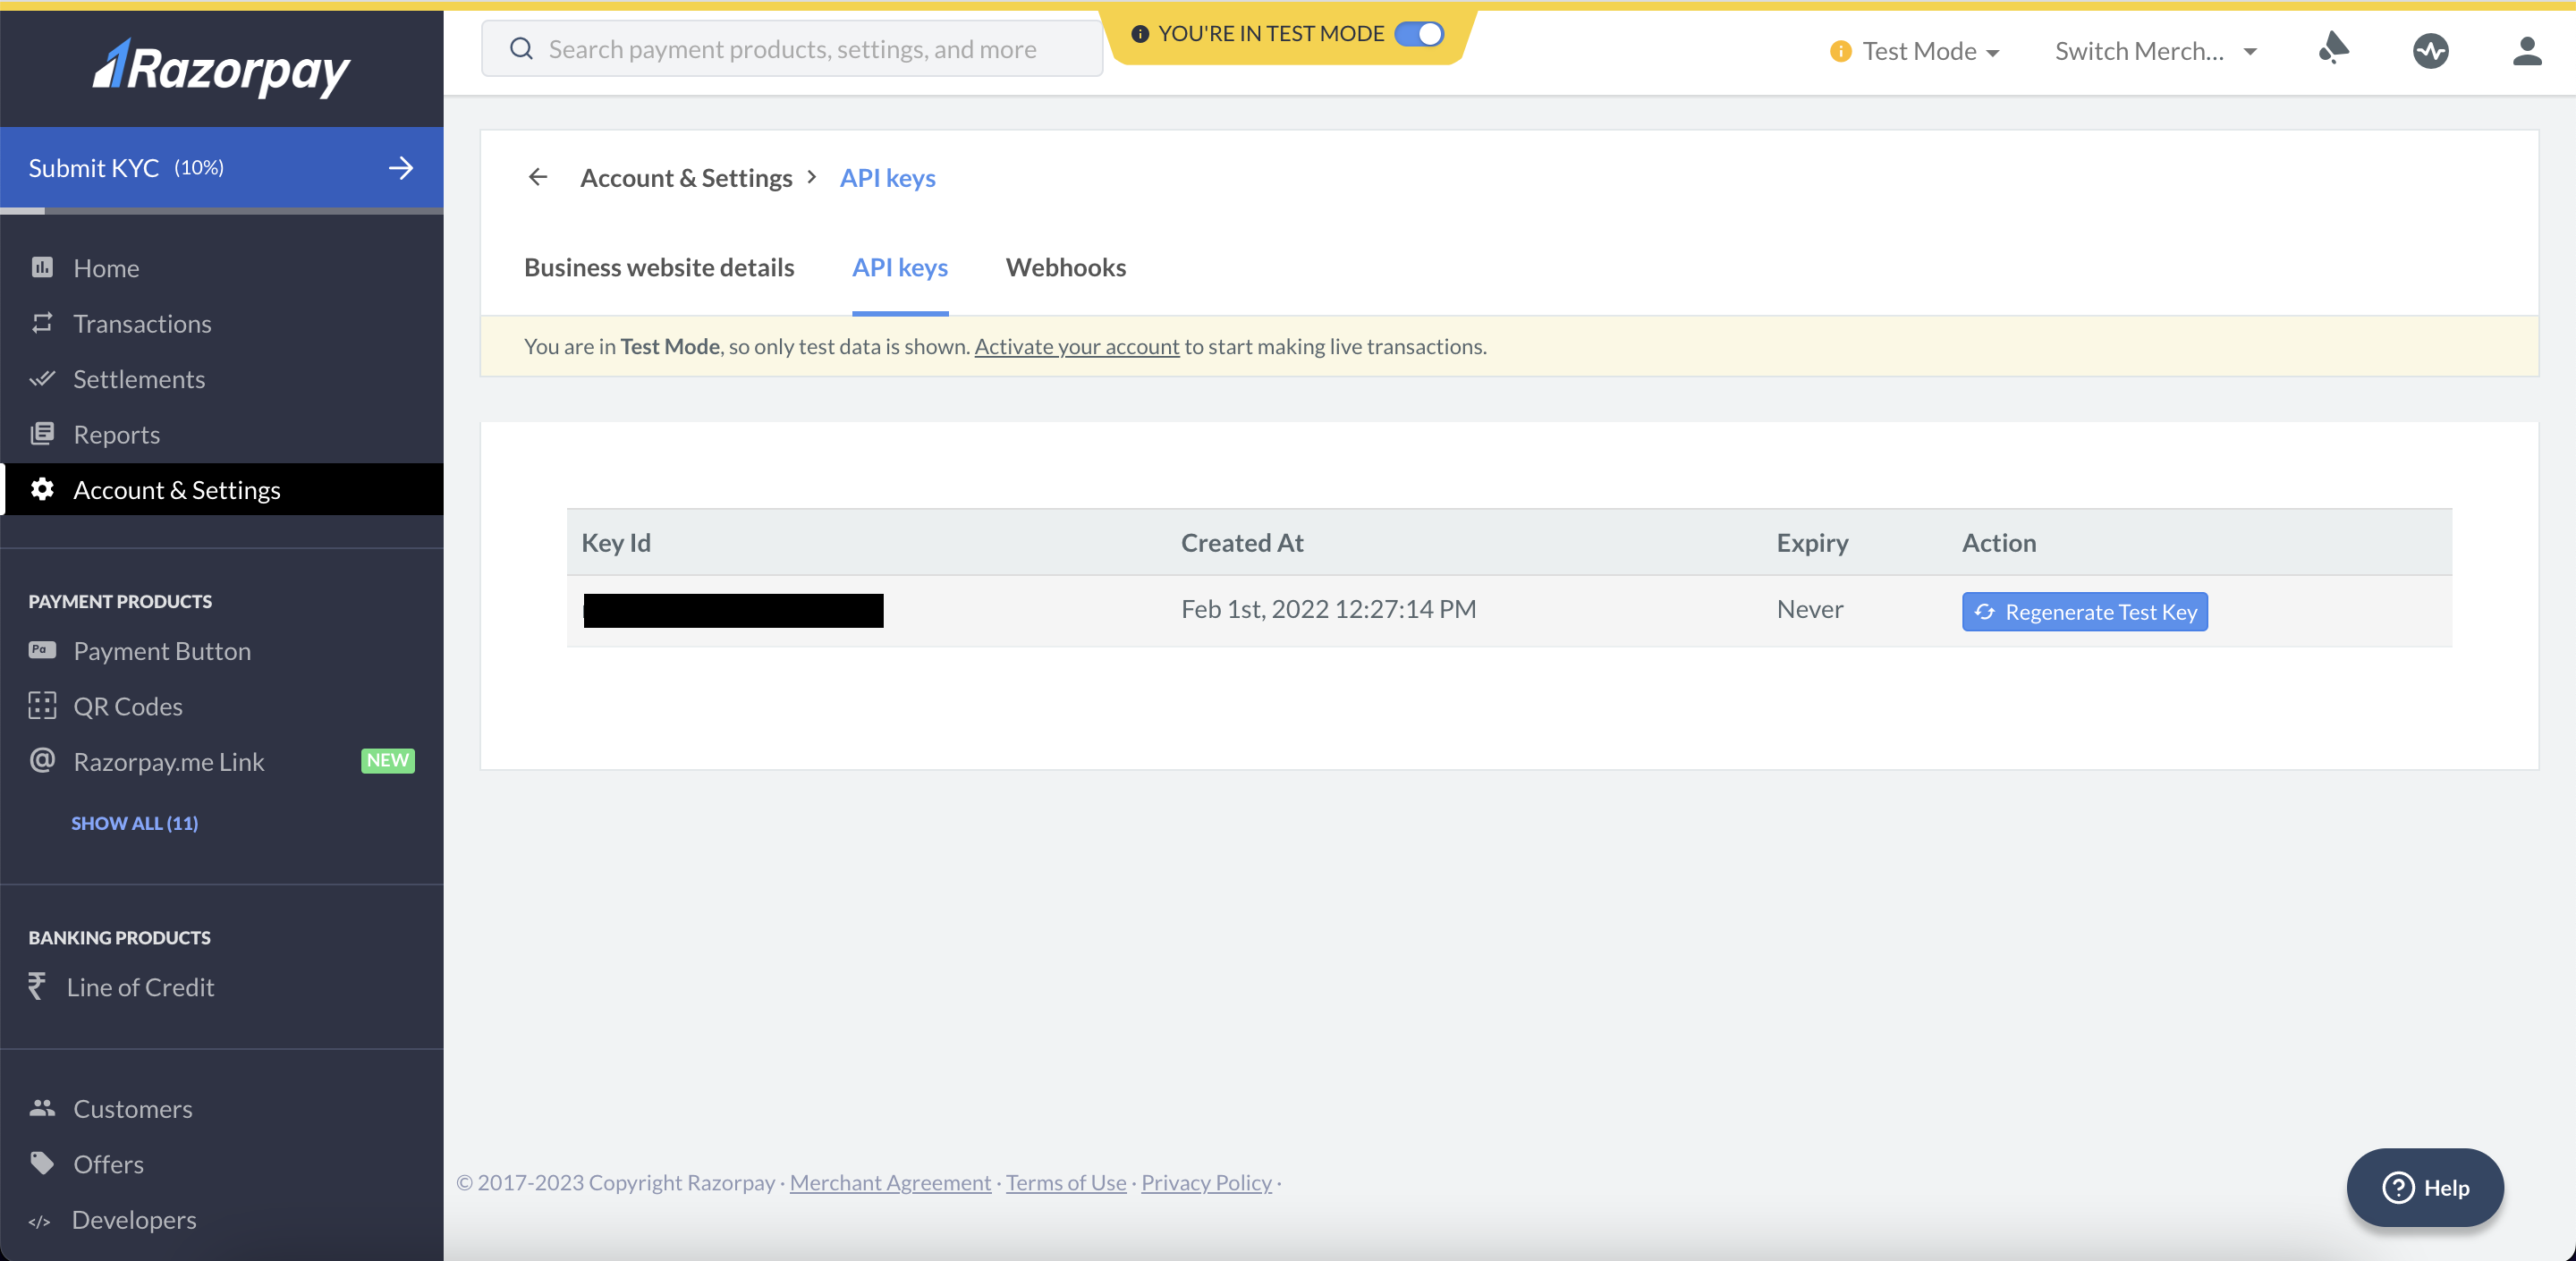
3. Get Razorpay API Keys:
- Once logged into Razorpay, go to Settings > API Keys.
- Generate Live Mode or Test Mode keys (depending on whether you’re in development or live).
- Copy the Key ID and Key Secret.
4. Configure Razorpay in WooCommerce:
- In the WordPress Dashboard, go to WooCommerce > Settings.
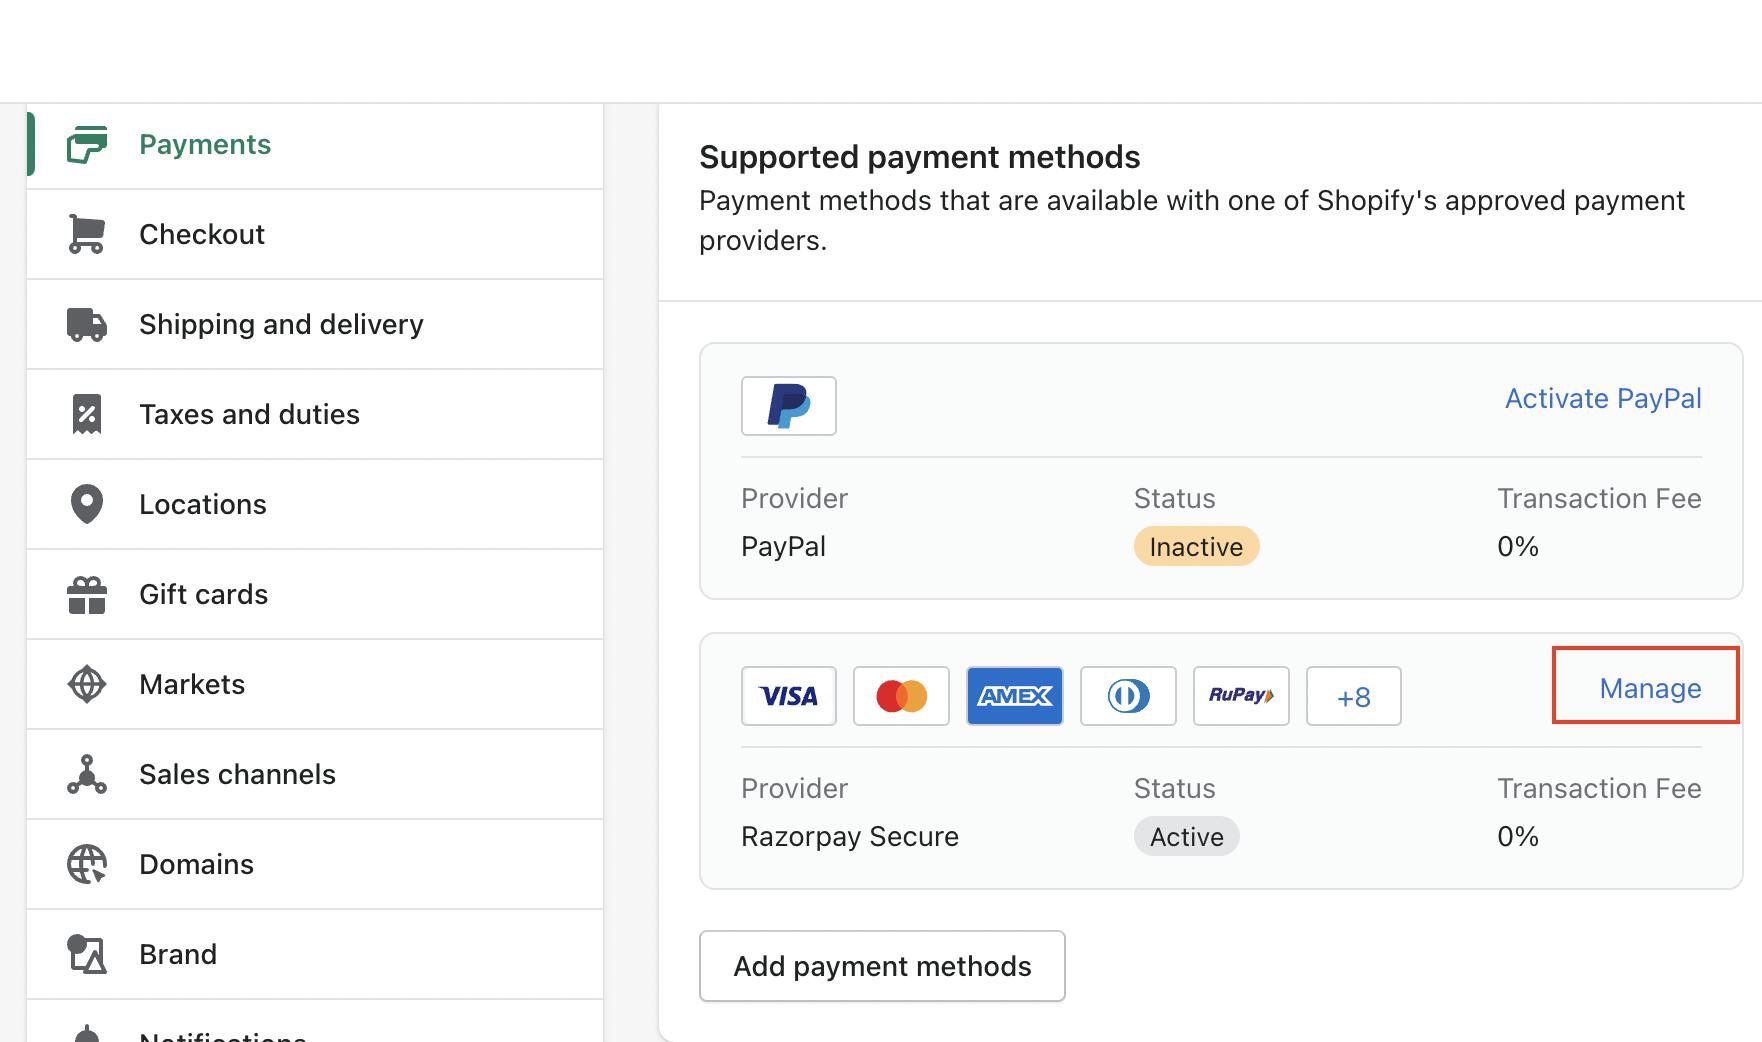
- Click on the Payments tab.
- You should see Razorpay as an option. Click Set up or Manage next to it.
- Paste the Key ID and Key Secret you copied from Razorpay.
- Enable the Razorpay Payment Gateway by toggling it on.
- Customize any additional settings, such as payment success and failure pages.
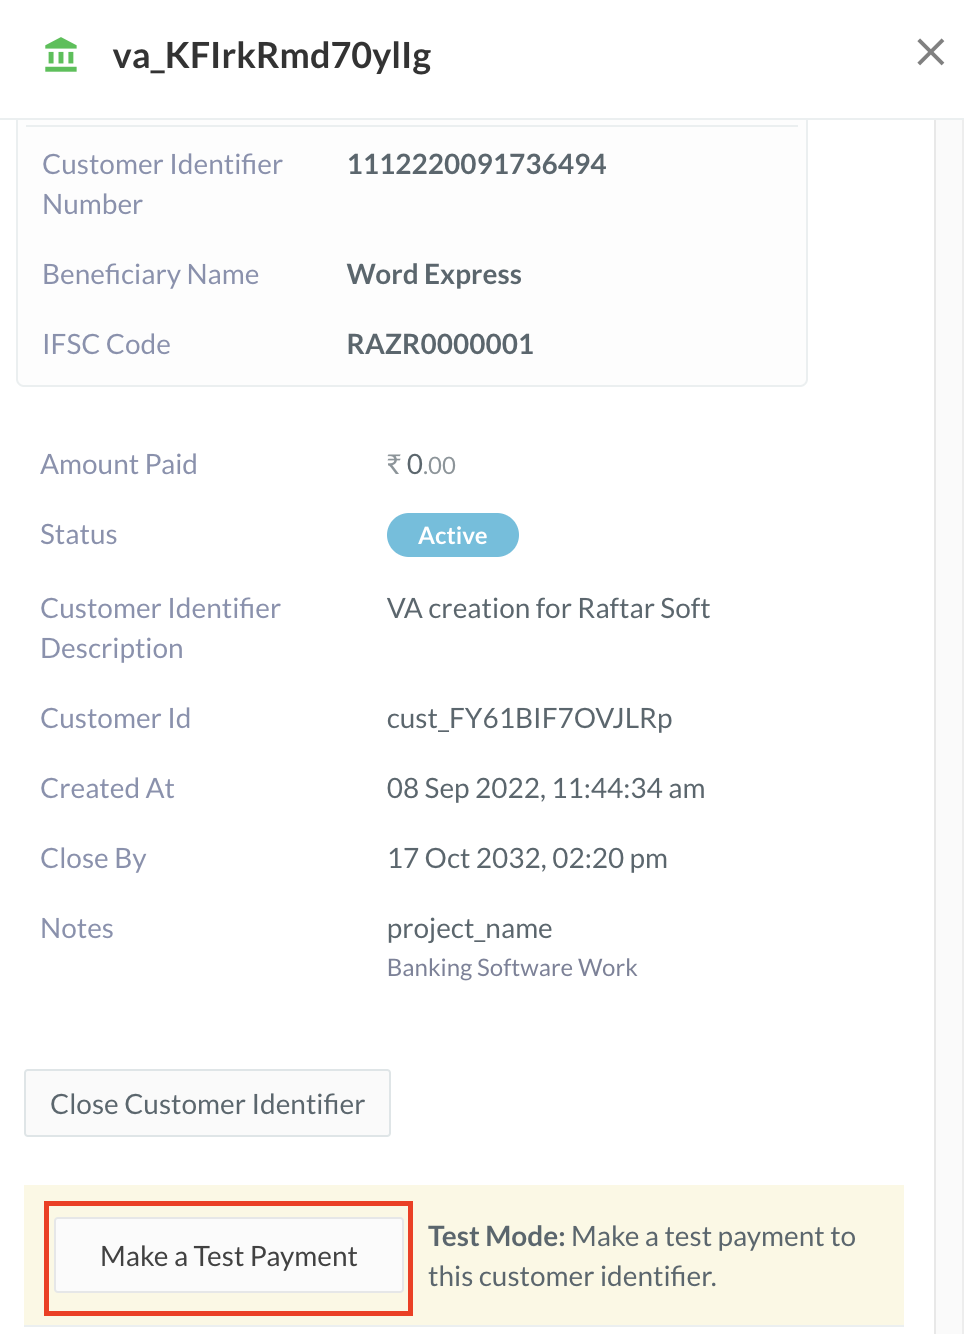
5. Test the Payment Gateway:
- Switch Razorpay to Test Mode (if not live yet) and place a test order to ensure the gateway is working properly.
6. Go Live:
- When you’re ready to start accepting payments, ensure Razorpay is in Live Mode and the gateway is active on your checkout page.
7. Save Changes and Publish:
- Save all settings, and Razorpay will now appear as a payment option for your customers on checkout.
Your WooCommerce store will now be integrated with Razorpay for seamless payments!


