Add Portfolio Section in WordPress

o add a Portfolio Section in WordPress using Elementor Pro, follow these simple steps:
1. Login to WordPress Dashboard
- Go to your WordPress site and log in.

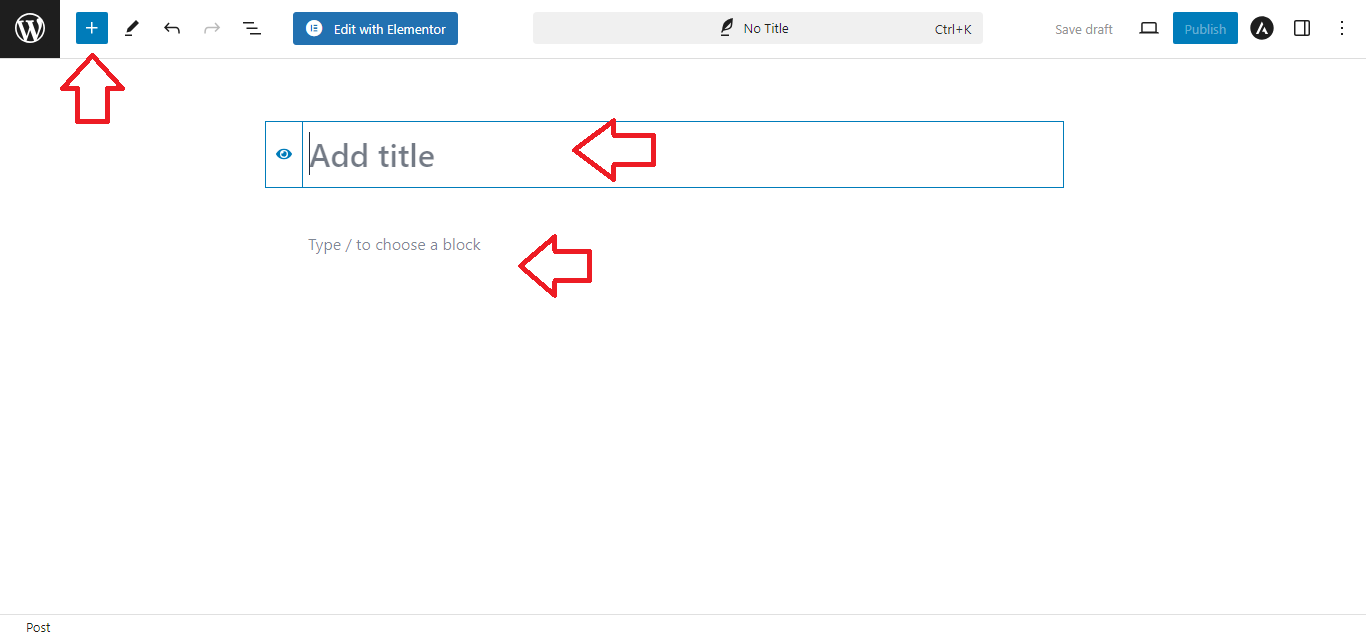
2. Create a New Page for the Portfolio
- Go to Pages > Add New.
- Title your page (e.g., “Portfolio”).
- Click Edit with Elementor.

3. Use the Portfolio Widget
- Once inside Elementor, search for the “Portfolio” widget in the widget panel (this is available with Elementor Pro).
- Drag and drop the Portfolio widget onto your page.

4. Customize the Portfolio Section
- In the Content tab, you can adjust the following:
- Skin: Choose how the portfolio items should be displayed (e.g., classic, hover effects).
- Columns: Set the number of columns (e.g., 2, 3, or 4).
- Posts per page: Specify how many portfolio items to show.
- Filters: Enable filters if you want users to filter by category or tag.
- Order by: Choose how to sort the portfolio items (e.g., date, title).

5. Style the Portfolio
- Go to the Style tab to customize the look of your portfolio:
- Adjust spacing, alignment, and hover effects.
- Set colors for text, background, and overlay.
- Customize the typography for the portfolio title and description.

6. Add Portfolio Items
- Elementor will automatically pull in items from your posts or custom post types.
- If you haven’t added portfolio items, you can go to Posts or Custom Post Types (if enabled) and create posts with featured images, titles, and categories.
7. Publish the Portfolio Page
- Once you’ve set up and styled your portfolio, click Publish.

8. Add Portfolio to Menu
- Go to Appearance > Menus.
- Add the Portfolio page to your menu for easy navigation.

That’s it! You’ve successfully added a Portfolio Section using Elementor Pro with easy-to-follow steps!


