Add Call to Action Block

Step 1: Open Elementor Editor
- Log in to your WordPress dashboard.
- Navigate to the page or post where you want to add the CTA block.
- Click Edit with Elementor to open the Elementor editor.
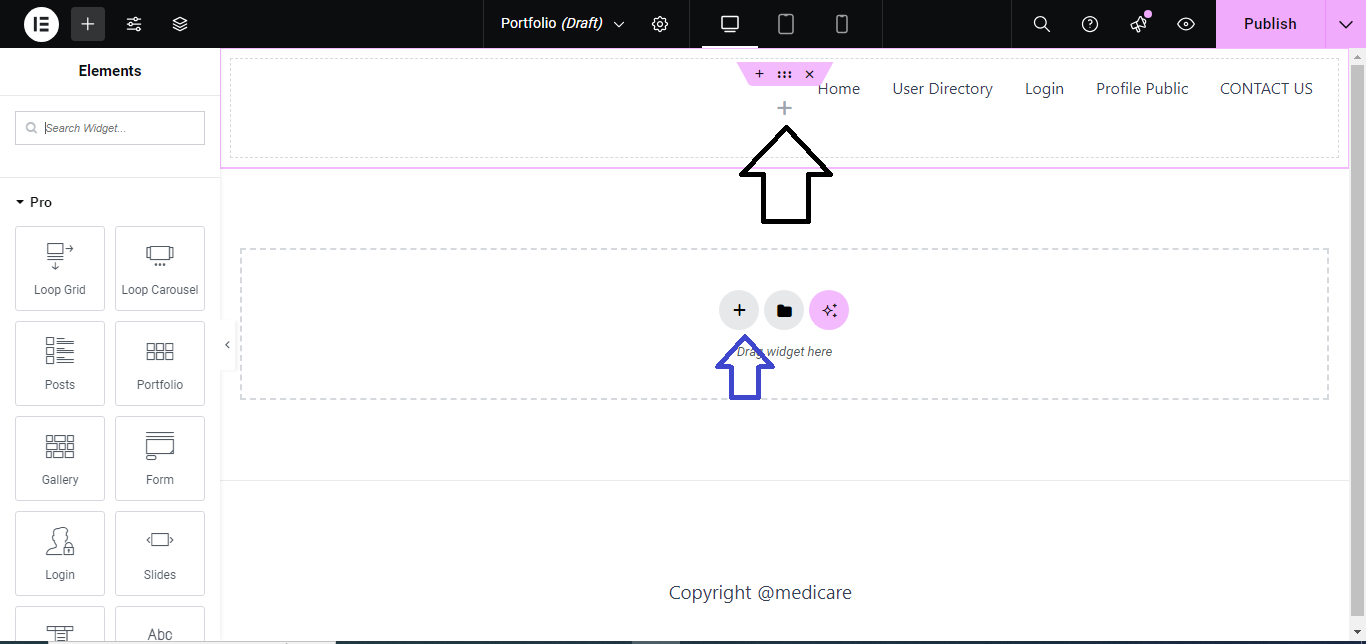
Step 2: Add a New Section
- In the Elementor editor, click the + (plus) button to add a new section.
- Choose a single-column structure (or any other layout that fits your design).

Step 3: Add the Call to Action Widget
- In the Elementor widget panel, search for Call to Action.
- Drag and drop the Call to Action widget into your newly created section.

Step 4: Customize the Call to Action Content
- Under the Content tab, you’ll find the following options:
- Image: Upload an image or background for your CTA block.
- Title: Add the headline for your CTA.
- Description: Add a brief description or message to engage users.
- Button: Enable the button and add the Button Text (like “Learn More”, “Buy Now”) and the URL to link the button to.

Step 5: Style the Call to Action Block
- Switch to the Style tab to customize the design of the CTA block:
- Image: Adjust the size, positioning, and overlay color of the image.
- Title: Modify the typography, color, and spacing of the title.
- Description: Customize the font, size, and color of the text.
- Button: Style the button by adjusting its color, background, border, and hover effects.

Step 6: Set Advanced Options (Optional)
- If needed, use the Advanced tab to add extra features like:
- Margin & Padding: Adjust spacing around the block.
- Motion Effects: Add animations like fade-in or slide-in.
- Responsive: Set visibility options for desktop, tablet, and mobile.

Step 7: Publish/Update
- Once you’re satisfied with the CTA block design, click Publish or Update to save the changes to your page.

Your Call to Action block is now live and ready to guide users to take action!


