Flip Box in WordPress

Step 1: Open Elementor Editor
- Log in to your WordPress dashboard.
- Navigate to the page or post where you want to add the Flip Box.
- Click on Edit with Elementor to open the Elementor editor.
Step 2: Add a New Section
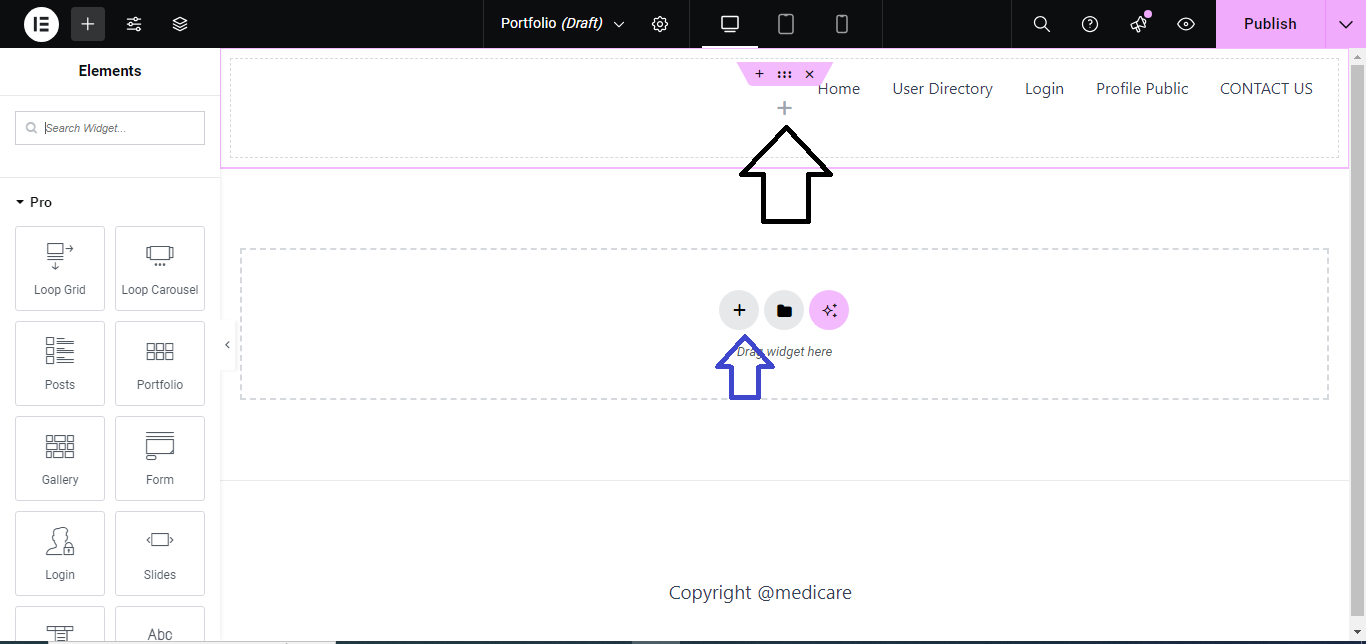
- In the Elementor editor, click the + (plus) button to add a new section.
- Choose a single-column structure (or any other structure you prefer).

Step 3: Add Flip Box Widget
- In the Elementor widget panel, search for the Flip Box widget.
- Drag and drop the Flip Box widget into your section.

Step 4: Customize Front Side of the Flip Box
- In the Content tab, under the Front section, customize:
- Title: Add the title for the front of the box.
- Description: Add a short description.
- Icon/Image: Choose an icon or image to display on the front side.

Step 5: Customize Back Side of the Flip Box
- In the Back section:
- Title: Add the title for the back of the box.
- Description: Add content to display after the box flips.
- Button: Enable if you want a button with a link on the back.

Step 6: Choose Flip Animation
- In the Flip Effect section, choose:
- Flip Direction: Set the flip direction (up, down, left, right).
- 3D Depth: Enable or disable the 3D effect for more depth.

Step 7: Style the Flip Box
- Switch to the Style tab.
- Customize Typography, Background Color, Padding, and Alignment for both the front and back sides of the Flip Box.
- Adjust the Hover effects if needed.

Step 8: Publish/Update
- Once you’re happy with your Flip Box design, click Publish or Update to save changes to the page.

Now, the Flip Box will be live on your WordPress site with an interactive flip effect!


