Add Pro Gallery in WordPress

To add a Pro Gallery in WordPress using Elementor Pro, follow these easy steps:
1. Login to WordPress Dashboard
- Go to your WordPress site and log in.

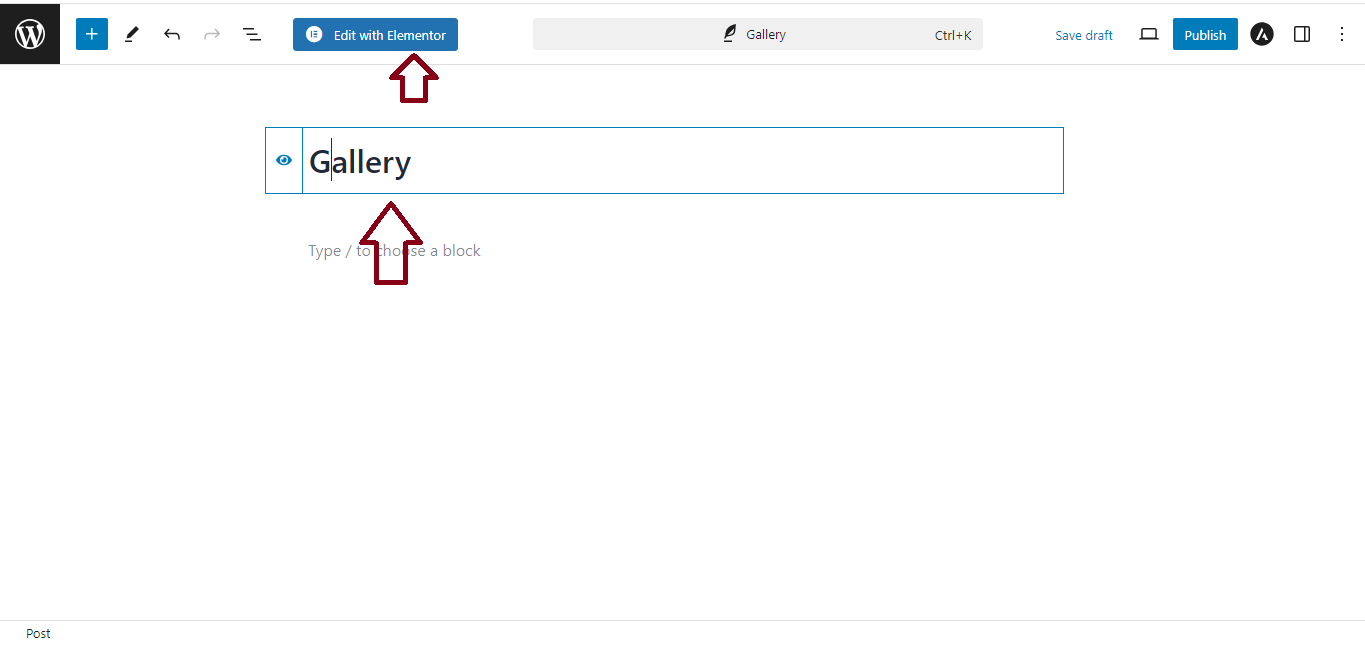
2. Create a New Page for the Gallery
- Go to Pages > Add New.
- Name your page (e.g., “Gallery”).
- Click Edit with Elementor to open the Elementor editor.
3. Use the Gallery Widget
- In the Elementor editor, search for the “Gallery” widget (available with Elementor Pro).
- Drag and drop the Gallery widget onto your page.

4. Add Images to the Gallery
- In the Content tab of the Gallery widget:
- Click Add Images.
- Select or upload images from your media library.
- After selecting your images, click Create a New Gallery and then Insert Gallery.

5. Customize the Gallery Layout
- You can customize the layout under the Layout section:
- Layout Type: Choose from Grid, Masonry, or Justified.
- Columns: Select the number of columns to display (e.g., 2, 3, or 4).
- Image Size: Choose the image resolution (e.g., full, medium).
- Spacing: Adjust the space between images.

6. Add Hover Effects and Captions (Optional)
- Under the Overlay section, enable hover effects such as zoom or fade.
- You can also add captions to each image if needed.

7. Style the Gallery
- In the Style tab, you can further customize:
- Spacing: Adjust the padding and margins between images.
- Overlay: Change overlay colors and opacity.
- Image border: Customize border radius and width for images.

8. Publish the Page
- Once you’re happy with the design, click Publish to make your gallery live.

9. Add Gallery to Menu (Optional)
- If you want users to access the gallery easily, go to Appearance > Menus and add the gallery page to your menu.

Now, your Pro Gallery is ready and displayed beautifully on your WordPress site using Elementor Pro!


