Install Theme in WordPress on Localhost

Certainly! Installing a theme in WordPress on localhost is a straightforward process. Here are the steps you can follow:
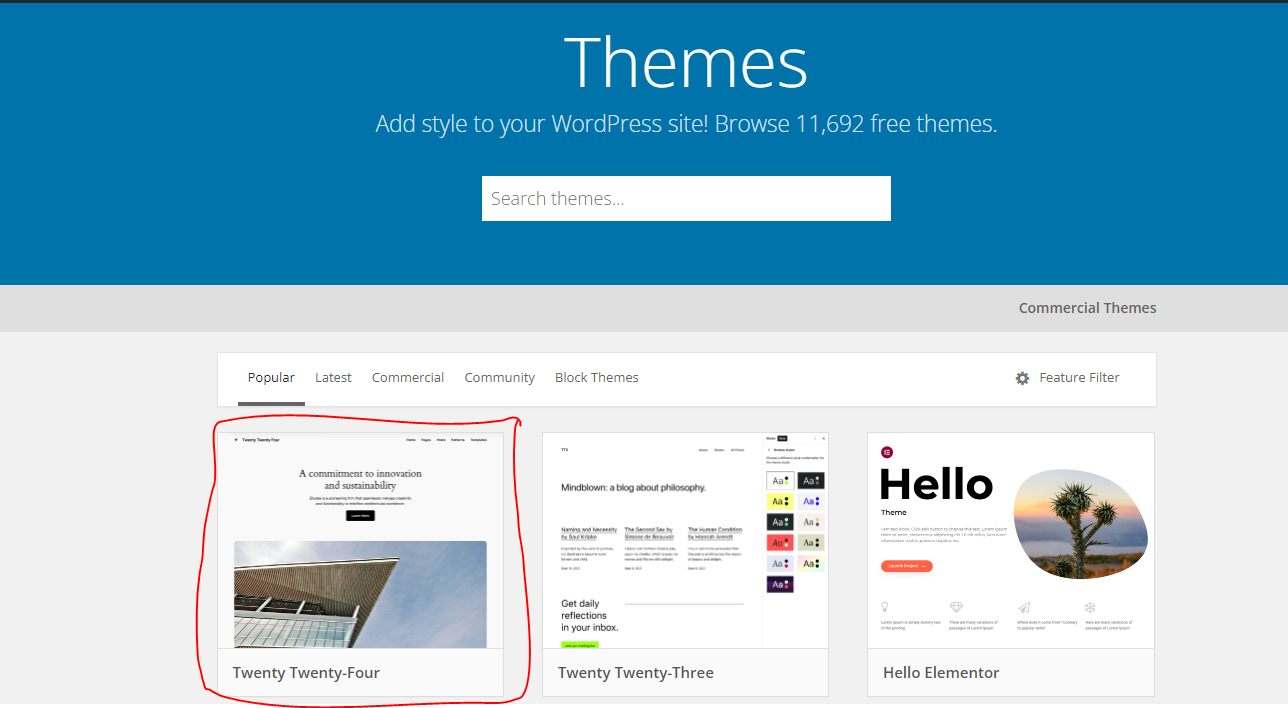
Step 1: Download a Theme
Choose a theme that you want to install. You can find themes on the official WordPress theme repository (https://wordpress.org/themes/) or from third-party theme providers.
Step 2: Extract the Theme Files
After downloading the theme, extract the files from the zip folder. You should have a folder containing the theme files.
Step 3: Locate the WordPress Themes Folder
Navigate to the folder where your local WordPress installation is stored. The themes folder is usually located in the wp-content directory. The path looks like this: your-wordpress-folder/wp-content/themes/.
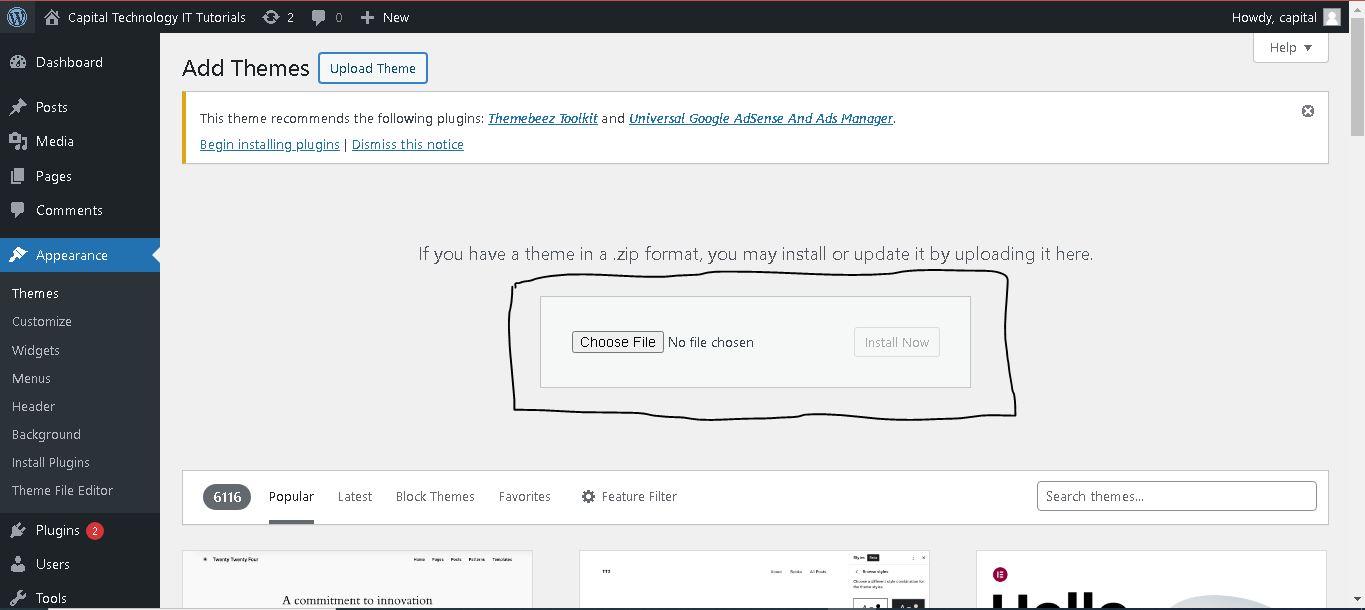
Step 4: Copy the Theme Folder
Copy the entire folder of the theme you extracted and paste it into the themes directory.
Step 5: Activate the Theme
Now, log in to your WordPress admin dashboard by going to http://localhost/your-wordpress-folder/wp-admin/. Once logged in:
- Go to “Appearance” in the left sidebar.
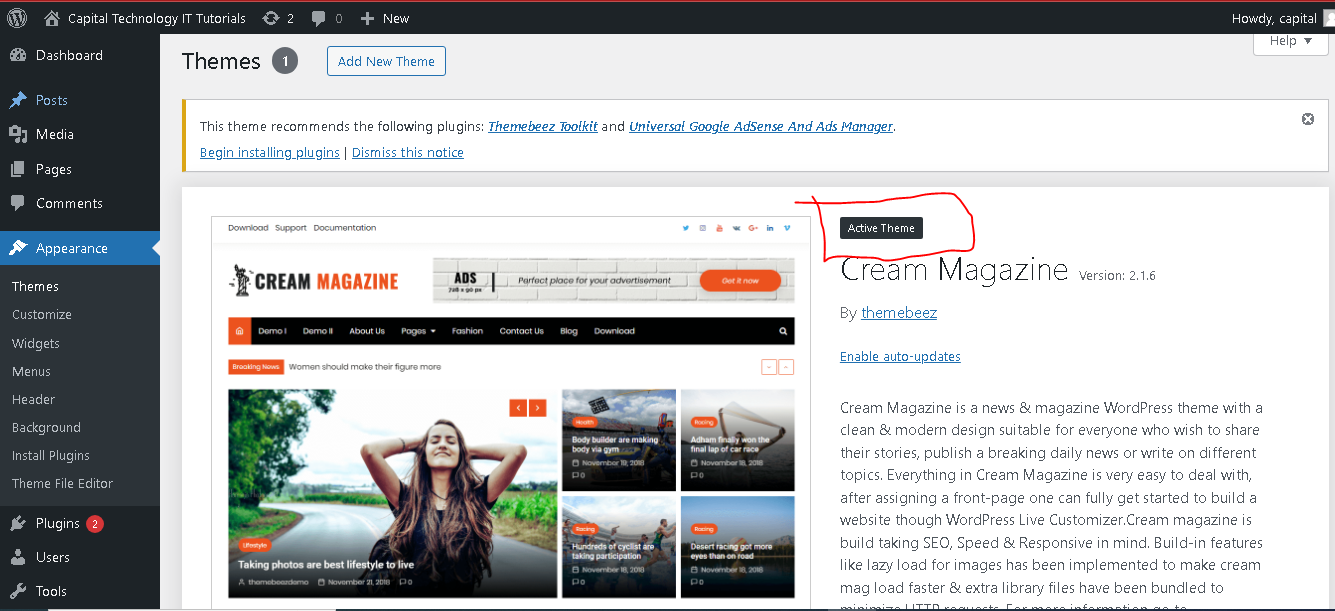
- Click on “Themes.”
You should see the new theme you just added in the list of available themes. After that activate the theme by clicking the “Activate” button.
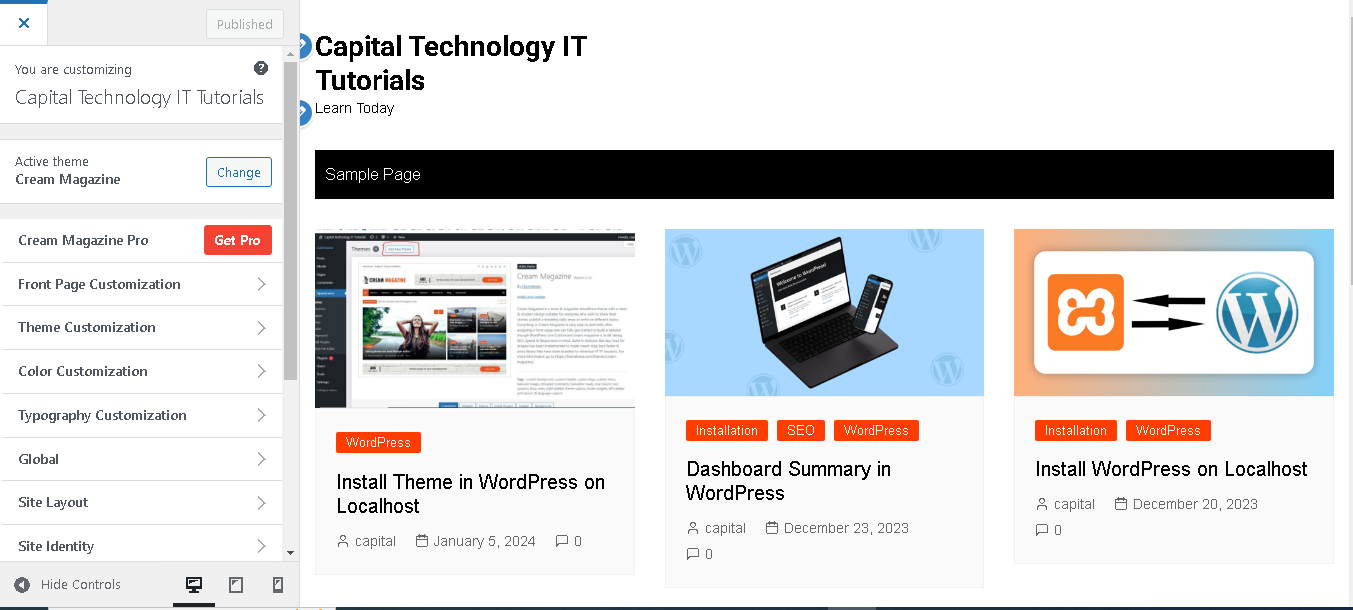
Step 6: Customize the Theme (Optional)
Once the theme is activated, you may want to customize its settings. Click on “Customize” under the “Appearance” menu to access the theme customization options. This allows you to make changes to the theme’s appearance, layout, and other settings.
Step 7: Preview Your Site
After activating and customizing the theme, preview your site to see how it looks. Click on “Visit Site” at the top of the WordPress admin panel.
That’s it! You’ve successfully installed and activated a theme on your WordPress localhost. Keep in mind that some themes might have additional documentation or specific instructions, so it’s a good idea to check for that if you encounter any issues or want to take advantage of specific features.