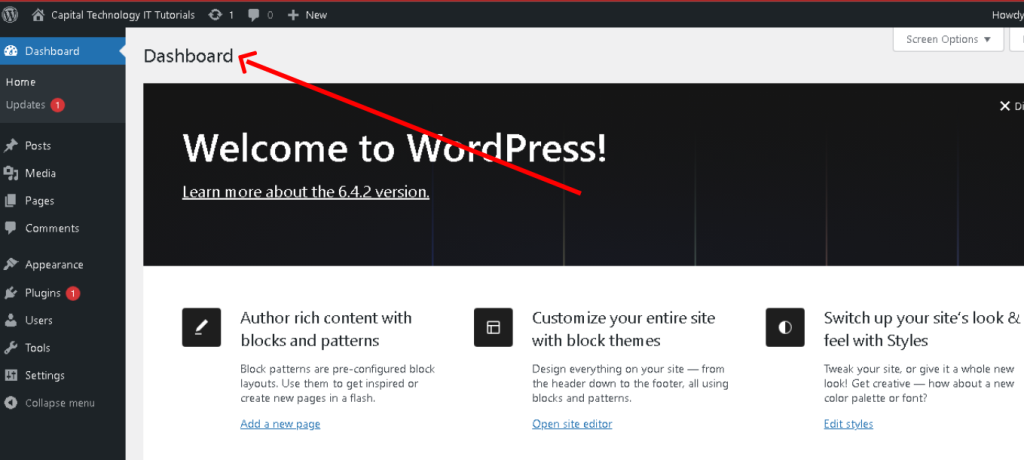
Dashboard Summary in WordPress

In WordPress, the dashboard is the first screen you see when you log in, providing an overview of your site’s activities and essential information. It serves as the central hub for managing your website. Here’s an overview of the dashboard sections:
- Welcome: The top section often displays a welcome message and quick links to set up your site, write your first blog post, customize your site’s appearance, and more.
- At a Glance: This section gives a snapshot of your site’s current status, including the number of published posts, pages, and comments, as well as the active theme and number of installed plugins.
- Activity: It provides a summary of recent activity on your site, showing the most recent comments and recently published posts.
- Quick Draft: A helpful section allowing you to quickly jot down ideas for new posts without entering the full post editor.
- WordPress News: This section displays the latest news from the official WordPress blog, informing you about updates, new features, and other WordPress-related information.
- Customizable Widgets: Users can customize the dashboard by adding or removing widgets. These widgets can include information from plugins installed on your site, such as analytics, SEO data, social media feeds, etc.
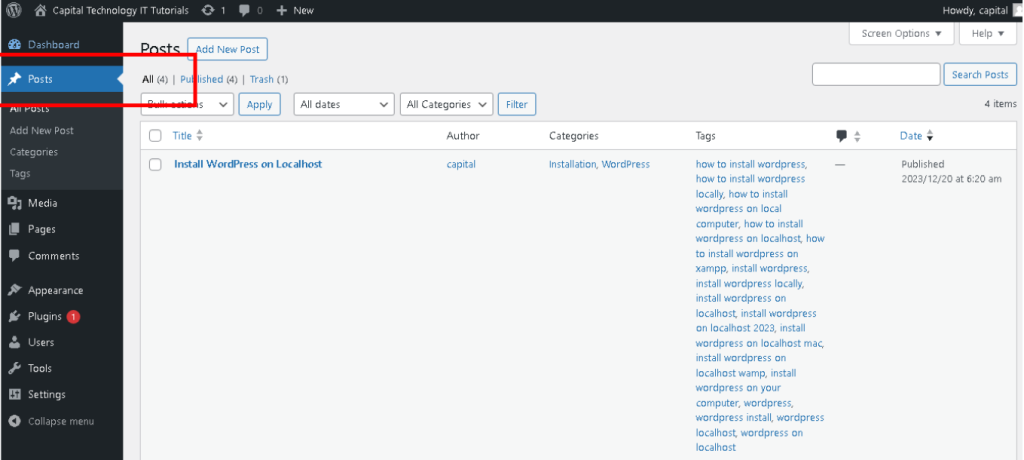
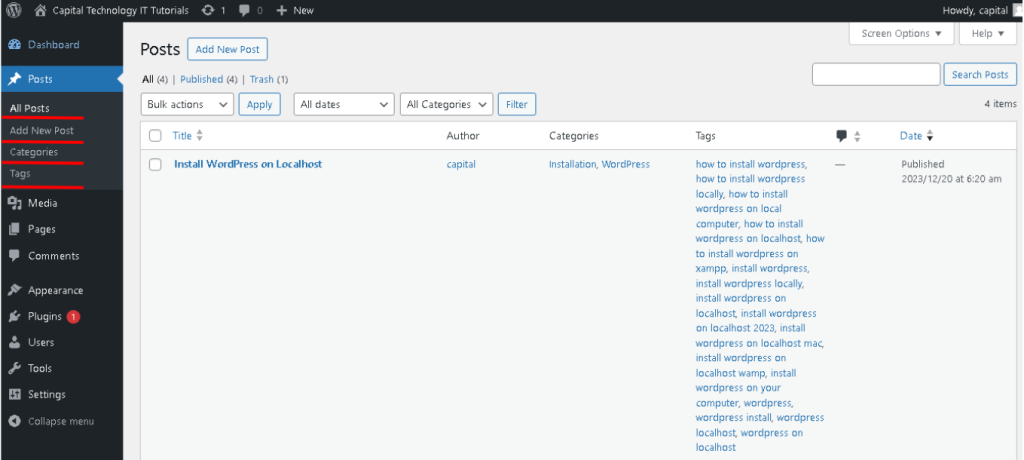
In WordPress, the “Posts” section is where you create, manage, and publish blog posts or articles on your website. Here’s an overview of the “Posts” section:
- Creating a New Post:
- Click on “Posts” in the WordPress admin menu.
- Select “Add New” to start creating a new post.
- Enter a title for your post in the provided field.
- Use the WordPress editor to write your content. It includes features for formatting text, adding images, videos, links, and more.
- Post Editor:
- The post editor is equipped with two modes: Visual and Text. Visual mode is a What You See Is What You Get editor, while Text mode allows you to edit the post in HTML.
- Content Creation:
- Add media (images, videos, audio) by clicking the (+) icon to insert blocks or by dragging files directly into the editor.
- Format text using bold, italic, lists, headings, and alignment options available in the toolbar.
- Embed media, such as YouTube videos or tweets, by pasting the URL directly into the editor.
- Categories and Tags:
- Categorize your posts to organize them into different sections of your website. Create and assign categories relevant to your content.
- Use tags to further describe your post’s content, making it easier for users to find related articles on your site.
- Publishing Options:
- Set visibility options (Public, Private, Password-protected) and publish immediately or schedule the post for a future date.
- Save drafts to continue working on posts before publishing.
- Preview the post to see how it will look on your site before publishing.
- Post Formats
- Some WordPress themes support different post formats like standard, image, gallery, video, audio, quote, etc., allowing you to display posts in various styles.
- Managing Posts:
- In the “Posts” section, you can view all published, scheduled, drafted, or trashed posts.
- Edit existing posts by clicking on them from the list or search for specific posts using filters.
- Use bulk actions to delete, edit, or move multiple posts at once.
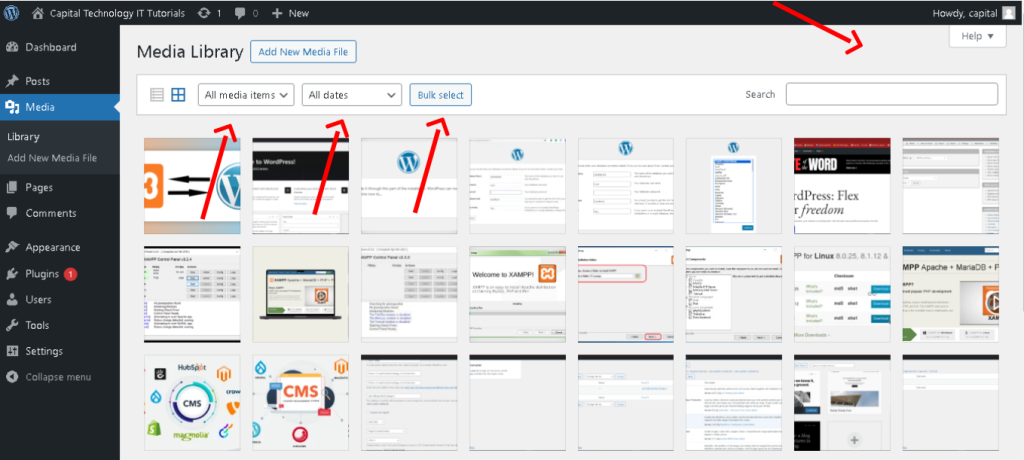
The “Media” section in WordPress is where all your uploaded images, videos, audio files, and documents are managed.
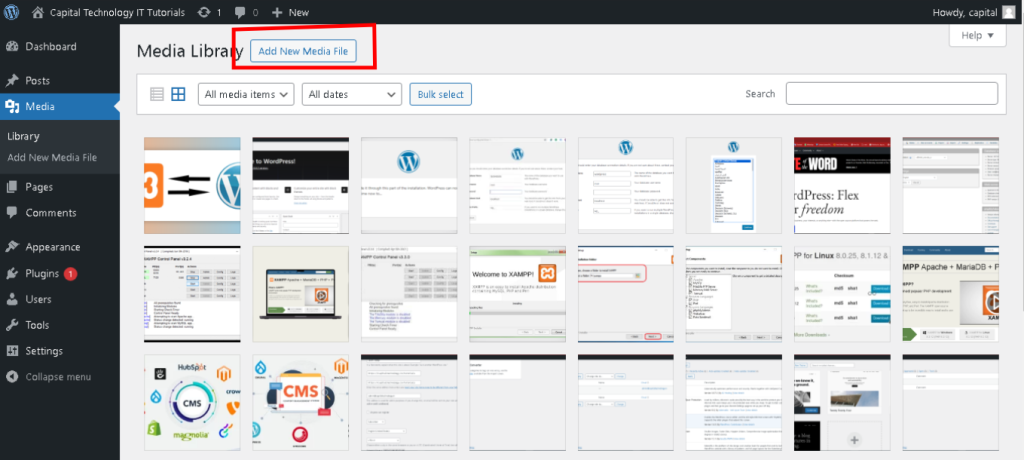
1.Uploading Media:
-
- To add new media, go to “Media” in the WordPress admin menu.
- Click on “Add New” to upload files from your computer. You can also drag and drop files into this section.
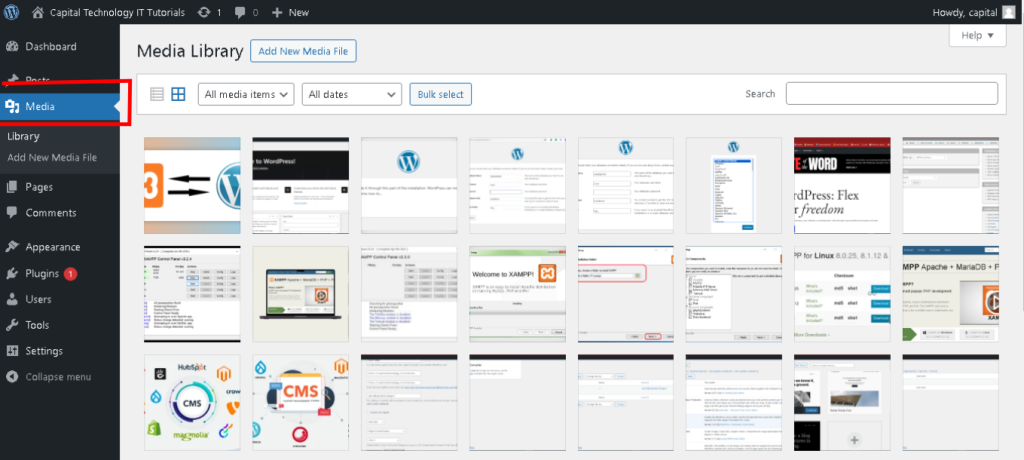
- Media Library:
- The Media Library displays all the uploaded media files.
- It offers filtering options such as viewing files by type (images, audio, video), date uploaded, and search functionality to find specific files quickly.
- Managing Media:
- Clicking on an item in the Media Library reveals details about the file, including its title, file type, upload date, dimensions, and URL.
- You can edit individual media items to add or change titles, captions, alt text, descriptions, and even modify the file itself (crop, rotate) using the WordPress image editor.
- Inserting Media into Posts/Pages:
- When creating or editing a post/page, you can easily insert media from the Media Library into your content.
- Use the “Add Media” button within the post editor to select and insert images, videos, or audio files directly into your content.
- Bulk Actions:
- You can perform bulk actions in the Media Library, such as deleting multiple files simultaneously, attaching files to posts, or adding categories and tags to organize your media.
- Media Settings:
- WordPress provides settings related to media sizes (thumbnail, medium, large) and image quality.
- These settings can be accessed and modified in the WordPress Dashboard under “Settings” > “Media.”
- External Media Embeds:
- WordPress also allows embedding media from external sources (like YouTube, Vimeo, etc.) by simply pasting the URL into the post editor.
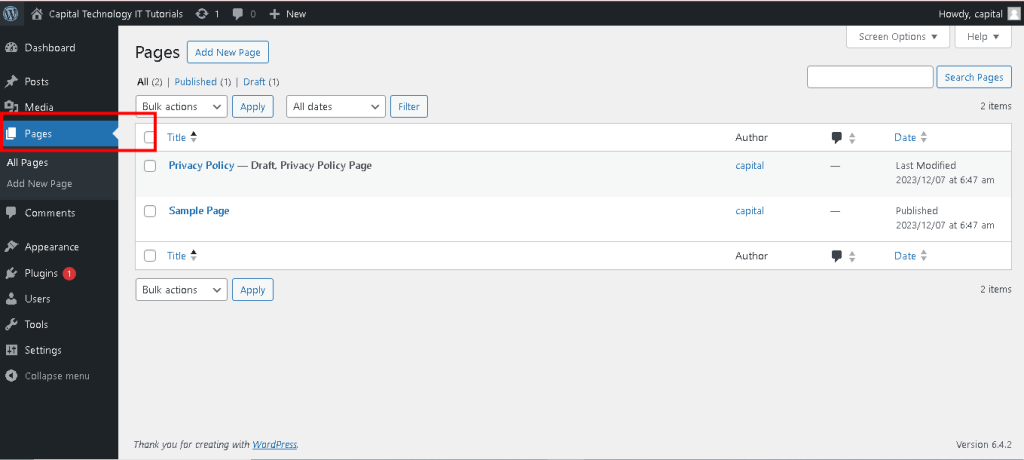
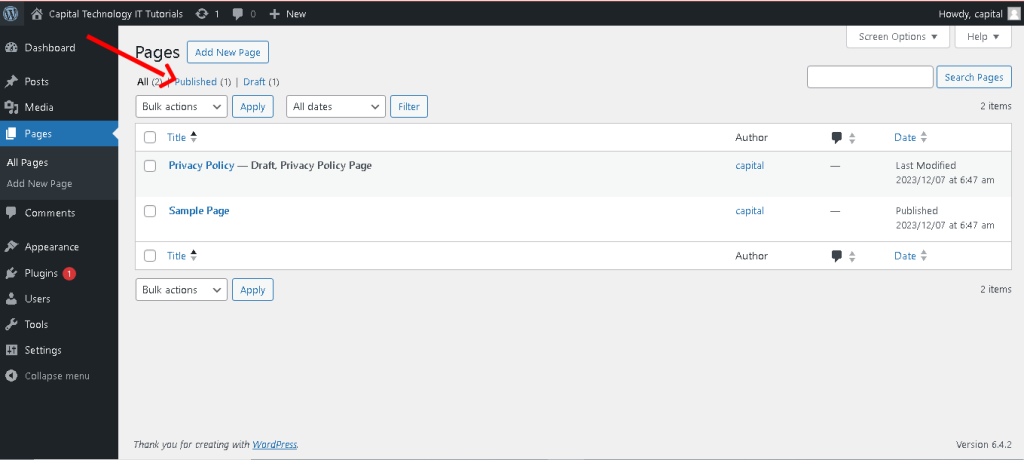
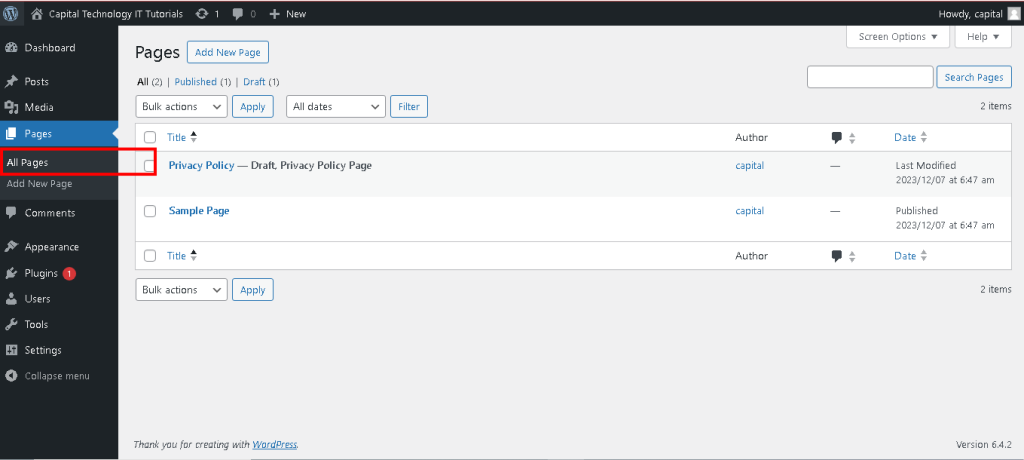
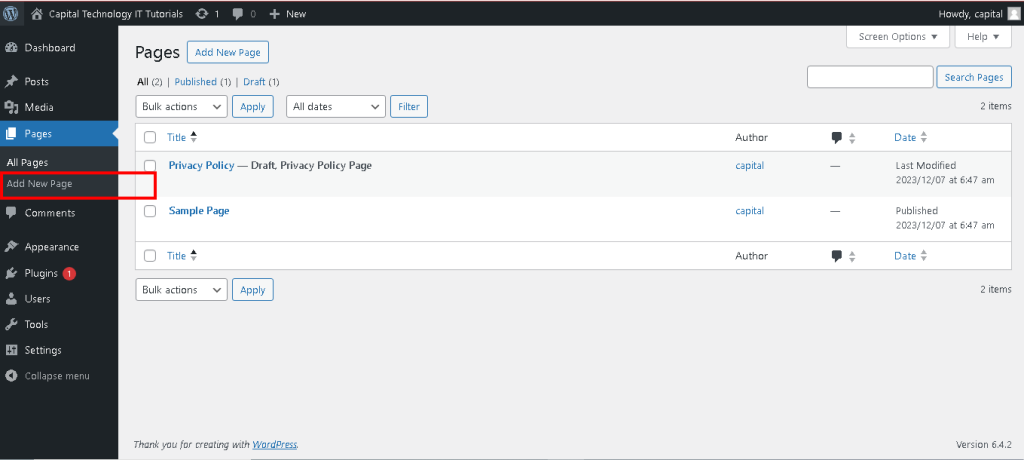
The “Pages” section in WordPress is where you create and manage static content for your website. pages are more permanent and timeless, used for information that doesn’t frequently change, like your site’s About Us, Contact, Services, or Privacy Policy pages.
Creating a New Page:
-
- To create a new page, go to “Pages” in the WordPress admin menu.
- Click on “Add New” to start crafting a new page.
- Page Editor:
- The page editor in WordPress works similarly to the post editor.
- You can enter a title for your page and then use the editor to create content using text, images, videos, and other media.
- Content Creation:
- Add and format text using the toolbar options e.g., bold, italic, lists, headings.
- Insert media and other elements into the page content using the “Add Media” button.
- Some themes or page builders offer drag-and-drop functionality for easier layout design.
- Page Attributes:
- Set a parent page or template for the new page if your theme supports various page templates.
- Assign a specific order if you have a menu structure that relies on the order of pages.
- Publishing Options:
- Set visibility options Public, Private, Password-protected for the page.
- Save drafts to continue working on pages before publishing.
- Preview the page to see how it will look on your site before publishing.
- Page Templates
- Some themes offer different page templates full-width, landing page, etc. that can be selected in the Page Attributes section.
- Managing Pages:
- In the “Pages” section, you can view all published, drafted, trashed, or scheduled pages.
- Edit existing pages by clicking on them from the list or search for specific pages using filters.
The comment section in WordPress plays a vital role in engaging with your audience by allowing them to interact, share feedback, and discuss your posts or pages.
- Commenting System:
- Visitors can leave comments at the bottom of posts or pages if commenting is enabled. Comments usually include text, but visitors can also add their name, email, and website URL
- Moderation Settings:
- WordPress provides robust comment moderation tools.
- Options include requiring manual approval for comments before they appear, automatically approving comments from regular visitors, allowing or disallowing comments on new posts, and more.

- Managing Comments:
- In the WordPress admin panel, navigate to “Comments” under the “Posts” or “Pages” section.
- Here, you’ll see a list of all comments received across your site.
- You can approve, reply, edit, mark as spam, or delete comments directly from this section.
- Replying to Comments:
- Engaging with your audience is crucial. You can reply to comments directly from the WordPress admin panel or the frontend of your site.
- Visitors will receive notifications when you reply to their comments
- Anti-Spam Measures:
- WordPress has built-in spam protection to filter out spam comments.
- Plugins like A kismet, which comes pre-installed with WordPress, help identify and prevent spam comments.
- Comment Settings:
- WordPress allows customization of comment settings site-wide or per post/page.
- You can control things like enabling/disabling comments, allowing comment authors to include links, displaying avatars, and more.
- Threaded Comments:
- Threaded comments allow users to reply directly to specific comments, creating a hierarchical structure and facilitating conversations.
- Gravatar Integration:
- WordPress integrates with Gravatar ,displaying user avatars based on their email addresses.
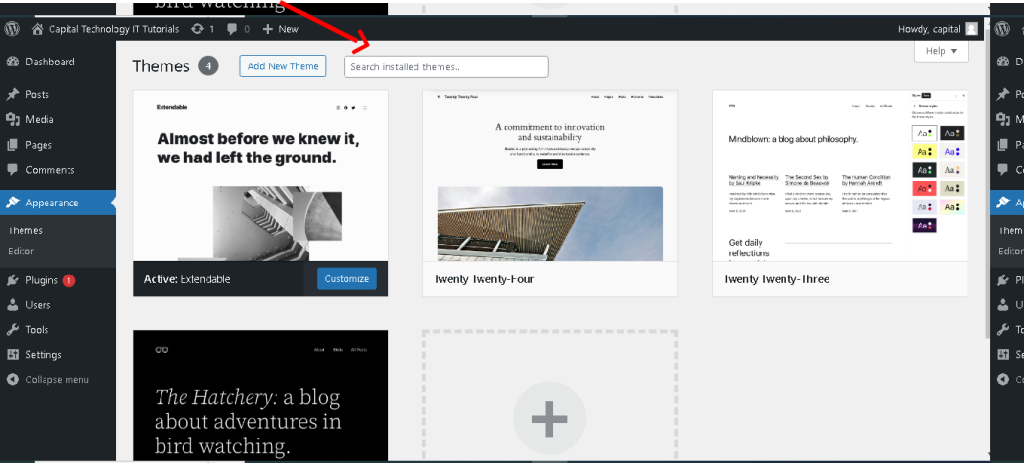
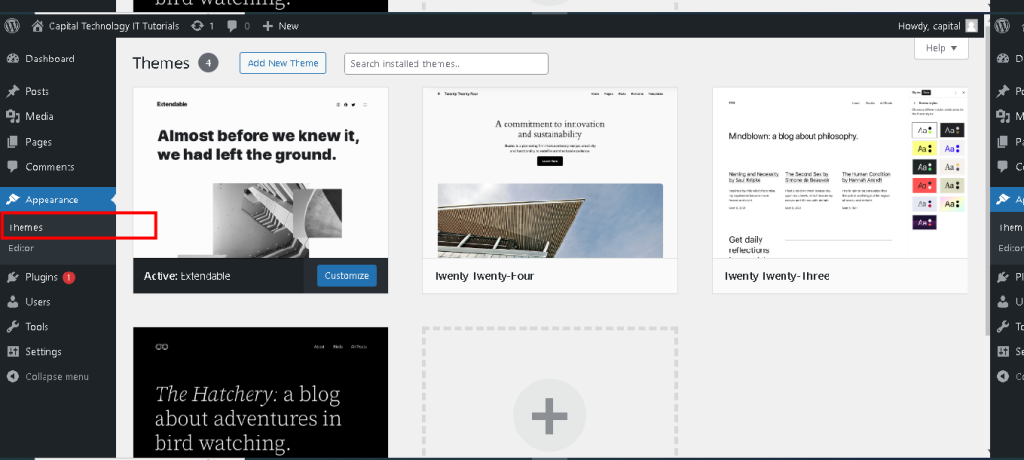
In WordPress, the “Appearance” section is where you manage the visual aspects of your website, including themes, customization options, widgets, menus, and the theme editor.
Themes:
-
- This section allows you to change, add, or update your website’s theme.
- WordPress comes with a selection of free themes, and you can also install premium themes purchased from third-party marketplaces or developed by theme companies.

- Customizer:
- The Customizer is a powerful tool for modifying the appearance of your site in real-time.
- It lets you customize various elements such as site identity logo, site title, tagline, colors, typography, header and footer settings, background images, and more.
- Widgets:
- Widgets are small blocks that perform specific functions, like displaying recent posts, a search bar, categories, or social media links.
- In this section, you can manage, add, or rearrange widgets in widget-ready areas sidebar, footer, etc. of your theme.
- Menus:
- This section allows you to create and manage menus for your website.
- You can create custom menus, add pages, categories, custom links, and organize them hierarchically.
- Editor:
- The theme editor allows advanced users to directly edit theme files PHP, CSS, etc.
- Caution should be exercised while using this feature as incorrect modifications can break your site.

- Header, Background, and Additional CSS:
- These subsections provide specific settings for customizing the header image, background image/color, and adding custom CSS for further styling adjustments.
- Theme Settings :
- Some themes offer additional settings within the Appearance section, allowing you to customize specific theme features like layout, post formats, homepage settings, and more.
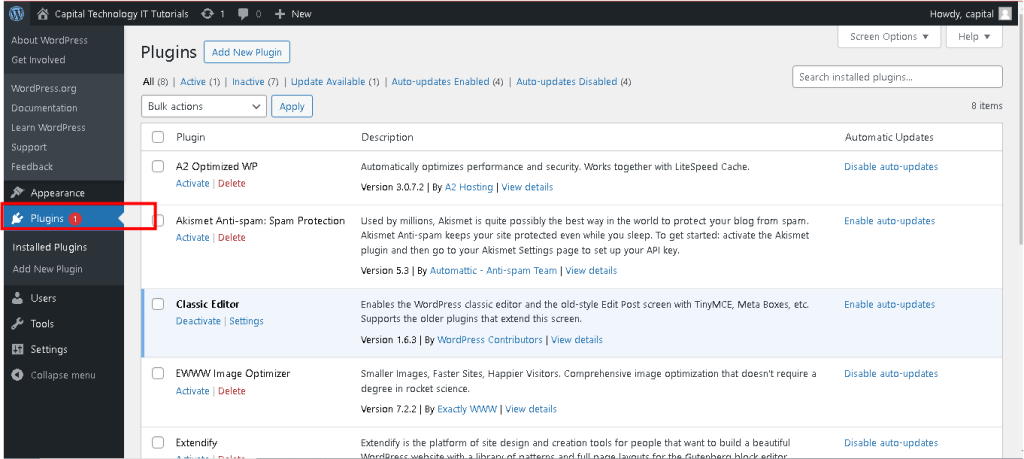
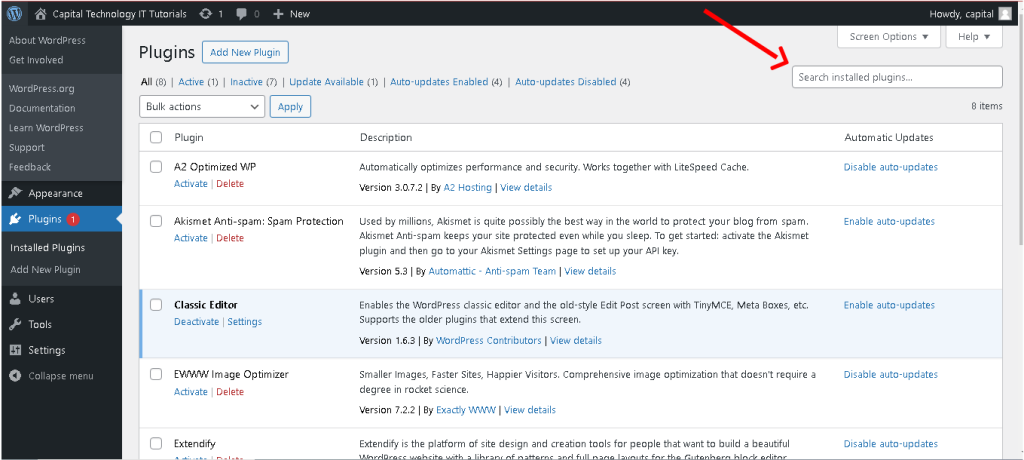
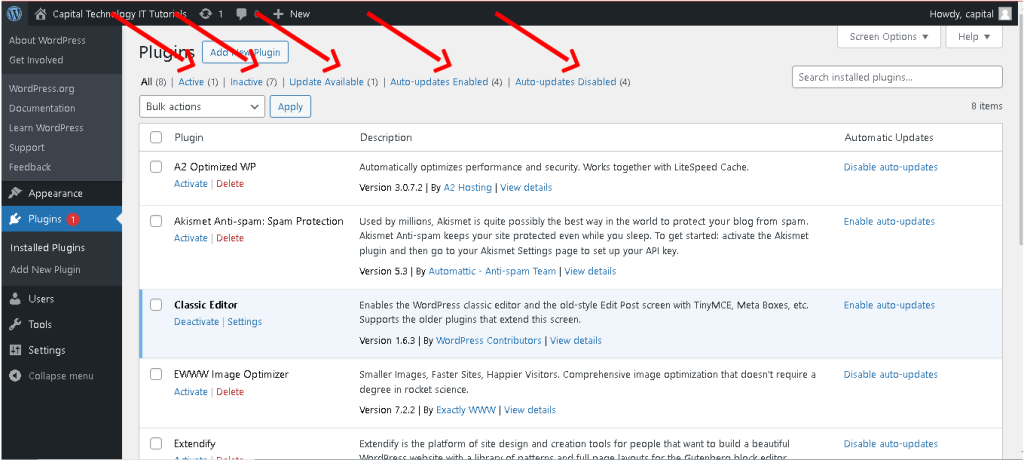
The “Plugins” section in WordPress is where you can manage, install, activate, deactivate, and update plugins, which are add-ons that extend and enhance the functionality of your website.
- Plugin Management:
- In the “Plugins” section, you can view all installed plugins and their status activated or deactivated.
- Activate or deactivate plugins based on your needs. Deactivating a plugin temporarily disables its functions without deleting it.
- Add New Plugin:
- Click on “Add New” to browse the WordPress Plugin Directory, where you can find thousands of free plugins.
- Search for plugins by keyword, functionality, or specific features. You can also upload plugins from external sources if you have a plugin ZIP file.
- Plugin Installation:
- Once you find a plugin, click “Install Now” to add it to your site.
- After installation, activate the plugin to enable its functionality.
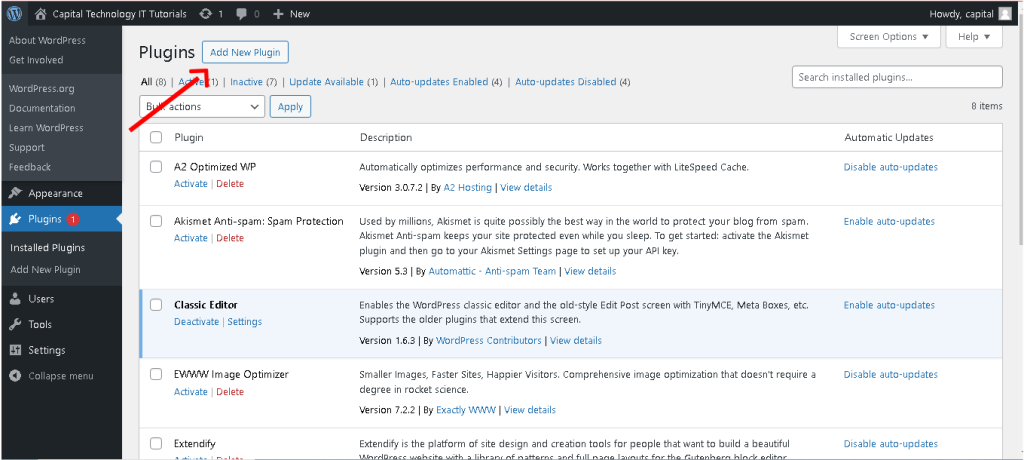
- Plugin Updates:
- WordPress periodically releases updates for plugins to improve performance, fix bugs, and enhance security.
- The “Plugins” section alerts you to available updates, and you can update multiple plugins simultaneously or individually.
- Plugin Settings:
- Many plugins add their settings panels or options in the WordPress admin area.
- To configure a plugin, navigate to “Settings” or “Tools” after activating it.
- Plugin Deletion:
- If you want to remove a plugin completely, deactivate it first, and then you can delete it from the “Plugins” section.
- Deleting a plugin removes its files and settings from your WordPress installation.
- Plugin Compatibility and Support:
- Ensure that the plugins you install are compatible with your WordPress version and other plugins to prevent conflicts.
- Check user reviews, ratings, and support forums for plugins to understand their reliability and usefulness.
- User Roles:
- WordPress offers several predefined user roles, each with different permissions and capabilities:
- Administrator: Has full access to all site features, settings, and content.
- Editor: Can publish, edit, and delete any post/page, moderate comments, and manage categories/tags.
- Author: Can publish and manage their own posts.
- Contributor: Can write and manage their own posts but cannot publish them.
- Subscriber: Can only manage their profile and comment on posts.
- WordPress offers several predefined user roles, each with different permissions and capabilities:
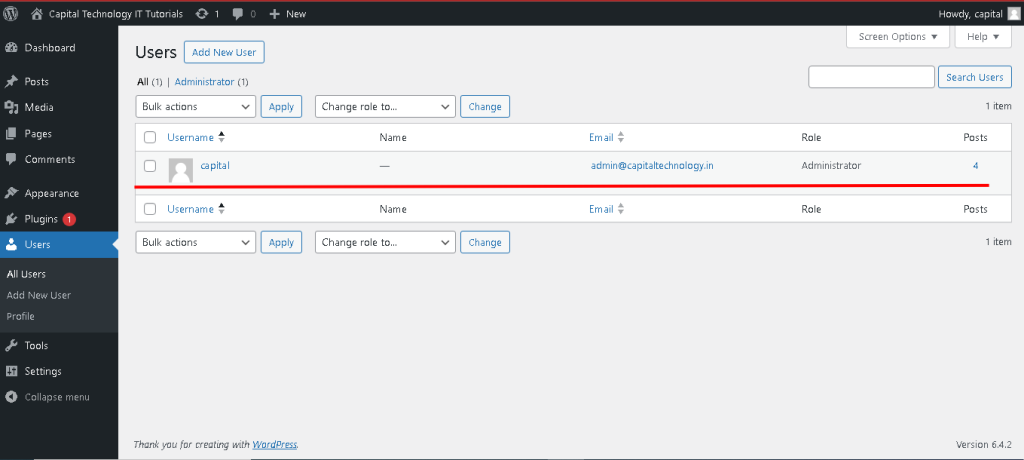
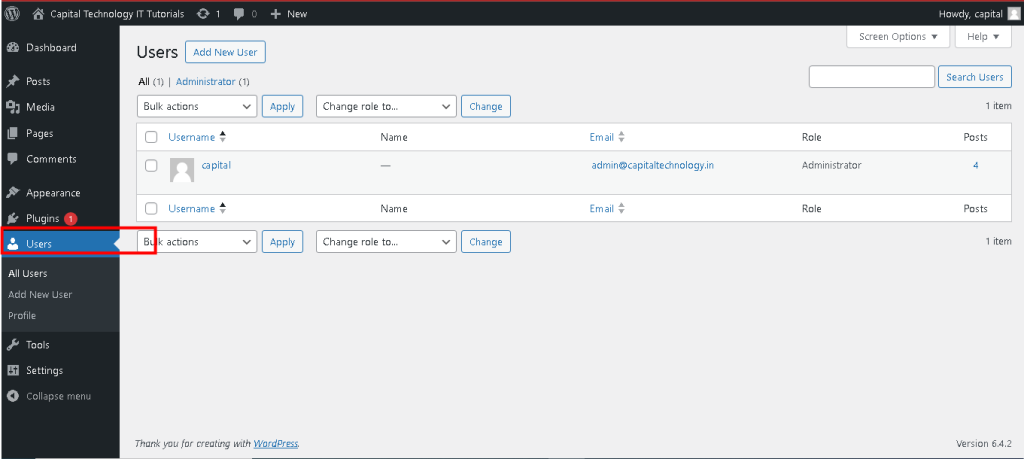
- User Management:
- You can view a list of all users registered on your site in the “Users” section.
- Add new users by filling in their username, email, and assigning a role.
- Edit user profiles to update personal information, passwords, and user roles.
- User Permissions and Capabilities:
- User roles determine what actions users can perform on the site.
- Plugins are available to customize and extend user capabilities if needed, allowing finer control over user permissions.
- Multi-Author Blogs/Sites:
- For sites with multiple authors, assigning appropriate roles ensures proper content management and moderation.
- User Registration Settings:
- In WordPress settings, you can control user registration settings, enabling or disabling user registration and setting default user roles for new registrations.
- Profile Management:
- Users can manage their own profiles by editing personal information, passwords, and profile pictures in the WordPress dashboard.
- Security Considerations:
- Strongly consider user roles and permissions to prevent unauthorized access or unintended content modifications.
- Regularly audit user accounts to remove inactive or unnecessary accounts.
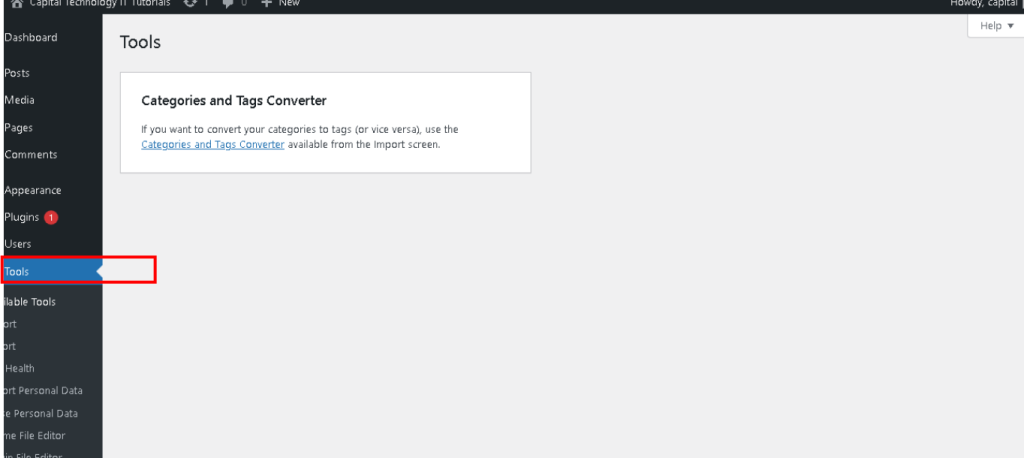
The “Tools” section in WordPress contains utilities and features that facilitate importing, exporting, and other site management tasks.
- Available Tools:
- Available Tools: WordPress typically includes two default tools:
- Press This: A bookmarklet that allows quick posting to your site by capturing content from the web.
- Import: Helps import content from other blogging platforms or WordPress exports.
- Available Tools: WordPress typically includes two default tools:
- Import:
- The “Import” tool assists in transferring content from other platforms to WordPress.
- It provides specific importers for platforms like Blogger, Tumblr, and others, helping to migrate content seamlessly.
- Export:
- The “Export” tool allows you to create an XML file containing your site’s content.
- You can export posts, pages, comments, custom fields, categories, and tags to migrate your site or create backups.
- Press This:
- Press This is a browser bookmarklet that makes it easy to clip text, images, and videos from any web page and create a new post on your WordPress site.
- Other Tools:
- Some plugins may add their tools or utilities to this section for specific functionalities.
- For example, SEO plugins might include tools for optimizing content or managing meta tags.
- Database Management:
- Advanced users might use external database management tools or plugins for tasks like optimizing the database, cleaning up tables, or performing SQL queries.
- Remote Publishing:
- WordPress supports XML-RPC protocol, enabling remote publishing and content management using apps or third-party services.
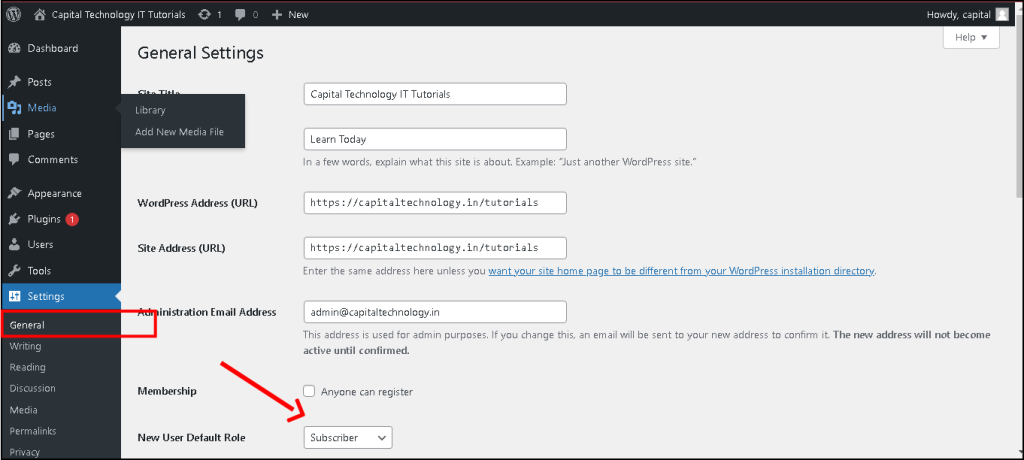
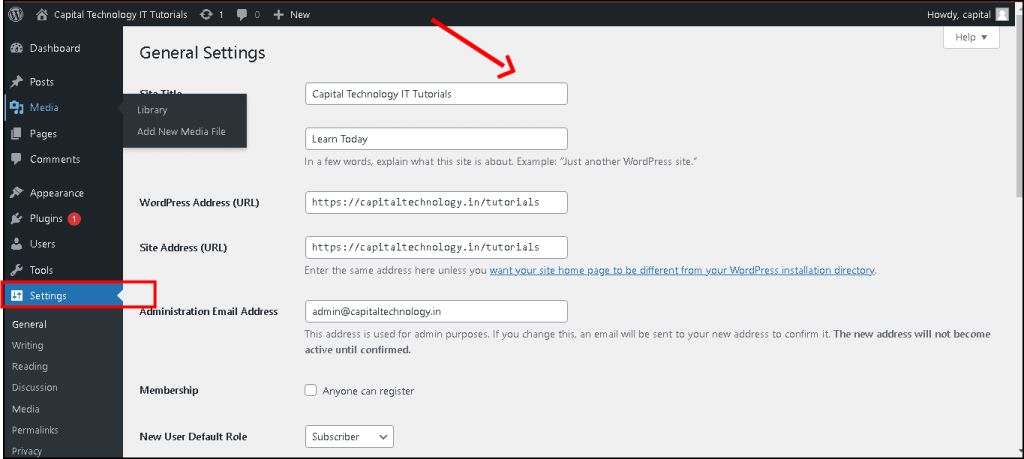
The “Settings” section in WordPress is a fundamental area where you configure and manage various aspects of your website.
1. General Settings:
-
- Site Title and Tagline: Define your site’s title and a brief tagline.
- Site URL and Time zone Set the site’s URL and time zone.
- Email Address: Configure the admin email address used for system notifications.
- Writing Settings:
- Default Post Category and Post Format: Set the default category and format for new posts.
- Post via Email: Enable posting to your site via email.
- Update Services: Update services notify search engines when you publish new content.
- Reading Settings:
- Front Page and Posts Page: Choose a static page for the front page and another for blog posts.
- Blog Post Display: Set the number of blog posts to display per page.
- Search Engine Visibility: Option to discourage search engines from indexing your site.
- Discussion Settings:
- Default article settings: Configure options for comments, pingbacks, and trackbacks.
- Comment Moderation: Set rules for comment moderation and notification preferences.
- Avatars: Enable Gravatars for user avatars in comments.
- Media Settings:
- Default sizes for images uploaded to the media library.
- Thumbnail sizes for different image placements on your site.
- Permalink Settings:
- Define the structure of your URLs for posts, pages, categories, tags, etc.
- Choose between different URL structures for better SEO and readability.
- Privacy Settings:
- Includes the Privacy Policy page settings and allows you to designate a page as your site’s privacy policy.
- Site Health:
- Site Health status provides insights into the health of your site, highlighting any critical issues or recommended improvements.
- Additional Settings :
- Some plugins or themes might add their settings panels in the “Settings” section to configure specific functionalities like SEO, caching, security, etc.