WooCommerce Cart Page on a

To create a WooCommerce Cart Page in Elementor, follow these easy and simple steps:
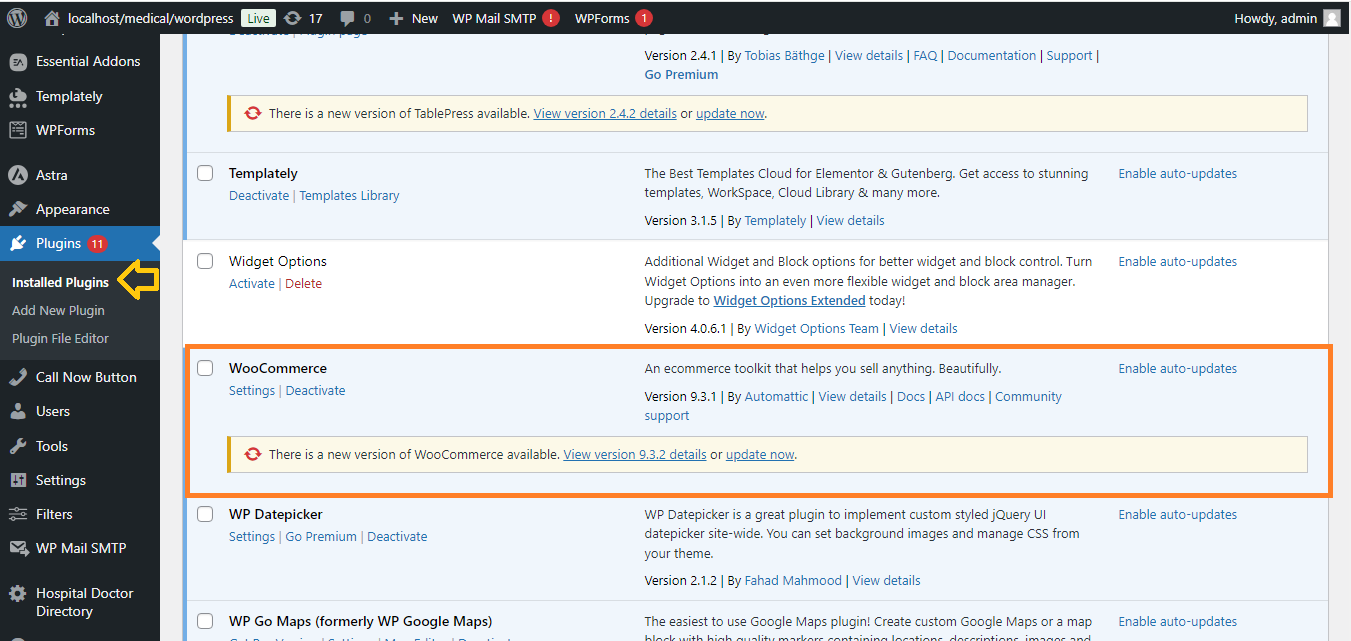
Step 1: Install WooCommerce and Elementor
Ensure you have WooCommerce and Elementor plugins installed and activated.
Step 2: Create a New Cart Page in WooCommerce
- Go to your WordPress dashboard.
- Navigate to Pages > Add New.
- Title the page Cart.
- In the text editor, add the shortcode:
- Publish the page.

Step 3: Set Cart Page in WooCommerce Settings
- Go to WooCommerce > Settings.
- Click on the Advanced tab.

- Under the Page setup section, set the Cart page to the page you just created (e.g., “Cart”).
- Click Save changes.

Step 4: Customize Cart Page in Elementor
- Go to Pages > All Pages and find the Cart page you created.
- Click Edit with Elementor.
- Inside Elementor, you can:
- Add Text or Heading widgets to customize the cart page’s message or instructions.

-
- Use Section and Column widgets to organize the layout if desired.
- You can also add background colors, padding, or typography styles to match your theme.

Step 5: Add Additional Elements (Optional)
If you want to enhance the cart page further:
- Add a Call to Action widget to encourage users to complete their purchase.
- Add a Related Products widget to show suggestions on the cart page.

Step 6: Publish and Test
- Publish your changes in Elementor.
- Visit your site’s Cart page to ensure everything is displayed correctly and test the functionality.

Now, you’ve successfully created and customized a WooCommerce Cart Page using Elementor!


