WordPress Site

To create a WordPress site using Elementor, follow these easy and simple steps:
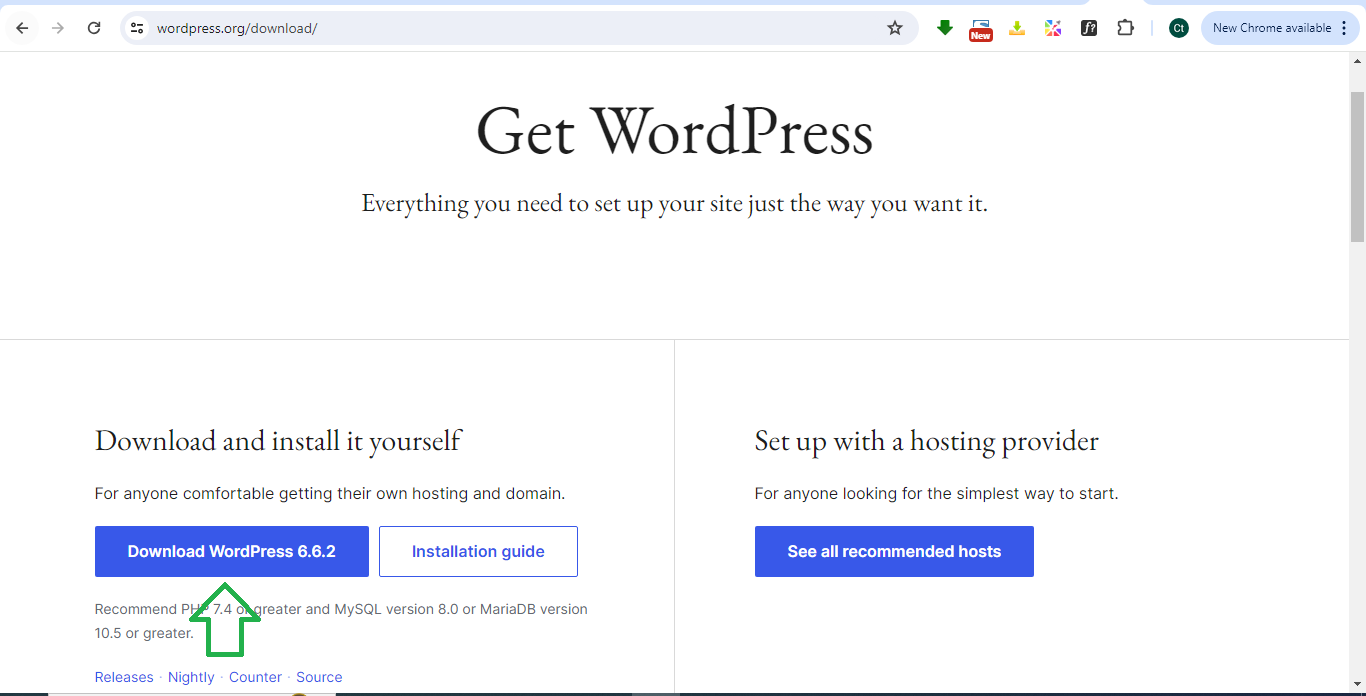
Step 1: Set Up WordPress
- Install WordPress: If you haven’t installed WordPress yet, use your hosting provider’s tools to set it up.
- Log in to your WordPress dashboard: Go to
yourdomain.com/wp-adminand log in.
Step 2: Install Elementor
- In your WordPress dashboard, go to Plugins > Add New.
- Search for Elementor in the search bar.
- Click Install Now and then Activate.
- You can use the free version of Elementor, or if you need more features, consider Elementor Pro.

Step 3: Choose a Theme Compatible with Elementor
- Go to Appearance > Themes.
- Click Add New and search for a lightweight, Elementor-compatible theme like Hello Elementor or Astra.
- Click Install and then Activate.

Step 4: Create Your First Page
- In the WordPress dashboard, go to Pages > Add New.
- Enter a title for your page (e.g., Home or About Us).
- Click Edit with Elementor to open the Elementor editor.

Step 5: Design Your Page with Elementor
- In Elementor, you’ll see a blank canvas where you can start adding elements.
- Add sections:
- Click the + icon to add a new section.
- Choose the number of columns for your layout.

- Add widgets:
- Drag and drop widgets from the left panel into the sections (e.g., Heading, Text Editor, Image, Button).

- Customize the widgets:
- Edit text, upload images, and adjust settings like font size, color, and background.
- Use the Style and Advanced tabs to fine-tune the design.

Step 6: Publish Your Page
- Once you’re satisfied with your design, click Publish in the bottom left corner.
- You can view your page by clicking View Page.

Step 7: Set Up Your Homepage
- Go to Settings > Reading in the WordPress dashboard.
- Under Your homepage displays, select A static page.
- Choose the page you created as your Homepage from the dropdown.
- Click Save Changes.

Step 8: Create Additional Pages
- Repeat Step 4 to create other pages like About, Contact, or Services.
- Customize them with Elementor as needed.

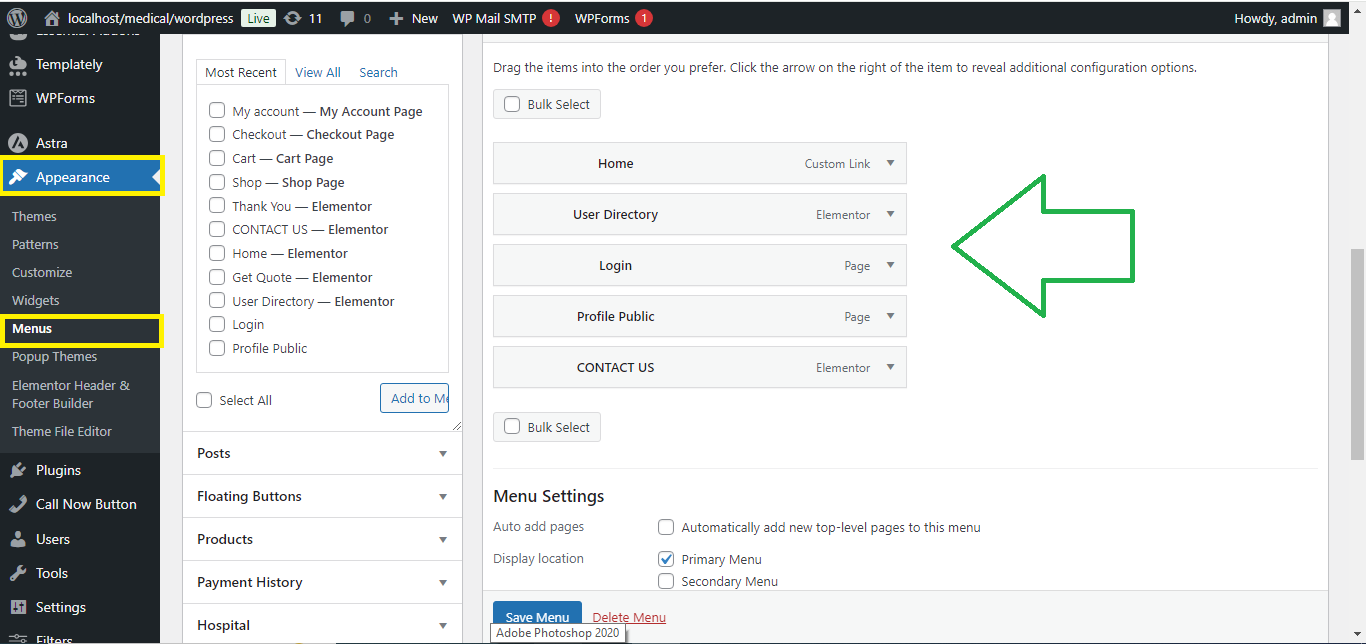
Step 9: Set Up a Navigation Menu
- Go to Appearance > Menus.
- Click Create a new menu, give it a name, and select the pages to add to the menu.
- Set it as the Primary Menu and click Save Menu.
Step 10: Customize Site-Wide Settings (Optional)
- Go to Appearance > Customize for theme settings like site identity, logo, and fonts.
- Use Elementor’s Theme Builder (available in Elementor Pro) to customize headers, footers, and other site-wide elements.

Step 11: Install Essential Plugins (Optional)
- Install additional plugins like Yoast SEO for search optimization or Contact Form 7 to add forms to your site.

Now, you’ve successfully created a WordPress site using Elementor!


